Fixing Transparency Clipping Errors on Soft Edge Opacity Masks in Photoshop Batch WebP Exports
Fixing Transparency Clipping Errors on Soft Edge Opacity Masks in Photoshop Batch WebP Exports
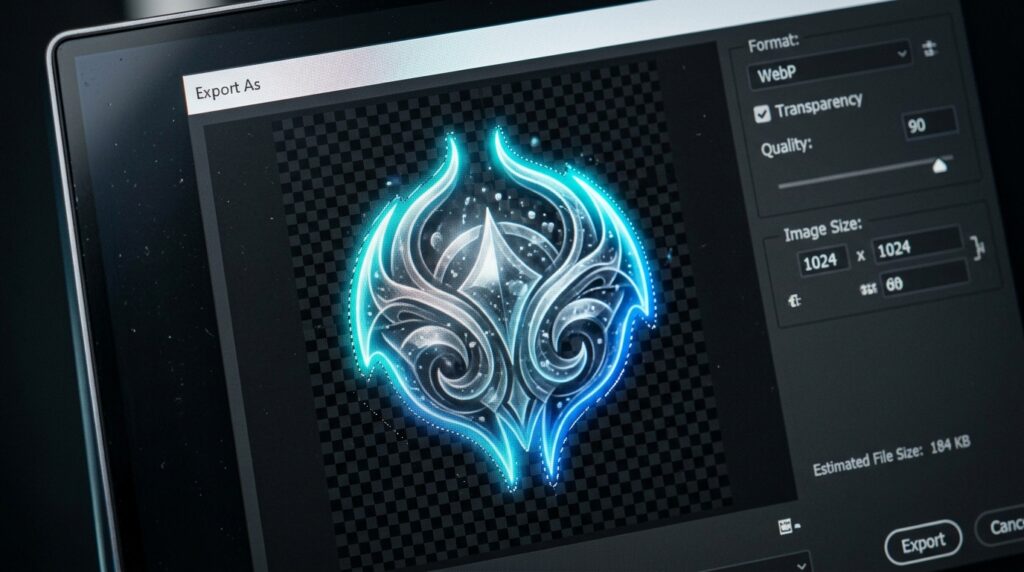
When you export Photoshop artwork to WebP in bulk, you could see unexpected harsh edges, black halos, missing shadows and semi-transparent pixels due to transparency clipping problems. This is often the case with product photos, website banners, digital illustrations, promotional graphics, and other assets that rely on soft edge opacity masks. An image may look smooth in Photoshop with the original background, but when exported as WebP and placed on a new background, or viewed in a different application, flaws may show. These errors can stem from incorrect mask values, layer blending behavior, alpha channel interpretation, color conversion, or export settings. Batch processing adds complexity, since numerous documents may have various layer structures, transparency settings, and canvas sizes. So, a robust troubleshooting process needs to include both the source document, and the output file, instead of assuming all defects are down to a format limitation. To help prevent export issues, designers should check opacity masks, preserve edge transitions, check transparency settings and test representative files before processing an entire folder. Good preparation also helps to keep consistent visual quality while developing optimized WebP images for modern websites.
What is “Transparency Clipping” in Soft Edge Opacity Masks?
Transparency clipping is when partially transparent pixels get clipped and lose their intended transparency transitions, or show unwanted outlines, when exporting a picture. You may use soft edge opacity masks to adjust the softness of a layer’s visibility, allowing shadows, glows, hair, product edges and other fine detail to mix naturally with surrounding material. In Photoshop . The black portions on a layer mask hide content . The white areas disclose content . Gray values are partially transparent . If these transitions are changed, badly compressed, or translated differently on export, the final image can have visually jarring edges. A flaw may also occur when a transparent object is placed on a background that is not the same as the background used during editing. Typical examples are black edges around light objects and light halos surrounding dark objects . These symptoms do not necessarily mean that the mask is damaged. This can happen because of color information stored in semi-transparent pixels, or because of discrepancies in how apps use alpha. Knowing how these mask settings, pixel colors, and transparency operate together allows designers to know what the real problem is before doing any remedial work on the artwork.
Viewing Layer Masks Before Exporting Batch
The first thing to do is to check the layer masks that impact the edges that have the problem. Open the source document in Photoshop and look in the Layers panel for items that use soft-edge masks, clipped adjustment layers, or effects that rely on transparency. On Windows, alt-click the mask thumbnail to view the mask itself in grayscale. This is helpful to immediately spot abrupt transitions, unwanted black areas, and irregular gradients of gray. Check to see if the mask has smooth transitions around the problematic object, or if its edge has been inadvertently sharpened, contracted or clipped. Check the mask density and feather settings, using the Properties window if necessary. Too much feathering can make borders look weak, but not enough feathering might create a sharp barrier around things that should mix gradually. View the work at regular viewing size and under a magnifier to tell the difference between real errors and transitory screen rendering artifacts. Before you play with the mask, duplicate the layer or save a separate working copy. This way you maintain the original editing structure, and can undo the correction if the mask performs differently after export.
Layer Effects and Blending Modes
Even if the underlying mask looks proper, transparency artifacts can be caused by layer effects and blending modes. several effects (Drop Shadow, Outer Glow, Inner Glow, and several stroke parameters) can be affected by layer transparency, and can provide some unexpected borders when paired with complicated masks. Soft edge looks can also be affected by adjustment layers , clipped layers and nested groups . Try switching off individual effects one at a time to see if any of them are causing the clipping problem. Check the blend mode of both the afflicted layer and the group that it resides in, as a group can have a different blending behavior than the individual layers within it. If there are many overlapping copies of the same item in the page, check that their masks and opacity settings are deliberate. If you duplicate edges, and they are slightly different, this can cause dark or bright outlines when the layers are composited. You can independently set the review layer opacity and mask density, because these parameters affect visibility in distinct ways. Don’t flatten the document instantly as a troubleshooting shortcut. Instead, isolate the offending layer, and see how it looks on a transparent background. This controlled check allows to determine if the fault is with the mask, an effect or an interaction of several layers.
Demystifying Alpha Channels and Premultiplied Edge Colors
WebP transparency uses alpha information to determine how visible each pixel should be, but the color values saved at partially transparent boundaries can also affect the final look. while some image processing work-flows pixel colors are associated with their alpha values, while others color values are kept separate. These are frequently referred to as premultiplied alpha and straight alpha techniques. Problems can develop when an application interprets edge colors with an incompatible assumption, or when transparent pixels contain colors inherited from a previous background. For example, an object cut out of a black background may have dark pixels on its edges which become visible when it is placed on a bright webpage background. Alternatively, an object cut out of a white background may create light fringes on dark surfaces. To see this kind of artifact, view the output image against multiple contrasting backgrounds. If the edge color is contaminated, return to the source artwork and fix the fringe with appropriate masking or edge-refinement techniques. Photoshop’s Select and Mask workspace is useful for refining tricky borders, but the right settings depend on the item. Never indiscriminately grow or shrink the mask, this can lose valid information and change the proportions of the item.
Setting WebP Export Options in Photoshop Correctly
Export settings should keep the transparency and edge quality the art requires. WebP enables transparency but the technique and parameters used to export the image affect how the image data is packed. The controls accessible depend on the version of Photoshop and on the WebP support installed. Make sure to re-verify the export workflow used – you want to maintain transparency, not generate an opaque background. Lossless WebP is a good diagnostic choice for assets that require sharp soft edges because it doesn’t add any additional image degradation that lossy compression introduces. And lossy WebP can still be useful for web graphics. Compression can cause apparent artifacts around sharp color transitions and partially transparent edges. Try exporting a lossless copy and compare it to a lossy one to see if compression is the cause of the fault. Also check the image size , color profile management and any resize options used during export . Do not convert a picture back and forth between formats repeatedly before testing, as each conversion complicates diagnosis more. Manually export a typical doc with known settings. Review the output before setting up batch workflow. This will provide you a good baseline to see if the fault is in the source document or the automatic export routine.
Batch Processing with Transparency Problem Avoidance
Transparency problems can be compounded in batch export procedures, particularly if source documents have irregular layer structures, or if the automation applies inappropriate settings to each file. Pre-process an entire folder, sort files according to the outcome you want. Transparent cutouts of product images, shadow effects, icons and artwork with opaque backgrounds. Test at least one representative document from each class. Make that the batch action or automated process doesn’t inadvertently flatten transparency against a background layer, resize photos inappropriately, or change the document color mode unexpectedly. If your workflow includes Photoshop actions, go through each recorded step and delete any unneeded activities that alter transparency or blending. If your papers have complicated layer groups you might want to export a transparent output layer or a well-prepared copy of the source document. Save the layered .psd files, so you can fix mistakes without having to rebuild the artwork. Use consistent names for the source and exported files to avoid inadvertently overwriting files. A small test batch is a good approach to check the automation before processing hundreds of assets, and it can assist to discover discrepancies across documents that need different export settings.
Check exported WebP files on different backgrounds and in different apps
A WebP file that looks OK against the Photoshop transparency grid could nonetheless have edge artifacts that will appear on a real web site. After exporting open the file again in an application that supports it and set it against white, black, gray and colored backdrops. This test shows halos, unexpected opaque pixels, and abrupt opacity shifts that may be invisible in the original editing environment. Compare the output file with the photoshop source at the same display size to minimize misleading variations due to scaling. Check the details: fine hair, sheer fabric, glass, shadows of products, thin decorative edges. If the fault is only seen in one particular viewer, research how that application handles color profiles, alpha channels or image scaling differently. If the artifact is continuously visible to viewers then go back to the source file and look at the relevant mask and edge pixels. If visual inspection is not enough, check whether the exported image’s alpha channel matches the transparency of the source to see if the opacity values have changed. Testing files in the live website environment can also show background-color interactions that are not evident while editing on the desktop. This step of verification helps guarantee that the exported assets perform as expected in their final destination.
Soft Edge Mask Optimization with Fine Detail Preserving
Fixing transparency clipping should mean that the subject is still recognizable in its original shape and texture, not just that all the edges are blurred. A wide feather adjustment could hide a hard edge, but it may also produce hazy product outlines and a loss of information in microscopic features. Localized mask refinements for cases where just some parts of an item are defective. You can use the brush tool to fix isolated areas of the mask, and Select and Mask provides more controls for improving intricate edges. When dealing with shadows or glows, check the effect’s opacity, spread, size, and blend mode to ensure the transition looks natural. If the source image has color bleeding on the edges, then just masking modifications are not enough to remedy the problem, because the undesirable color can persist in the semi-transparent pixels. In such cases, apply appropriate defringing or edge-color correction procedures to a duplicate layer and evaluate the outcome against numerous backgrounds. Keep a good quality source document and do not repeatedly destructively resize it. Then, make an adjustment, export a small test image and ensure that the edge transition you are after survives the whole procedure. This method retains visual authenticity while reducing overcorrection and excessive loss of fine detail.
How to Fix Persistent WebP Transparency Clipping Errors
If clipping errors continue to occur after verifying your masks and export settings, try isolating the cause by performing a controlled comparison. Export the layer in question as a lossless WebP and compare it with a PNG export with the same canvas size and transparency. If the problem is the same in both formats, check the source mask, layer effects or edge colors. If the problem is solely with WebP, check the encoder parameters, the version of Photoshop, and any third-party export extension you are using. Make a simpler copy of the document with affected item and its mask only and export again without superfluous adjustment layers or blending effects. This test aims to see if a complex layer hierarchy adds to the issue. Make sure that the batch procedure is run with the same settings as the successful manual export and that no background conversion or accidental flattening occurs during automation. If a reproducible export defect indicates an application-specific issue, update the respective software component. Note down parameters that work reliably for you and use them regularly on similar assets. By isolating source artwork concerns from encoding and automation challenges, designers may methodically fix transparency clipping, and output clean WebP visuals with reliable soft edges.