Spectrum of Creation: A Comprehensive Guide to Adding a Rainbow to an Image in Photoshop
Introduction:
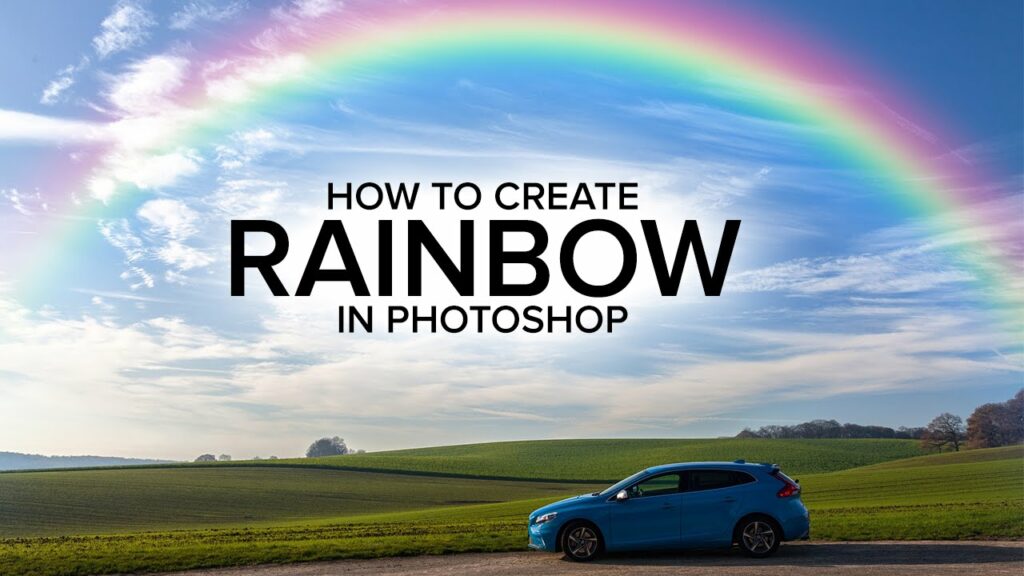
Rainbows, with their vibrant colors and ethereal beauty, have captivated human imagination for centuries. In the realm of digital artistry, adding a rainbow to an image in Adobe Photoshop offers a magical touch, transforming a plain landscape or scene into a visually enchanting masterpiece. This comprehensive guide will walk you through the step-by-step process of infusing your images with the radiant allure of a rainbow. From selecting the right image to mastering blending modes, this guide unveils the secrets to creating a stunning and realistic rainbow effect using Photoshop.
I. Selecting the Right Image:
1.1 Image Choice:
- Begin by choosing an image that complements the addition of a rainbow.
- Consider landscapes, cityscapes, or any scene where a rainbow would naturally enhance the visual impact.
1.2 High-Quality Image:
- Opt for a high-resolution image to maintain clarity and detail in the final result.
- Higher resolution allows for precise placement and blending of the rainbow elements.
II. Launching Adobe Photoshop and Opening the Image:
2.1 Opening Photoshop:
- Launch Adobe Photoshop on your computer to begin the creative process.
- Create a new document or open an existing one where you want to add the rainbow effect.
2.2 Importing the Image:
- Import the chosen image into Photoshop as a new layer.
- Position the image layer at the bottom of the layer stack to serve as the foundation for the rainbow addition.
III. Creating a New Layer for the Rainbow:
3.1 Adding a New Layer:
- Create a new layer above the image layer to paint the rainbow.
- Use the Brush Tool (B) and choose a soft, round brush with low hardness for a smooth and seamless effect.
3.2 Selecting Rainbow Colors:
- Use the color picker to select the colors of the rainbow in order – red, orange, yellow, green, blue, indigo, and violet.
- Set the brush opacity to a level that allows for gradual buildup and blending of colors.
IV. Painting the Rainbow:
4.1 Brushing the Arch:
- Begin painting the rainbow arch by following a natural curve or trajectory.
- Apply each color in a separate stroke, adjusting the brush size and opacity for a realistic transition between colors.
4.2 Adjusting Opacity and Blending:
- Experiment with the opacity of the rainbow layer to achieve a subtle or vibrant effect.
- Utilize layer blending modes, such as “Screen” or “Overlay,” to seamlessly integrate the rainbow with the underlying image.
V. Refining the Rainbow Effect:
5.1 Blurring Edges:
- Use a soft eraser brush to gently blur the edges of the rainbow, creating a more natural and diffused appearance.
- This step enhances the realism of the rainbow within the scene.
5.2 Adjusting Color Saturation:
- Fine-tune the color saturation of the rainbow to ensure it blends harmoniously with the overall image.
- Apply adjustment layers, such as “Hue/Saturation,” to refine the intensity of the rainbow colors.
VI. Introducing Atmospheric Elements:
6.1 Rain or Water Droplets:
- Enhance the realism of the rainbow by adding rain or water droplets to the scene.
- Create a new layer and use custom brushes or filters to simulate the presence of rain.
6.2 Clouds or Mist:
- Introduce clouds or mist around the rainbow to create an atmospheric effect.
- Use brushes or cloud textures with layer blending modes to seamlessly integrate these elements.
VII. Incorporating Light and Reflections:
7.1 Adding Light Effects:
- Enhance the luminosity of the rainbow by adding light effects.
- Use the Brush Tool with a soft, low-opacity brush to paint subtle glows or highlights along the edges of the rainbow.
7.2 Reflections on Surfaces:
- Consider the surfaces within the image where the rainbow would cast reflections.
- Paint reflections on water surfaces or wet areas using the same colors as the rainbow.
VIII. Reviewing and Refining:
8.1 Iterative Review:
- Step back and review the entire composition, considering the placement and integration of the rainbow.
- Make iterative adjustments to colors, blending modes, and additional elements for a polished and cohesive result.
8.2 Saving Iterative Versions:
- Save iterative versions of your project to preserve different stages of the creative process.
- This practice allows for experimentation and easy backtracking if desired.
IX. Exporting the Image with Rainbow Effect:
9.1 Saving in Appropriate Formats:
- Save the final image with the rainbow effect in the desired format, resolution, and color space.
- Consider the intended use, whether for digital display, print, or further digital manipulation.
9.2 Sharing and Showcasing:
- Share your rainbow-infused creation on social media platforms or within digital art communities.
- Engage with fellow artists, gather feedback, and celebrate the magical transformation of your image.
X. Conclusion:
Adding a rainbow to an image in Adobe Photoshop is a journey into the realm of digital enchantment, where ordinary scenes become extraordinary canvases. By skillfully applying brushes, blending modes, and atmospheric elements, artists can infuse their images with the radiant allure of a rainbow. As you embark on your creative journey, let your imagination guide you, experiment with different techniques, and witness the transformative power of Photoshop in bringing a touch of magic to your digital canvases.