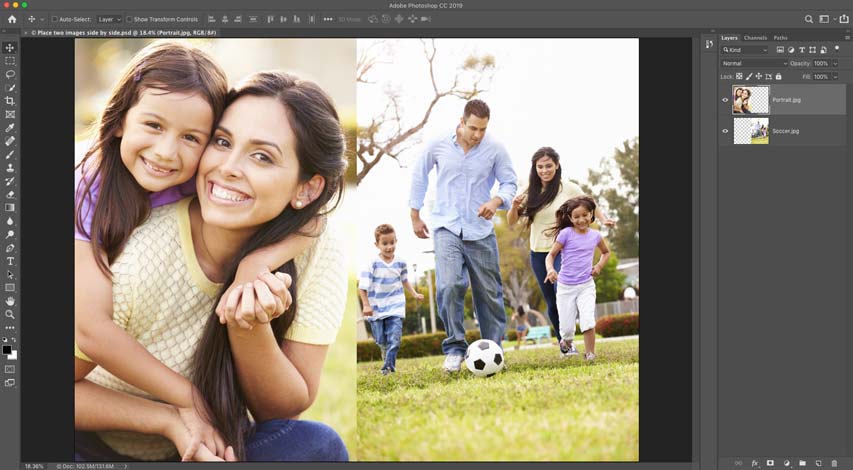
Photoshop Mastery: Placing Two Images Side by Side with Precision
Introduction:
Adobe Photoshop, a cornerstone in the realm of digital image editing, empowers users with a multitude of tools and techniques to transform visual concepts into compelling compositions. In this quick tip guide, we’ll explore an essential skill – placing two images side by side. Whether you’re crafting collages, designing layouts, or comparing visuals, mastering this technique adds a layer of versatility to your Photoshop repertoire. Follow along for an in-depth walkthrough that ensures precision and creativity in aligning two images seamlessly.
Step 1: Open Photoshop and Load Images:
- Launch Photoshop: Open Adobe Photoshop on your computer. Ensure you have the latest version for optimal performance and access to all features.
- Load Images: Use the “File” menu to open the two images you intend to place side by side. Navigate to “File” > “Open” and select the images from your storage.
Step 2: Assess Image Dimensions and Resolution:
- Check Image Size: Examine the dimensions of both images by going to “Image” > “Image Size.” Note the width and height values, as well as the resolution. Consistent resolutions are crucial for a seamless side-by-side arrangement.
Step 3: Create a New Document:
- Open New Document: Navigate to “File” > “New” to create a new Photoshop document. Input the combined width of the two images as the document width. Set the height to match the taller image’s height. Ensure the resolution matches that of your images.
- Transparent Background (Optional): For a flexible layout, choose a transparent background. Adjust background settings as needed, considering the intended use of your side-by-side arrangement.
Step 4: Arrange Images Side by Side:
- Copy-Paste Method: Select the first image, copy it (Ctrl/Cmd + C), go to the new document, and paste it (Ctrl/Cmd + V). Position it on the left side of the canvas.
- Aligning Images: Use the Move Tool (V) to align the first image precisely. Activate the “Snap” feature (View > Snap) to ensure accurate alignment. Align the left edge of the first image with the left edge of the canvas.
- Paste Second Image: Repeat the copy-paste process for the second image. Position it to the right of the first image, ensuring a seamless connection. Use the Move Tool and snapping for precision.
Step 5: Adjustments and Refinements:
- Refining Edges: To enhance the cohesion between the two images, use the Eraser Tool with a soft brush to refine edges. This is particularly useful for merging images with distinct backgrounds.
- Blend and Transition: Experiment with blending modes and layer masks to create a smoother transition between the images. Soften the edges or add subtle gradients for a seamless blend.
Step 6: Save and Export:
- Save Your Work: Save your project in Photoshop format (.PSD) to preserve layers and editing capabilities. Regularly save your progress to avoid losing changes.
- Export for Sharing: When satisfied with the side-by-side arrangement, export your image in the desired format (JPEG, PNG, etc.) for sharing or further use.
Additional Tips and Considerations:
- Consistent Resolutions: Ensure that both images have the same resolution to prevent distortion or uneven scaling when placing them side by side.
- Smart Objects for Flexibility: Consider converting your images into Smart Objects before placing them. This allows for non-destructive transformations and adjustments.
- Grids and Guides: Utilize Photoshop’s grid and guide features (View > Show > Grid/Guides) to aid in precise alignment. Guides can be dragged from the ruler and snapped to for accuracy.
- Grouping Layers: Grouping the layers of each image (Ctrl/Cmd + G) can enhance organization, making it easier to manage multiple elements.
Conclusion:
Placing two images side by side in Photoshop is a fundamental skill that opens doors to diverse creative possibilities. Whether you’re juxtaposing visuals for comparison or designing a dynamic layout, mastering this technique enhances your ability to convey messages visually. As you practice and refine your approach, you’ll find that Photoshop’s array of tools and features provides endless opportunities for crafting seamless and impactful compositions. Take this quick tip as a foundation and explore the expansive world of Photoshop possibilities that await your creative touch.


