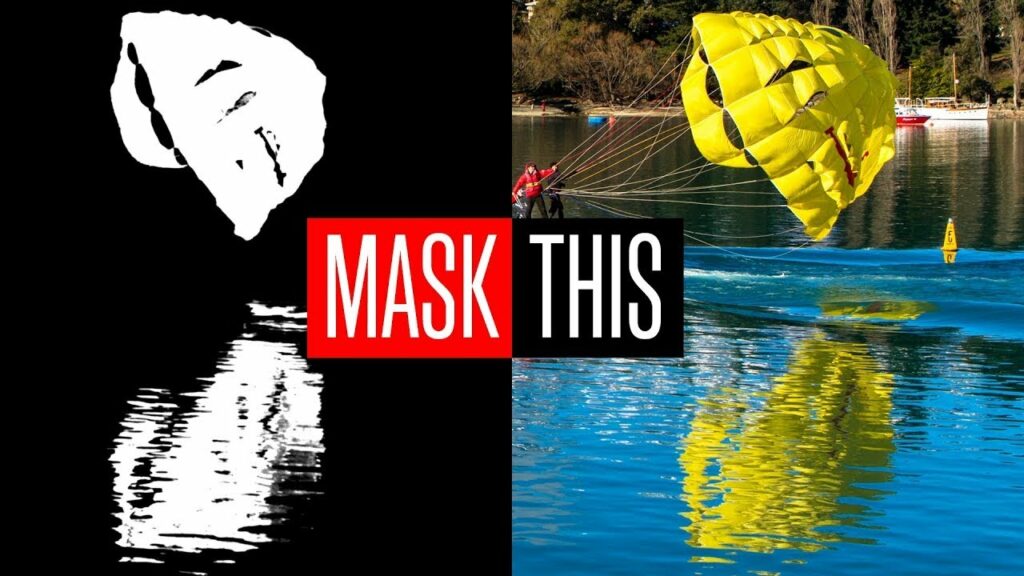
Mastering Quality Masks: Unveiling the Trick in Photoshop’s Camera Raw

Photoshop’s Camera Raw, renowned for its powerful photo editing capabilities, harbors a trick that elevates the creation of quality masks to a new level. Masks play a pivotal role in image editing, allowing for precise adjustments, seamless blending, and creative transformations. In this extensive guide, we delve into the intricacies of harnessing the hidden potential within Photoshop’s Camera Raw to achieve superior mask quality.
Section 1: Understanding the Importance of Masks
1.1 The Foundation of Precision
Masks serve as the foundation for precise editing in Photoshop. Whether you’re adjusting exposure, enhancing colors, or compositing elements, quality masks are the key to achieving seamless and realistic results.
1.2 Challenges in Mask Creation
Traditional masking techniques in Photoshop may pose challenges, especially when dealing with complex subjects, intricate details, or subtle transitions. The quest for perfection often involves time-consuming refinements and meticulous adjustments.
Section 2: Unveiling the Trick in Camera Raw
2.1 The Camera Raw Advantage
Adobe Camera Raw, primarily known for its role in processing raw images, harbors a powerful trick for mask creation. By tapping into the unique features within Camera Raw, you can simplify the masking process and attain exceptional precision.
2.2 Accessing Camera Raw as a Filter
The trick lies in using Camera Raw as a filter within Photoshop. This allows you to apply Camera Raw adjustments selectively, creating masks with unparalleled accuracy. To access Camera Raw as a filter, select the desired layer, navigate to the Filter menu, and choose Camera Raw Filter.
Section 3: Harnessing the Power of Camera Raw for Masks
3.1 Utilizing Graduated Filters
Camera Raw’s Graduated Filters become a game-changer in mask creation. Whether it’s enhancing skies, adjusting exposure, or fine-tuning specific areas, Graduated Filters provide a non-destructive and visually intuitive method for defining mask regions.
3.2 Precise Brush Adjustments
The trick extends to the Brush tool within Camera Raw, offering precise adjustments for refining masks. This enables you to selectively include or exclude areas with unparalleled control, ensuring that intricate details are preserved, and transitions are seamless.
Section 4: Real-world Applications
4.1 Portrait Retouching
In portrait retouching, the Camera Raw trick proves invaluable. Refining skin tones, adjusting highlights, and enhancing facial features can be achieved with unparalleled precision, leading to natural and polished results.
4.2 Landscape Enhancements
For landscape photographers, the ability to selectively adjust skies, fine-tune colors, and emphasize key elements is a game-changer. Camera Raw’s Graduated Filters and precise brushing facilitate a nuanced approach to enhancing landscapes.
Section 5: Workflow Integration
5.1 Non-Destructive Editing
The trick in Camera Raw aligns with the philosophy of non-destructive editing. By integrating Camera Raw adjustments into your workflow, you retain the flexibility to revisit and refine masks without compromising image quality.
5.2 Seamless Integration with Photoshop
The synergy between Camera Raw and Photoshop allows for seamless integration. The trick not only enhances mask creation but also streamlines the overall editing process, fostering a more efficient and creative workflow.
Section 6: Tips for Optimal Results
6.1 Experimentation and Iteration
As with any advanced technique, experimentation is key. Iteratively refine your masks using Camera Raw adjustments, observing the real-time impact on your image. This iterative approach leads to mastery and an intuitive understanding of the nuances within Camera Raw.
6.2 Blending Multiple Adjustments
Combine multiple Camera Raw adjustments within a single mask for complex edits. Whether it’s blending exposures, adjusting colors, or creating artistic effects, the trick in Camera Raw allows for sophisticated and layered adjustments.
Section 7: The Final Mask: Export and Apply
7.1 Exporting the Refined Mask
Once you’ve perfected your mask using the Camera Raw trick, export it for future use. Save it as a channel or a separate document, ensuring that your meticulous adjustments are preserved for subsequent edits or different projects.
7.2 Applying the Mask in Photoshop
Bring the refined mask back into Photoshop and apply it to the desired layers. The result is a seamlessly integrated mask that reflects the precision and finesse achieved through the unique capabilities of Camera Raw.
Conclusion: Elevating Your Masking Game
In mastering the trick for quality masks in Photoshop’s Camera Raw, you’ve unlocked a potent tool for elevating your editing prowess. The marriage of precise adjustments, non-destructive editing, and seamless integration with Photoshop marks a paradigm shift in the world of masking.
As you embark on your creative journey, let the Camera Raw trick empower your vision. Whether you’re a portrait photographer, a landscape enthusiast, or a digital artist pushing the boundaries of creativity, harnessing the power of Camera Raw for masks opens up a realm of possibilities. Embrace the trick, refine your techniques, and watch as your images transform with newfound precision and brilliance. The art of masking has evolved, and with Camera Raw as your ally, your creations are poised to reach new heights of excellence.


