Mastering Color Grading: A Comprehensive Guide on How to Use the Color Wheels in DaVinci Resolve
Introduction: Color grading is an essential process in filmmaking and video production that involves adjusting and enhancing the color and tone of footage to achieve a desired look or mood. DaVinci Resolve, a professional color grading software, offers users powerful tools and features for manipulating color, contrast, and saturation with precision and control. One of the key tools used for color grading in DaVinci Resolve is the Color Wheels panel, which provides intuitive controls for adjusting the shadows, midtones, and highlights of an image. In this comprehensive guide, we will explore the step-by-step process of using the Color Wheels for color grading in DaVinci Resolve, from understanding the interface to applying advanced color grading techniques for professional-quality results.
Understanding Color Grading: Color grading is the process of adjusting the color and tone of video footage to achieve a desired aesthetic or mood. It involves manipulating various parameters such as exposure, contrast, saturation, and color balance to enhance the visual appeal and storytelling of the footage. Color grading can dramatically impact the look and feel of a video, transforming bland or flat footage into vibrant and cinematic images that captivate the audience’s attention.
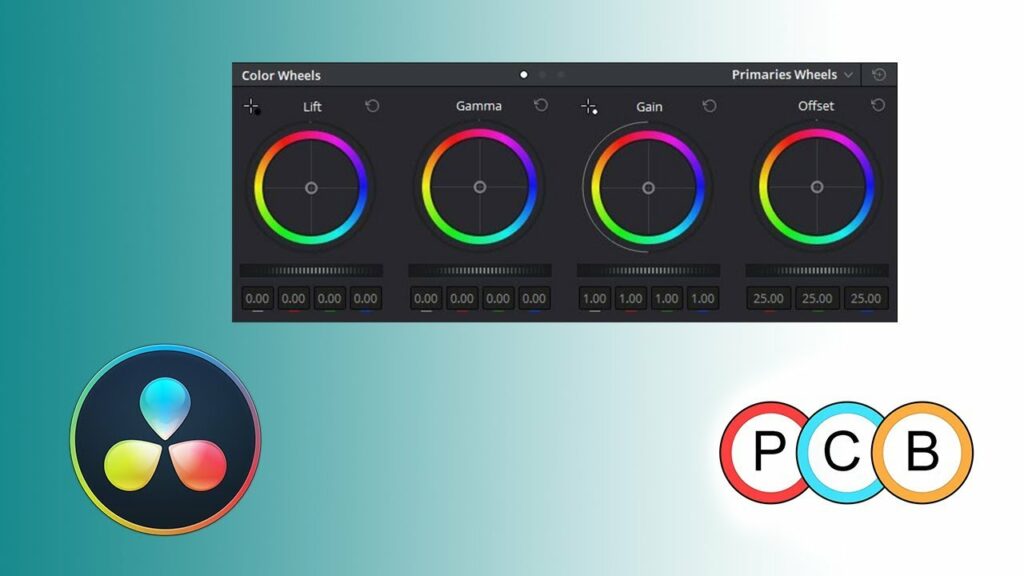
Step 1: Understanding the Color Wheels Interface The Color Wheels panel in DaVinci Resolve is divided into three main sections: Lift, Gamma, and Gain. Each section corresponds to a specific tonal range in the image: shadows (Lift), midtones (Gamma), and highlights (Gain). Within each section, there are three color wheels representing the primary colors (red, green, and blue), along with sliders for adjusting luminance and saturation. Additionally, there are sliders for adjusting contrast and pivot, which control the balance between shadows, midtones, and highlights.
Step 2: Adjusting the Shadows, Midtones, and Highlights To begin color grading using the Color Wheels, start by selecting the tonal range you want to adjust: shadows (Lift), midtones (Gamma), or highlights (Gain). Click and drag the color wheels to adjust the hue and saturation of the selected tonal range. Moving the color wheels towards a specific color will add a tint or cast to that tonal range, while moving them away from a color will neutralize or remove that color cast. Use the luminance and saturation sliders to fine-tune the intensity and vibrancy of the colors in each tonal range.
Step 3: Balancing Contrast and Pivot After adjusting the individual tonal ranges, use the contrast and pivot sliders to balance the overall contrast and brightness of the image. The contrast slider controls the difference between the darkest and lightest parts of the image, while the pivot slider adjusts the balance between shadows, midtones, and highlights. Experiment with different settings to achieve the desired balance between contrast and brightness, ensuring that the image retains detail and depth without appearing too flat or washed out.
Step 4: Refining the Color Grading Once you’ve made adjustments to the shadows, midtones, and highlights, take a step back and assess the overall look and feel of the image. Use the before and after comparison tools in DaVinci Resolve to compare the graded image to the original footage and make any additional refinements as needed. This could include further adjustments to color balance, saturation, or contrast, as well as applying secondary color corrections or targeted adjustments using masks or qualifiers.
Step 5: Applying Advanced Color Grading Techniques In addition to basic adjustments using the Color Wheels, DaVinci Resolve offers a wide range of advanced color grading tools and techniques for achieving professional-quality results. Experiment with features such as curves, hue vs. saturation, hue vs. luminance, and color match to fine-tune the color and tone of your footage with precision and control. Utilize power windows, qualifiers, and tracking tools to isolate specific areas of the image and apply targeted adjustments for enhanced creative flexibility.
Step 6: Saving and Exporting the Graded Footage Once you’re satisfied with the color grading, save your project and export the graded footage from DaVinci Resolve to share or use in your video projects. Navigate to the Deliver tab and configure the export settings, including format, resolution, and output destination. Click Add to Render Queue to add the graded footage to the render queue, then click Start Render to export the final result.
Tips and Best Practices:
- Start with a reference image or look to guide your color grading process and achieve a consistent and cohesive aesthetic.
- Use scopes such as waveform, vectorscope, and histogram to analyze the color and tonal distribution of your footage and ensure accurate color reproduction.
- Work non-destructively by using adjustment layers or versioning to experiment with different color grading looks without affecting the original footage.
- Consider the intended viewing environment and platform when color grading, as different displays and playback devices may render colors differently.
- Continuously iterate and refine your color grading to achieve the desired look and feel for your video project, taking feedback and preferences into account.
Conclusion: Mastering color grading using the Color Wheels in DaVinci Resolve is a creative and rewarding process that allows you to enhance the visual appeal and storytelling of your video projects with precision and control. By following the step-by-step process outlined in this guide and experimenting with different techniques and settings, you can achieve professional-quality results that elevate the overall quality and impact of your footage. Whether you’re editing narrative films, music videos, or promotional content, DaVinci Resolve offers powerful tools and features for achieving stunning color grading effects that captivate the audience’s attention and convey a cohesive visual narrative.