Mastering 3D Cube Animation in Adobe After Effects: A Comprehensive Guide

Introduction: Creating a 3D cube animation in Adobe After Effects allows you to add depth, dimension, and dynamism to your motion graphics projects. With the right techniques and tools, you can bring a sense of realism and sophistication to your animations. In this extensive guide, we’ll explore the step-by-step process of creating a 3D cube animation in After Effects, covering everything from basic setup to advanced techniques, ensuring that you can master this fundamental skill with confidence and creativity.
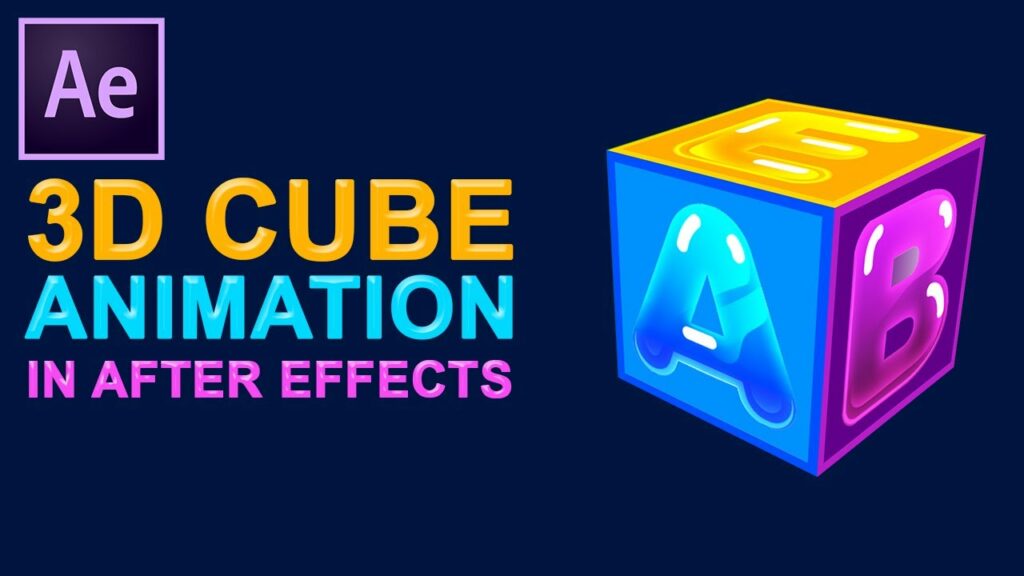
Understanding 3D Cube Animation: A 3D cube animation involves the creation and manipulation of a cube-shaped object in a three-dimensional space within After Effects. By animating the cube’s position, rotation, and scale properties, you can achieve various effects such as spinning, flipping, and unfolding. This technique is widely used in motion graphics, title sequences, and visual effects to add visual interest and dynamism to compositions.
Basic Setup: To create a 3D cube animation in Adobe After Effects, follow these steps:
- Create a New Composition: Launch After Effects and create a new composition by selecting “Composition” > “New Composition” from the menu. Set the desired dimensions, frame rate, and duration for your composition.
- Create a Solid Layer: Right-click in the Project panel and select “New” > “Solid” to create a new solid layer. Choose a color for the solid layer that will represent the color of the cube.
- Create a Cube Shape: With the solid layer selected, go to the Toolbar and select the “Rectangle Tool” (shortcut: Q). Click and drag on the composition panel to create a square shape. Hold down the Shift key to constrain the shape to a perfect square.
- Convert the Shape to a 3D Layer: With the square shape layer selected, navigate to the “Layer” menu and select “Transform” > “Auto-Orient” > “Enable Auto-Orient.” Then, in the “Switches” column of the Timeline panel, click the 3D cube icon to convert the layer to a 3D layer.
Animating the Cube: Once you have set up the basic structure of the cube, you can start animating its properties to create dynamic effects. Here are some key animation techniques:
- Position Animation: Use keyframe animation to animate the position of the cube, creating movement across the screen. Select the cube layer in the Timeline panel, then press the “P” key to reveal the position property. Add keyframes at different points in time to define the movement path of the cube.
- Rotation Animation: Animate the rotation of the cube to make it spin or flip in 3D space. Press the “R” key to reveal the rotation property of the cube layer. Add keyframes to control the rotation along the X, Y, and Z axes, creating dynamic spinning or flipping animations.
- Scale Animation: Adjust the scale of the cube to make it grow or shrink over time. Press the “S” key to reveal the scale property of the cube layer. Add keyframes to control the scale along the X, Y, and Z axes, creating dynamic scaling animations.
- Opacity Animation: Fade the cube in or out by animating its opacity property. Press the “T” key to reveal the opacity property of the cube layer. Add keyframes to control the opacity over time, creating smooth fade-in or fade-out effects.
Advanced Techniques: To take your 3D cube animation to the next level, consider exploring these advanced techniques:
- Camera Animation: Animate the After Effects camera to create dynamic camera movements around the 3D cube. Press the “C” key to reveal the camera controls. Use keyframe animation to animate the camera’s position, rotation, and focal length, creating cinematic camera movements that enhance the visual impact of the animation.
- Lighting Effects: Add lighting effects to the scene to create depth and realism in the 3D cube animation. Go to the “Layer” menu and select “New” > “Light” to create a new light layer. Experiment with different light types such as spotlights, point lights, and ambient lights to illuminate the cube from different angles, creating dynamic lighting effects.
- Texture Mapping: Apply textures to the surfaces of the cube to add visual interest and realism. Import texture files or create custom textures using After Effects’ built-in tools. Apply the textures to the cube’s surfaces using the “Material Options” section of the “Geometry Options” in the cube layer’s settings.
- Expression Controls: Use expressions to automate and streamline the animation process. Create custom expressions to link the properties of the cube to control sliders or checkboxes, allowing for dynamic and interactive animations with minimal keyframing.
- Particle Effects: Incorporate particle effects to add dynamic elements to the 3D cube animation. Use effects such as Particle World or Particular to generate particles that interact with the cube, adding visual interest and complexity to the scene.
Practical Applications: A 3D cube animation can be applied to various creative projects to add visual interest and dynamism. Here are some practical applications:
- Motion Graphics: Create dynamic motion graphics with animated 3D cubes. Use the animation techniques outlined above to design captivating title sequences, logo animations, and promotional videos.
- Visual Effects: Enhance visual effects shots with animated 3D cubes. Incorporate 3D cubes into compositing projects to add futuristic interfaces, holographic displays, or abstract visual elements.
- Educational Content: Use 3D cube animations to illustrate concepts and ideas in educational videos and presentations. Animate the cube to demonstrate geometric principles, spatial relationships, or interactive simulations.
- Product Demonstrations: Produce product demonstrations with animated 3D cubes. Use the animation techniques to showcase product features, highlight key benefits, or present technical specifications in an engaging and dynamic manner.
- Interactive Installations: Create interactive installations with animated 3D cubes. Use motion tracking and gesture recognition technologies to allow users to interact with the cubes in real-time, creating immersive and interactive experiences.
Conclusion: Creating a 3D cube animation in Adobe After Effects opens up a world of creative possibilities. By mastering the basic setup, exploring animation techniques, and experimenting with advanced techniques, you can bring your ideas to life with depth, dimension, and dynamism. Whether you’re a motion graphics designer, visual effects artist, or multimedia producer, the skills learned in this guide will empower you to create stunning 3D cube animations that captivate your audience. So, dive in, experiment, and unleash the full creative potential of 3D cube animation in Adobe After Effects.


