Mastering the Motion Tile Effect in Adobe After Effects: A Comprehensive Guide

Introduction: The Motion Tile effect in Adobe After Effects is a powerful tool that allows users to seamlessly extend or repeat footage, creating the illusion of an infinite or larger canvas. This effect is invaluable for various motion graphics, visual effects, and compositing tasks, enabling users to create backgrounds, textures, and patterns with ease. In this extensive guide, we’ll explore the step-by-step process of using the Motion Tile effect in After Effects, covering everything from basic setup to advanced techniques, ensuring that you can harness its full creative potential with confidence and precision.
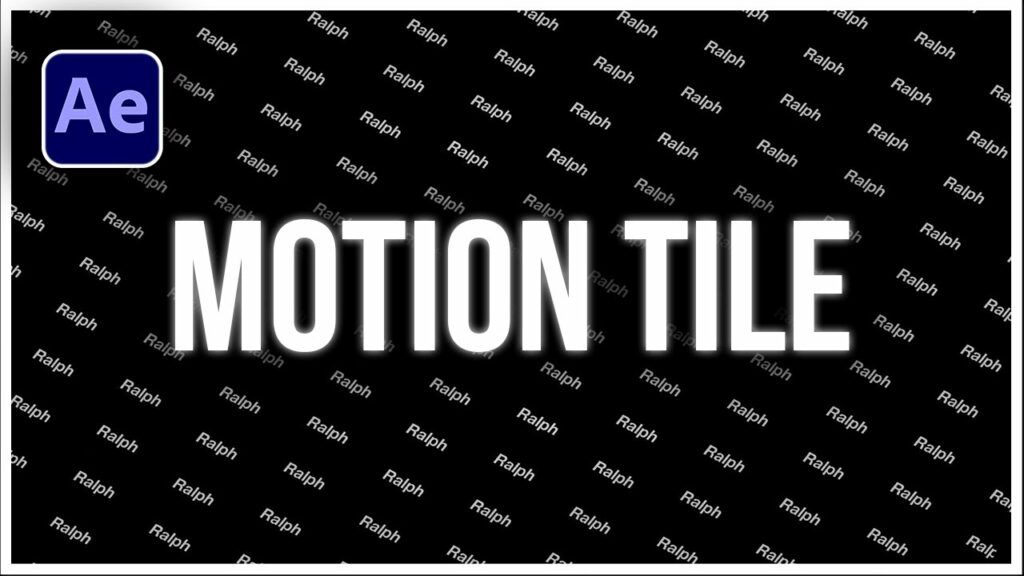
Understanding the Motion Tile Effect: The Motion Tile effect works by tiling and repeating the edges of a layer within a specified range, allowing users to create seamless patterns or extend the boundaries of footage beyond its original dimensions. This effect is particularly useful for creating backgrounds, textures, and repeating elements in motion graphics and visual effects projects. By adjusting parameters such as output width and height, tile size, and offset, users can achieve a wide range of creative effects with the Motion Tile effect.
Basic Setup: To use the Motion Tile effect in Adobe After Effects, follow these steps:
- Create a New Composition: Launch After Effects and create a new composition by selecting “Composition” > “New Composition” from the menu. Set the desired dimensions, frame rate, and duration for your composition.
- Import Footage or Layers: Import the footage or layers you want to apply the Motion Tile effect to into your After Effects project. Drag the footage or layers into the composition timeline to create new layers.
- Apply the Motion Tile Effect: With the layer selected, go to the Effects & Presets panel and search for “Motion Tile.” Drag the Motion Tile effect onto the layer in the timeline to apply it.
- Adjust Effect Settings: With the layer selected, navigate to the Effect Controls panel to adjust the settings of the Motion Tile effect. Experiment with parameters such as output width and height, tile size, and offset to achieve your desired effect.
Exploring Effect Properties: The Motion Tile effect offers a variety of controls for customizing the appearance and behavior of the tiled output. Here are some key properties to explore:
- Output Width and Height: Define the dimensions of the tiled output by adjusting the output width and height properties. Increase the values to extend the boundaries of the layer beyond its original dimensions, creating a larger canvas for tiling and repeating.
- Tile Size: Adjust the size of the tiles within the tiled output by adjusting the tile width and height properties. Increase the values to create larger tiles, resulting in fewer repetitions and a smoother appearance, or decrease them to create smaller tiles, resulting in more repetitions and a more textured appearance.
- Overflow: Control how the edges of the layer are treated when tiling by adjusting the overflow properties. Choose from options such as “Wrap,” “Mirror,” or “Extend,” which determine how the layer is repeated or extended beyond its original boundaries.
- Edge Mode: Specify how the edges of the tiled output are handled by adjusting the edge mode property. Choose from options such as “Wrap,” “Mirror,” or “Clamp,” which determine how the edges are blended or masked to create seamless transitions between tiles.
- Offset: Offset the position of the tiled output by adjusting the offset properties. Use the X and Y offset values to shift the position of the tiled output horizontally and vertically, creating dynamic patterns and compositions.
Advanced Techniques: Once you’re familiar with the basic setup and effect properties of the Motion Tile effect, you can explore advanced techniques to enhance your compositions:
- Animating the Offset: Animate the offset properties to create dynamic motion and movement within the tiled output. Use keyframe animation to animate the X and Y offset values over time, creating seamless transitions and fluid animations.
- Blending Modes: Experiment with blending modes to composite the tiled output with other layers and effects in After Effects. Apply blending modes such as “Add,” “Multiply,” or “Overlay” to create unique and dynamic visual effects, blending the tiled output seamlessly with other elements in the composition.
- Texture Mapping: Apply texture overlays or displacement maps to add texture and depth to the tiled output. Use effects such as Fractal Noise or Turbulent Displace to add noise, distortion, or texture to the tiled output, enhancing the visual impact of the effect.
- Masking and Track Mattes: Use masking and track mattes to reveal or conceal parts of the tiled output. Combine the Motion Tile effect with masks or track mattes to create complex and dynamic compositions, adding depth and visual interest to the scene.
- Looping Techniques: Experiment with different looping techniques to create seamless and continuous patterns. Use techniques such as time-remapping, loopOut expressions, or pre-compose layers to create looping animations with varying degrees of complexity.
Practical Applications: The Motion Tile effect can be used in a variety of creative projects to add texture, depth, and visual interest. Here are some practical applications:
- Backgrounds and Textures: Create seamless backgrounds and textures for motion graphics and visual effects projects. Use the Motion Tile effect to extend and repeat textures, patterns, or images, creating dynamic and immersive environments.
- Repeating Elements: Duplicate and repeat elements within compositions to create visual patterns and rhythms. Use the Motion Tile effect to create repeating elements such as tiles, bricks, or windows, adding visual interest and complexity to the scene.
- Screen Replacements: Extend the boundaries of footage beyond its original dimensions to create larger or seamless backgrounds. Use the Motion Tile effect to tile and repeat footage, allowing for easy screen replacements or background extensions in compositing projects.
- Pattern Generation: Generate intricate patterns and designs with dynamic motion and movement. Use the Motion Tile effect to animate patterns such as waves, clouds, or particles, adding rhythm and energy to the composition.
- Special Effects: Create unique and stylized visual effects with the Motion Tile effect. Use techniques such as displacement mapping, color manipulation, or distortion effects to create surreal and abstract visual effects, adding depth and dimensionality to the composition.
Conclusion: The Motion Tile effect in Adobe After Effects offers a versatile and expressive tool for extending, repeating, and manipulating layers within compositions. By mastering its basic setup, exploring effect properties, and experimenting with advanced techniques, you can unleash your creativity and produce stunning compositions that captivate your audience. Whether you’re a motion graphics designer, visual effects artist, or multimedia producer, the Motion Tile effect provides endless possibilities for creative expression and storytelling. So, dive in, experiment, and unleash the full creative potential of the Motion Tile effect in Adobe After Effects.


