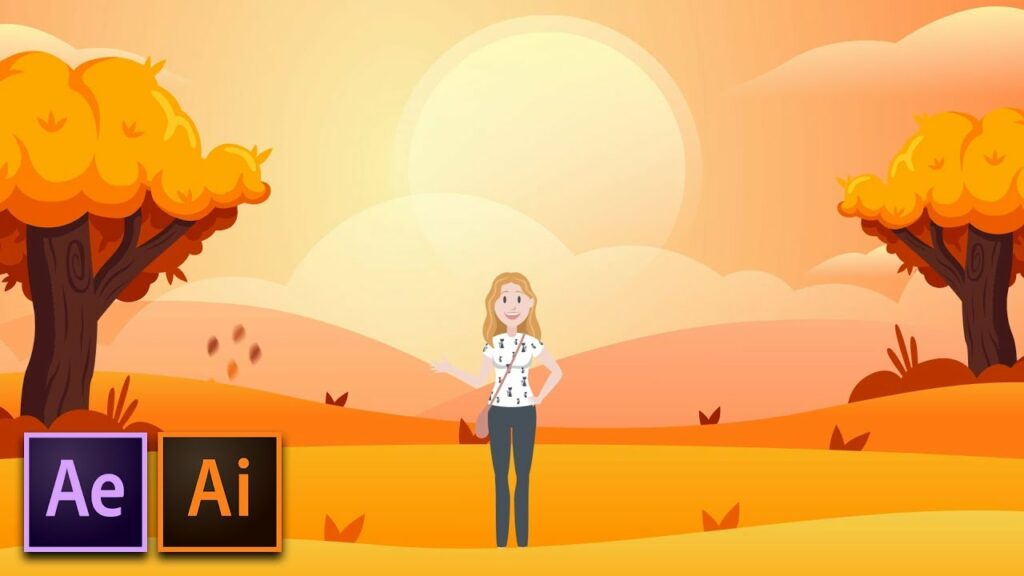
Crafting Cartoons: A Comprehensive Guide to Creating Cartoon Animations in Adobe After Effects
Introduction: Cartoon animations have captivated audiences for decades with their whimsical characters, vibrant colors, and imaginative storytelling. With Adobe After Effects, animators have the tools and capabilities to bring their cartoon creations to life with stunning visuals and dynamic motion. Whether you’re a seasoned animator or a novice exploring the world of animation, After Effects offers a versatile platform for crafting captivating cartoon animations. In this comprehensive guide, we’ll delve into the intricacies of creating cartoon animations in After Effects, covering everything from character design to animation techniques and beyond.
Part 1: Preparing Your Project
- Conceptualizing Your Cartoon:
- Before diving into After Effects, take the time to conceptualize your cartoon animation. Develop characters, settings, and a storyline that will engage and entertain your audience.
- Create character sketches, storyboards, and animatics to plan out the visual and narrative elements of your animation.
- Gathering Resources:
- Collect any assets you’ll need for your animation, such as character designs, background artwork, sound effects, and music.
- Organize your assets into folders to keep your project neat and manageable.
- Setting Up Your Composition:
- Open After Effects and create a new composition by selecting “Composition” > “New Composition” from the menu.
- Set the dimensions, frame rate, and duration of your composition based on your project requirements.
Part 2: Creating Characters and Assets
- Designing Characters:
- Use Adobe Illustrator or Photoshop to design your cartoon characters. Create separate layers for the body, limbs, facial features, and clothing to allow for easy animation.
- Experiment with different styles, shapes, and colors to develop characters that are visually appealing and expressive.
- Rigging Characters:
- Use the Puppet Pin tool in After Effects to rig your characters for animation. Place pins on the joints and key points of your character, such as the shoulders, elbows, knees, and wrists.
- Use the Puppet Starch tool to add rigidity to certain parts of your character, such as the torso or head, to prevent excessive distortion during animation.
- Creating Backgrounds and Props:
- Design backgrounds and props to complement your characters and enhance the storytelling of your animation.
- Use layers and compositions in After Effects to create depth and parallax effects in your backgrounds.
Part 3: Animating Your Cartoon
- Basic Animation Techniques:
- Start animating your cartoon by creating keyframes for your characters’ movements and expressions.
- Experiment with easing and timing to create smooth and natural motion.
- Lip Syncing:
- Use the Audio Spectrum effect in After Effects to visualize the audio waveform of your dialogue.
- Create mouth shapes and phoneme poses for each syllable of dialogue, and animate your characters’ mouths to sync with the audio.
- Adding Secondary Motion:
- Enhance the realism of your animation by adding secondary motion to your characters and props.
- Use techniques such as squash and stretch, overlapping action, and follow-through to add fluidity and personality to your animation.
Part 4: Refining and Polishing
- Fine-Tuning Animation:
- Review your animation and make any necessary adjustments to timing, spacing, and motion.
- Use the Graph Editor in After Effects to refine the curves and interpolation of your animation.
- Adding Effects and Transitions:
- Enhance your animation with effects such as motion blur, depth of field, and lighting effects.
- Use transitions and scene cuts to create smooth transitions between different shots and scenes.
- Incorporating Sound:
- Import sound effects and music into After Effects to enhance the auditory experience of your animation.
- Sync sound effects with actions and movements in your animation to create a cohesive and immersive experience.
Part 5: Exporting and Sharing
- Exporting Your Animation:
- Once you’re satisfied with your animation, export it from After Effects by selecting “File” > “Export” > “Add to Render Queue” from the menu.
- Choose the appropriate settings and format for your animation, and click “Render” to export the final video file.
- Sharing Your Animation:
- Share your cartoon animation with the world by uploading it to video sharing platforms, social media, or your own website.
- Engage with your audience and gather feedback to inform future animation projects.
Conclusion: Creating cartoon animations in Adobe After Effects offers a thrilling opportunity to unleash your creativity and bring your imaginative ideas to life. By following the techniques and principles outlined in this guide, you’ll be equipped to create captivating cartoon animations that entertain, inspire, and delight audiences of all ages.
As you embark on your journey to create cartoon animations in After Effects, remember to embrace experimentation, iteration, and innovation. Explore new techniques, push the boundaries of your creativity, and let your imagination soar as you craft animations that leave a lasting impression on your audience. With dedication, practice, and a passion for storytelling, you’ll unlock the full potential of After Effects as a tool for creating dynamic and engaging cartoon animations.


