Timeless Transformations: A Comprehensive Young to Old Photoshop Tutorial
Introduction
Adobe Photoshop, the industry-standard in digital image manipulation, opens a portal to endless creative possibilities. Among its versatile tools lies the ability to age someone digitally – a fascinating and skillful endeavor that requires a nuanced understanding of facial features, textures, and the aging process. In this comprehensive tutorial, we will explore the step-by-step process of transforming someone from young to old in Photoshop, navigating through various techniques and considerations to achieve realistic and captivating results.
Understanding the Aging Process
Before delving into the technicalities of Photoshop, it’s crucial to grasp the nuances of the aging process. As people age, several factors contribute to the transformation of their appearance:
- Wrinkles and Fine Lines: Over time, the skin loses elasticity, leading to the formation of wrinkles and fine lines. These often appear around the eyes, forehead, and mouth.
- Changes in Skin Texture: Aging results in changes to the skin’s texture. It becomes less smooth and may develop age spots, sunspots, and uneven pigmentation.
- Facial Volume Loss: The loss of collagen and fat in the face can lead to a reduction in facial volume, contributing to changes in the overall structure and contours.
- Gray Hair and Thinning: Hair color naturally turns gray or white with age, and hair may also thin out or change in texture.
- Altered Facial Features: The shape of the face may change due to shifts in bone structure, resulting in a less defined jawline and alterations in the overall facial shape.
Step-by-Step Tutorial: Transforming Young to Old in Photoshop
Step 1: Choose the Right Image
Begin by selecting a high-quality image of a young individual. The success of the aging process heavily depends on the clarity and resolution of the starting image. Choose a photo with a clear view of the face, preferably well-lit and with minimal obstructions.
Step 2: Duplicate the Layer
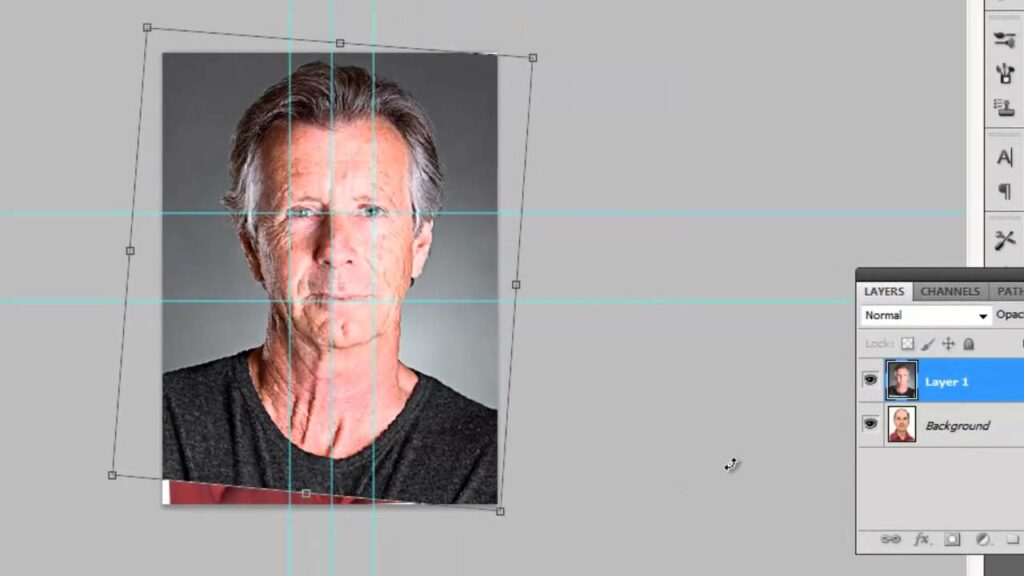
Duplicate the background layer to create a copy that you can work on without affecting the original image. Right-click on the background layer in the Layers panel and select “Duplicate Layer.”
Step 3: Apply Skin Smoothing (Optional)
Before aging the image, you may choose to apply a subtle skin smoothing effect to the duplicate layer. Use the “Filter” menu, navigate to “Blur,” and select “Gaussian Blur.” Adjust the radius to create a softening effect that mimics the smoother skin often associated with youth.
Step 4: Add Wrinkles and Fine Lines
Create a new layer for wrinkles. Use a soft brush with a low opacity to paint fine lines and wrinkles on areas where they naturally appear, such as around the eyes, forehead, and mouth. Adjust the brush size and opacity to achieve a realistic effect, focusing on subtlety to avoid an overly exaggerated appearance.
Step 5: Adjust Skin Texture
To simulate changes in skin texture, create another new layer and set its blending mode to “Overlay.” Use the Clone Stamp tool and a soft brush to sample and apply textures from different areas of the face, mimicking the variations seen in aged skin.
Step 6: Alter Facial Features
Using tools like the Liquify filter, subtly adjust facial features to reflect the natural changes that occur with age. Focus on the jawline, cheekbones, and nose, making careful adjustments to avoid unrealistic distortions.
Step 7: Add Gray Hair (Optional)
For a more authentic aging effect, consider adding gray or white hair. Create a new layer and use a combination of brushes and the Dodge/Burn tools to modify the color of the hair, introducing a realistic representation of the aging process.
Step 8: Adjust Overall Tone
Fine-tune the overall tone of the image to create a cohesive and realistic look. This may involve adjusting the color balance, saturation, and contrast to achieve a balanced and aged appearance.
Step 9: Final Touches and Refinements
Zoom in and scrutinize the image for any areas that may require refinement. Make subtle adjustments to the opacity of specific layers, tweak the intensity of wrinkles, or address any anomalies to ensure a seamless and convincing transformation.
Step 10: Save and Share
Once satisfied with the aging transformation, save your Photoshop document and export the final image in the desired format. Share your work and embrace the reactions of those witnessing the captivating journey from youth to old age.
Tips for Realistic Aging Transformations
- Study Reference Images: Before starting the transformation, study reference images of individuals in the age group you aim to simulate. Analyze the specific characteristics of aging, such as the distribution of wrinkles and changes in facial features.
- Subtlety is Key: The success of the transformation lies in subtlety. Avoid excessive exaggeration of wrinkles or dramatic alterations to facial features. Gradual and nuanced changes contribute to a more authentic appearance.
- Blend Layers Effectively: Use layer masks and blending modes to seamlessly integrate the added elements into the image. Pay attention to transitions between layers to avoid a disjointed or unnatural look.
- Experiment with Opacity: Adjust the opacity of individual layers to control the intensity of added elements. This allows you to fine-tune the effect and achieve a balanced transformation.
- Consider Lighting and Shadows: Aging affects how light interacts with facial features. Pay attention to lighting and shadows, ensuring that the added elements align with the direction and intensity of the existing light source in the image.
Conclusion
Transforming someone from young to old in Photoshop is a captivating journey that requires a blend of artistic insight and technical proficiency. Through careful consideration of the aging process and meticulous application of Photoshop tools, you can breathe life into your digital portraits, creating images that tell compelling stories of the passage of time. As you embark on this creative endeavor, remember that each transformation is a unique expression of artistry, and the nuances you bring to the process contribute to the authenticity and impact of the final result. Enjoy the exploration, embrace the challenges, and let your digital artistry flourish in the realm of ageless transformations.


