Nostalgic Resurgence: A Comprehensive Guide on How to Create Retro 3D Text with Photoshop
Introduction:
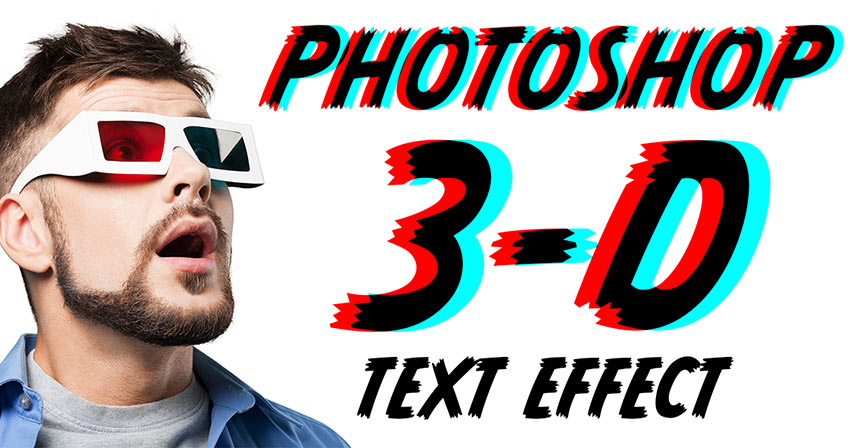
The allure of retro aesthetics has witnessed a powerful resurgence in contemporary design, with the evocative charm of 3D text adding a nostalgic twist to visual compositions. Adobe Photoshop, a digital playground for creative exploration, offers a plethora of tools to craft captivating retro 3D text. This comprehensive guide will lead you through a step-by-step journey, unraveling the techniques to infuse your text with vintage flair, depth, and a touch of three-dimensional magic.
Section 1: Embracing the Retro 3D Text Trend
1.1 The Timeless Appeal of Retro Aesthetics:
- Retro design elements evoke a sense of nostalgia, harkening back to the vibrant and eclectic styles of bygone eras.
- The resurgence of retro 3D text brings a dynamic and visually striking dimension to contemporary graphic design.
1.2 The Versatility of Retro 3D Text:
- Retro 3D text can be adapted to various design projects, including posters, social media graphics, and branding materials.
- It allows designers to experiment with colors, textures, and effects to create visually engaging and memorable text elements.
Section 2: Launching Adobe Photoshop and Creating a New Document
2.1 Initiating Adobe Photoshop:
- Open Adobe Photoshop on your computer.
2.2 Establishing a New Canvas:
- Begin by creating a new document where you’ll bring your retro 3D text to life.
- Navigate to “File” > “New” and set the dimensions and resolution for your project.
Section 3: Choosing the Right Font and Style
3.1 Selecting a Retro Font:
- The choice of font plays a pivotal role in capturing the essence of retro design.
- Explore fonts that echo the typography trends of the 60s, 70s, or 80s, opting for bold, geometric, or script styles.
3.2 Experimenting with Font Size and Spacing:
- Adjust the font size and spacing to achieve the desired balance and readability.
- Consider the overall composition of your design and the visual impact you wish to convey.
Section 4: Creating the Initial Text Layer
4.1 Activating the Text Tool:
- Select the Text Tool from the toolbar on the left side of the screen.
4.2 Typing Your Retro Text:
- Click on the canvas and type the text you want to transform into retro 3D.
- Ensure that the text is centered and aligned according to your design preferences.
Section 5: Duplicating Text Layers for Depth
5.1 Replicating the Text Layer:
- Right-click on the text layer in the Layers panel and choose “Duplicate Layer” to create a copy.
- This duplication forms the basis for achieving the 3D effect.
5.2 Adjusting Layer Position:
- Move the duplicated layer slightly to the right or left, creating a visual offset.
- This simple technique initiates the perception of depth in your retro 3D text.
Section 6: Applying Layer Styles for Dimension
6.1 Accessing Layer Styles:
- Right-click on one of the text layers and choose “Blending Options” to open the Layer Style dialog box.
6.2 Adding a Drop Shadow:
- Activate the “Drop Shadow” option and customize settings such as distance, size, and opacity.
- The drop shadow simulates the extrusion of the text, enhancing the 3D illusion.
6.3 Incorporating Bevel and Emboss:
- Enable “Bevel and Emboss” to add contour and highlights to the text.
- Adjust settings like depth, size, and shading angles for a tailored retro 3D effect.
Section 7: Experimenting with Color Gradients
7.1 Activating Gradient Overlay:
- Within the Layer Style dialog box, select “Gradient Overlay” to infuse vibrant colors into your retro 3D text.
- Experiment with gradient options and blending modes for varied visual effects.
7.2 Customizing Gradient Colors:
- Tailor the gradient colors to complement the retro theme.
- Incorporate bold and contrasting hues reminiscent of vintage color palettes.
Section 8: Adding Textures for a Vintage Feel
8.1 Importing Textures:
- Enhance the vintage appeal by overlaying textures on your retro 3D text.
- Import texture images and position them above the text layers in the Layers panel.
8.2 Blending Modes and Opacity:
- Experiment with blending modes (e.g., Overlay or Soft Light) to seamlessly integrate textures.
- Adjust the opacity to control the intensity of the texture effect.
Section 9: Fine-Tuning and Refining
9.1 Reviewing Overall Design:
- Step back and review the overall design to ensure a cohesive and balanced composition.
- Make adjustments to layer styles, colors, and textures as needed.
9.2 Experimenting with Backgrounds:
- Test different background options to see how they interact with your retro 3D text.
- A complementary background enhances the visual impact of your design.
9.3 Saving and Preserving Layers:
- Save your work in Photoshop’s native PSD format to preserve layers for future edits.
- Export a copy in a suitable format (e.g., JPEG or PNG) for sharing or use in other projects.
Section 10: Exploring Advanced Techniques
10.1 Animating Retro 3D Text: – Elevate your design by exploring animation techniques. – Utilize Photoshop’s timeline feature to create subtle animations for a dynamic effect.
10.2 Incorporating 3D Elements: – Experiment with Photoshop’s 3D capabilities to add three-dimensional elements to your retro text. – This advanced feature opens up new possibilities for creative exploration.
10.3 Vintage Grunge Effects: – Introduce grunge effects for an added vintage touch. – Apply grunge brushes or textures to specific areas of your retro 3D text for a weathered appearance.
Section 11: Troubleshooting and Common Issues
11.1 Font Legibility: – Ensure that the chosen retro font maintains readability, especially when applying layer styles and textures. – Adjust font size or spacing as needed to enhance legibility.
11.2 Inconsistencies in 3D Effect: – If the 3D effect appears inconsistent, revisit the positioning of duplicated text layers. – Ensure a subtle offset to maintain a natural and convincing depth.
11.3 Texture Integration: – Address any issues with texture integration by experimenting with different blending modes and opacities. – Choose textures that enhance rather than overpower the retro 3D text.
Conclusion:
Creating retro 3D text with Photoshop is an artistic journey that transcends time, seamlessly blending vintage aesthetics with contemporary design. This comprehensive guide has equipped you with the step-by-step process, from font selection and layer duplication to layer styles, gradients, and advanced techniques. Whether you’re crafting nostalgic posters, social media graphics, or eye-catching typography, the fusion of retro and 3D elements empowers you to evoke a sense of timeless charm. Now, armed with these techniques, embark on your creative expedition, infuse your designs with retro magic, and watch as your text transforms into a visually captivating journey through the annals of design history. Happy designing!


