Mastering Windows Storage: A Comprehensive Guide on How to Save Space By Cleaning Out the WinSXS Folder
Introduction:
In the realm of Windows operating systems, efficient storage management is crucial for maintaining optimal performance and ensuring a responsive computing experience. One area that often accumulates a significant amount of data is the WinSXS (Windows Side-by-Side) folder. This directory stores critical system components, updates, and backups, but over time, it can grow in size, consuming valuable disk space. In this comprehensive guide, we will explore the step-by-step methods, considerations, and potential benefits of cleaning out the WinSXS folder to reclaim storage space on your Windows system.
Understanding the WinSXS Folder:
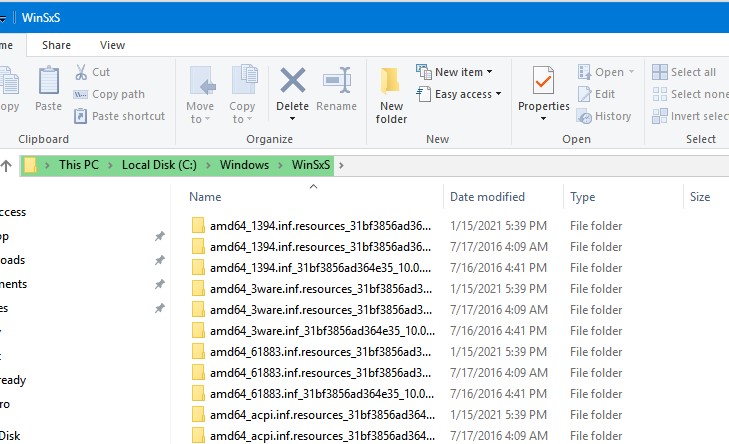
The WinSXS folder is a critical component of the Windows operating system, introduced with Windows Vista and present in subsequent versions, including Windows 7, Windows 8, and Windows 10. Its primary purpose is to store system files and components in a side-by-side configuration, ensuring compatibility and facilitating system recovery. While essential for system integrity, the WinSXS folder can become bloated over time as updates, patches, and backups accumulate, leading to increased storage consumption.
Methods for Cleaning Out the WinSXS Folder:
- Using Disk Cleanup:
- Disk Cleanup is a built-in utility in Windows that allows users to remove unnecessary files, including those in the WinSXS folder. Follow these steps:
a. Press the “Windows key + S” to open the search bar. b. Type “Disk Cleanup” and select it from the search results. c. Choose the drive where Windows is installed (usually C:). d. Click “OK” to initiate the scanning process. e. Once the scan is complete, check the “Windows Update Cleanup” option. f. Click “OK” and then confirm the deletion by selecting “Delete Files.”
- Disk Cleanup is a built-in utility in Windows that allows users to remove unnecessary files, including those in the WinSXS folder. Follow these steps:
- Using Command Prompt:
- Command Prompt provides a more direct method for cleaning out the WinSXS folder. Follow these steps:
a. Press the “Windows key + X” and select “Command Prompt (Admin)” to open Command Prompt with administrative privileges. b. Type the following command and press Enter:
bashDism.exe /online /Cleanup-Image /StartComponentCleanup
c. Allow the process to complete. This command initiates the cleanup of the WinSXS folder, removing unnecessary components.
- Command Prompt provides a more direct method for cleaning out the WinSXS folder. Follow these steps:
- Using PowerShell:
- PowerShell, another command-line interface in Windows, offers an alternative approach to cleaning the WinSXS folder. Follow these steps:
a. Press the “Windows key + X” and select “PowerShell (Admin)” to open PowerShell with administrative privileges. b. Type the following command and press Enter:
mathematicaDISM /Online /Cleanup-Image /StartComponentCleanup
c. Allow the process to complete. PowerShell executes the same cleanup operation as Command Prompt, optimizing the WinSXS folder.
- PowerShell, another command-line interface in Windows, offers an alternative approach to cleaning the WinSXS folder. Follow these steps:
Considerations Before Cleaning the WinSXS Folder:
- Backup Important Data:
- Before cleaning out the WinSXS folder, ensure that you have a recent backup of critical data. While the process is generally safe, having a backup provides a safety net for unforeseen issues.
- System Restore Points:
- Confirm that you have reliable system restore points or backups in case you need to revert to a previous state. While cleaning the WinSXS folder is generally reversible, having additional backups adds an extra layer of security.
- Windows Update Considerations:
- Cleaning the WinSXS folder may remove files related to Windows updates. Ensure that your system is up-to-date before initiating the cleanup process to avoid potential issues with future updates.
- Disk Space Requirements:
- Assess your current disk space requirements before cleaning the WinSXS folder. If you have ample storage and no immediate need for the space occupied by the WinSXS folder, you might choose to delay or skip the cleanup.
Benefits of Cleaning the WinSXS Folder:
- Reclaimed Disk Space:
- The primary benefit of cleaning out the WinSXS folder is the significant amount of disk space reclaimed. This is particularly advantageous for users with limited storage capacity on their devices.
- Improved System Performance:
- By freeing up disk space, users can experience improved system performance. This is especially noticeable on devices with solid-state drives (SSDs), where space optimization contributes to faster read and write speeds.
- Streamlined Storage Management:
- Cleaning the WinSXS folder allows for streamlined storage management. Users can efficiently allocate disk space for current applications, updates, and data, contributing to a more organized and responsive system.
- Reduced Clutter:
- Removing unnecessary files from the WinSXS folder reduces clutter in the file system. Users can enjoy a cleaner and more organized directory structure without unnecessary remnants from previous updates and installations.
- Enhanced System Responsiveness:
- With a leaner WinSXS folder, the overall responsiveness of the Windows operating system improves. This is particularly beneficial for users who prioritize quick system startup and application launch times.
Conclusion:
Cleaning out the WinSXS folder is a valuable practice for users seeking to optimize storage usage, improve system performance, and maintain a responsive computing experience. By following the step-by-step methods outlined in this comprehensive guide and considering the associated considerations, users can confidently reclaim valuable storage space while ensuring the stability and security of their systems.
As Windows operating systems continue to evolve with updates and enhancements, users have the tools at their disposal to optimize their computing experience. Cleaning the WinSXS folder aligns with the principles of efficient storage management, allowing users to make the most of their devices and enjoy a streamlined and clutter-free computing environment.