Mastering Illusion: A Comprehensive Guide to Creating Photorealistic Drop Shadows in Photoshop
Introduction:
The realm of digital photography and graphic design constantly pushes the boundaries of visual storytelling, and one crucial element in this journey is the creation of photorealistic drop shadows. In Adobe Photoshop, the ability to add lifelike shadows to images or objects can elevate the overall realism of a composition, imparting depth and dimension. In this extensive guide, we will explore the step-by-step process of crafting photorealistic drop shadows in Photoshop, unraveling the techniques that bring an illusionary sense of tangibility to your digital creations.
- Understanding the Importance of Drop Shadows: Drop shadows play a pivotal role in design, providing a visual anchor that establishes the relationship between objects and their backgrounds. When executed effectively, photorealistic drop shadows not only enhance the three-dimensional appearance of elements but also contribute to the overall believability of the composition.
- Selecting the Right Image or Object: Before diving into the creation of drop shadows, it’s crucial to choose the right image or object. Whether it’s a product photograph, a logo, or an illustration, selecting an element with well-defined edges and distinct features will ensure a more convincing drop shadow effect.
- Opening the Image in Photoshop: Begin by opening the chosen image or object in Adobe Photoshop. Ensure that you are working with a high-resolution file to maintain image quality during the editing process. Navigate to File > Open and select the desired file from your folders.
- Isolating the Object: If the object is not already isolated on a separate layer, use Photoshop’s selection tools, such as the Pen Tool or Magic Wand, to carefully isolate the object. Creating a precise selection is crucial for achieving a seamless integration of the drop shadow.
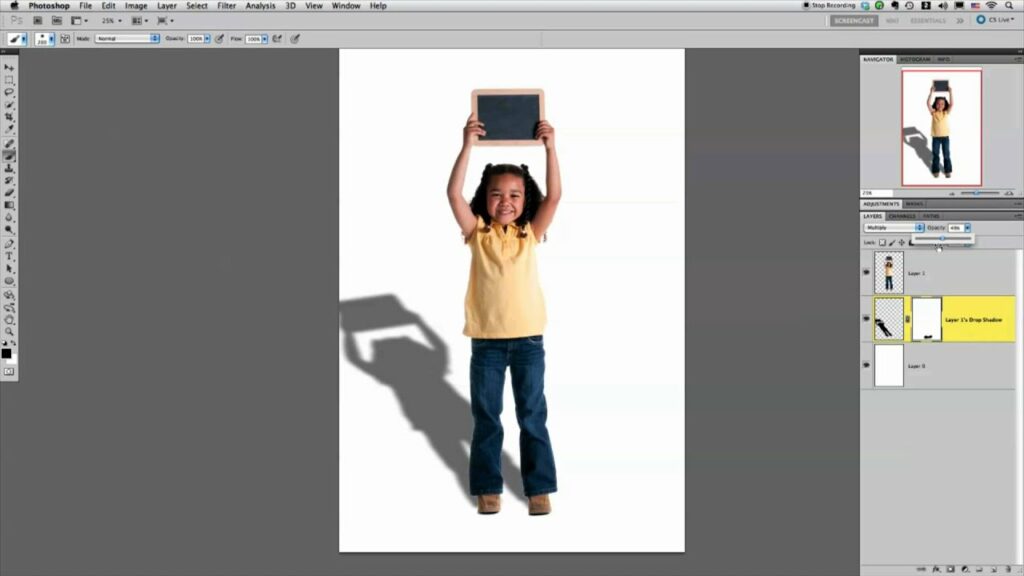
- Duplicating the Object Layer: Duplicate the isolated object layer to create a separate layer specifically for the drop shadow. Right-click on the object layer in the Layers panel and choose “Duplicate Layer.” This duplicated layer will serve as the foundation for the drop shadow.
- Adjusting Layer Opacity: Reduce the opacity of the duplicated layer to set the foundation for the drop shadow. This step allows you to visualize the placement and intensity of the shadow as you work. Adjust the opacity to your preference, keeping in mind that subtlety often contributes to a more realistic effect.
- Creating a New Layer for the Drop Shadow: To maintain control and flexibility, create a new layer for the drop shadow. Select Layer > New > Layer to generate a new layer. This layer will be dedicated solely to the drop shadow, ensuring that adjustments can be made independently.
- Drawing the Drop Shadow: With the new layer selected, use the Brush tool to draw the drop shadow beneath the duplicated object. Set the brush color to black and adjust the brush opacity to create a gradual transition from the object to the shadow. This step allows for precise control over the shape and softness of the shadow.
- Blurring the Drop Shadow: To achieve a more natural and photorealistic appearance, apply a Gaussian Blur to the drop shadow layer. Navigate to Filter > Blur > Gaussian Blur and adjust the radius to soften the edges of the shadow. The degree of blur should align with the lighting conditions and the overall mood of the composition.
- Adjusting Shadow Opacity and Angle: Fine-tune the drop shadow’s appearance by adjusting its opacity and angle. Consider the direction of light in the scene and align the shadow accordingly. Experiment with different opacity levels to find the balance that enhances the realism of the composition without overpowering the object.
- Refining the Edges: To ensure a seamless integration, refine the edges of the drop shadow where it meets the object. Use the Eraser tool with a soft brush to gently feather the edges, creating a gradual transition between the object and the shadow. Pay attention to details, especially if the object has intricate or irregular shapes.
- Matching the Lighting Conditions: For a truly convincing drop shadow, match the lighting conditions of the scene. Analyze the source of light in your image and position the drop shadow accordingly. Adjust the shadow’s opacity and color temperature to align with the ambient lighting, ensuring a cohesive and realistic result.
- Adding Color to the Shadow (Optional): Depending on the scene and artistic preferences, consider adding a subtle color tint to the drop shadow. Create a new adjustment layer for Hue/Saturation and clip it to the drop shadow layer. Experiment with color adjustments to introduce a hint of warmth or coolness to the shadow, enhancing its integration with the scene.
- Grouping Layers and Final Adjustments: To keep your workspace organized, consider grouping the object layer, the duplicated layer, and the drop shadow layer. Right-click on the layers and choose “Group from Layers.” This step simplifies the editing process and allows for quick adjustments to the entire composition.
- Saving and Exporting: Once satisfied with the photorealistic drop shadow effect, save your work in Photoshop format (.psd) to retain layers and editing capabilities. For sharing or printing, export the final image in a suitable format, such as JPEG or PNG, ensuring that the resolution meets your intended use.
Conclusion:
Mastering the art of creating photorealistic drop shadows in Photoshop is a skill that enhances the visual impact of digital compositions. Whether applied to product photography, graphic design, or digital illustrations, realistic drop shadows contribute to a heightened sense of depth and authenticity. By carefully considering lighting conditions, adjusting opacity, and refining details, digital artists can seamlessly integrate objects into their scenes, blurring the line between the virtual and the tangible.
As you embark on the journey of crafting photorealistic drop shadows, remember that subtlety and attention to detail are key. Experiment with different scenarios, analyze real-world lighting conditions, and let your creative intuition guide you. The ability to create convincing drop shadows not only enhances the realism of your digital work but also opens doors to endless creative possibilities in the dynamic world of digital design and photography.


