Mastering Visual Depth: A Comprehensive Guide to Applying Multiple Strokes to Text in Photoshop
Introduction:
Typography is a cornerstone of design, and the creative manipulation of text can significantly elevate the visual impact of any composition. In the expansive toolkit of Adobe Photoshop, designers have the power to explore intricate text effects that go beyond the conventional. One such technique that adds flair, depth, and a touch of sophistication is applying multiple strokes to text. This comprehensive guide will walk you through the step-by-step process of achieving this effect, providing insights into various methods, customization options, and creative applications. Whether you’re a seasoned designer seeking to enhance your text design skills or a novice eager to experiment with advanced Photoshop techniques, mastering the art of multiple strokes opens a realm of possibilities for dynamic and visually striking typography.
Understanding the Significance of Multiple Strokes:
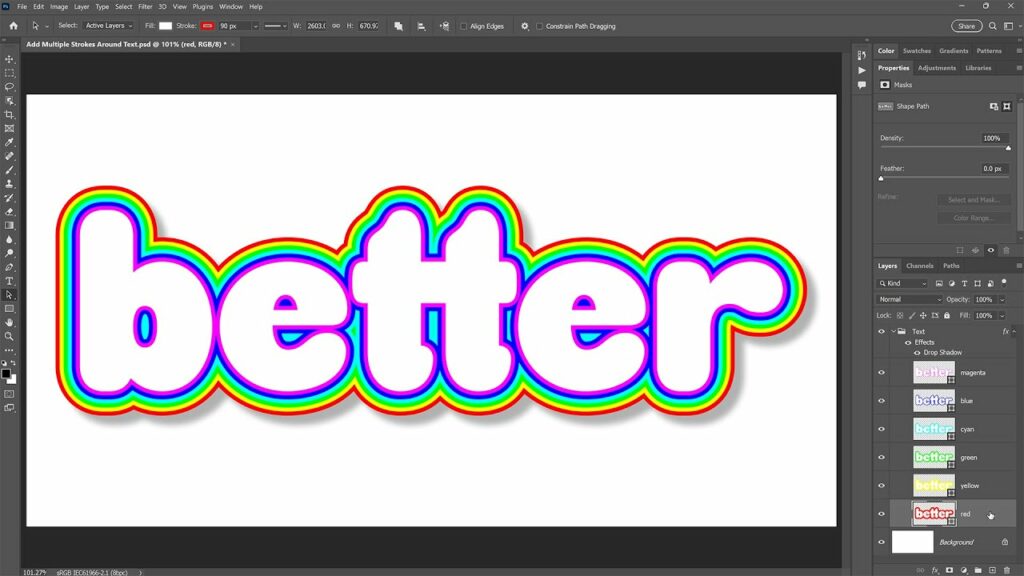
Applying multiple strokes to text in Photoshop is a versatile technique that allows designers to go beyond the limitations of a single outline. By adding multiple strokes with varying colors, widths, and opacities, text elements gain depth, dimension, and a distinctive style. This technique is particularly useful when designers aim to create eye-catching headlines, logos, or any typographic element that demands attention. Multiple strokes not only enhance the visibility of the text but also provide a sophisticated layering effect that adds complexity and visual interest.
Step-by-Step Guide to Applying Multiple Strokes to Text in Photoshop:
- Open Photoshop and Create a New Document: Launch Adobe Photoshop on your computer and create a new document by selecting File > New. Choose the dimensions and resolution that suit your design requirements. Click “OK” to create the new canvas.
- Create a Text Layer: Select the Text tool (T) from the toolbar and click on the canvas to create a text layer. Type the desired text, choose the font, size, and color from the options in the toolbar or Character panel. Position the text at the desired location on the canvas.
- Duplicate the Text Layer: Right-click on the text layer in the Layers panel and choose “Duplicate Layer.” This creates a copy of the text layer, which will be used to apply additional strokes.
- Adjust the Color of the Duplicate Text Layer: Select the duplicated text layer and adjust its color to create the first stroke effect. This can be done by changing the text color directly in the text options or by applying a color overlay through the Layer Style options.
- Increase the Size of the Duplicate Text Layer: Enlarge the duplicated text layer to create the first stroke effect. This step defines the width of the initial stroke. You can use the Transform tool (Ctrl+T or Command+T) to resize the layer proportionally.
- Duplicate the Text Layer Again: Right-click on the enlarged text layer and choose “Duplicate Layer” once more. This creates another copy of the text layer, which will be used to apply an additional stroke.
- Adjust the Color and Size of the New Duplicate: Select the newly duplicated text layer and adjust its color to create the second stroke effect. You can experiment with a different color, creating a layered and visually interesting appearance. Resize the layer to determine the width of the second stroke.
- Repeat the Process for Additional Strokes: Repeat the duplication process and adjust the color and size for as many strokes as desired. Each duplicated layer represents an additional stroke, contributing to the layering effect. Experiment with different colors, opacities, and sizes to achieve the desired visual result.
- Organize Layers in the Layers Panel: Keep the layers organized in the Layers panel to manage the multiple strokes efficiently. Consider naming each layer according to its stroke color or size to maintain clarity as the design evolves.
- Fine-Tune Stroke Order and Opacities: Arrange the layers in the Layers panel to determine the order of strokes. Adjust the opacities of individual layers to control the visibility of each stroke. This step allows for subtle blending and a nuanced layering effect.
- Apply Layer Styles for Further Enhancement: Double-click on each text layer to access the Layer Style options. Experiment with additional effects such as Outer Glow, Inner Shadow, or Bevel and Emboss to further enhance the appearance of the multiple strokes. Adjust settings to achieve the desired level of sophistication.
- Merge or Group Layers (Optional): Once satisfied with the design, consider merging the text layers or grouping them for organizational purposes. Right-click on selected layers and choose “Merge Layers” or “Group Layers” accordingly.
- Adjust Overall Composition: Use standard Photoshop tools to refine the overall composition. Apply adjustments such as color correction, filters, or additional layer styles to harmonize the multiple strokes with the background or other elements in the design.
- Add Background or Additional Elements: Consider incorporating a background or additional design elements to complement the text with multiple strokes. This step enhances the overall visual impact and ensures that the text seamlessly integrates into the larger composition.
- Fine-Tune and Preview: Regularly toggle the visibility of layers, experiment with different effects, and fine-tune settings to achieve the desired appearance of text with multiple strokes. Preview the design in different contexts to ensure it remains visually impactful.
- Save and Export: Once satisfied with the design, save your work in the desired format. For web or print use, consider exporting the image in common formats like JPEG or PNG. Preserve the layered Photoshop file (PSD) to retain the flexibility for future edits.
Examples of Creative Applications for Text with Multiple Strokes:
- Dynamic Logos and Branding: Create distinctive and dynamic logos by applying multiple strokes to text. This technique adds depth and complexity, enhancing the brand’s visual identity.
- Eye-Catching Headlines and Titles: Design attention-grabbing headlines and titles by incorporating multiple strokes to text. This approach makes textual elements stand out in various design contexts.
- Poster Designs with Impact: Elevate poster designs by featuring text with multiple strokes. The layering effect adds a sense of visual richness and intrigue to poster compositions.
- Web Banners and Social Media Graphics: Capture attention on websites and social media platforms by using text with multiple strokes in web banners and graphics. The dynamic appearance ensures a memorable visual presence.
- Product Packaging and Labels: Enhance product packaging and labels with text adorned by multiple strokes. This technique adds a touch of sophistication and creativity to product branding.
Conclusion:
The application of multiple strokes to text in Photoshop is a powerful and versatile technique that transforms typographic elements into visually compelling and layered compositions. By following the comprehensive steps outlined in this guide, you gain valuable insights into the process of creating dynamic text effects that captivate viewers and leave a lasting impression. Whether you’re working on branding, posters, web graphics, or personal projects, the art of multiple strokes provides an innovative approach to typographic design.
As you delve into the possibilities of text with multiple strokes, let your creativity flourish. Experiment with different colors, stroke sizes, layer styles, and additional effects to tailor the composition to the unique requirements of each project. The fusion of multiple strokes not only enhances the visual appeal of text but also provides a canvas for experimentation and artistic expression. So, embark on the journey of applying multiple strokes to text in Photoshop, and let your designs speak with depth, dimension, and a touch of sophisticated typography.


