Mastering Timecode Effects: A Comprehensive Guide on How to Create Timecode Effects in Adobe Premiere Pro

Introduction: Timecode effects are essential elements in video editing, used to display timing information such as hours, minutes, seconds, and frames on screen. Whether used for professional purposes like film production or adding a stylistic touch to a video project, timecode effects help viewers track the progress of a video and understand its timing. Adobe Premiere Pro, a leading video editing software, offers users various tools and techniques to create and customize timecode effects seamlessly. In this comprehensive guide, we will explore the step-by-step process of creating timecode effects in Adobe Premiere Pro, from setting up the project to applying and customizing timecode overlays for professional-quality output.
Understanding Timecode Effects: Timecode effects in Adobe Premiere Pro allow users to display timing information directly on their video footage. This information typically includes hours, minutes, seconds, and frames, providing viewers with a precise reference to the video’s timing. Timecode effects can be used for various purposes, including synchronizing multiple video clips, marking specific points in a video timeline, or adding a stylistic element to a video project. Premiere Pro offers flexible options for creating and customizing timecode effects, allowing users to adjust the appearance, layout, and position of the timecode overlay to suit their specific needs.
Step 1: Setting up the Project Begin by launching Adobe Premiere Pro and opening the project containing the video footage you want to add a timecode effect to. Import the video clips into the project by clicking on the Import button in the media browser panel and selecting the desired files from your computer. Alternatively, you can create a new sequence within Premiere Pro and add the video footage directly to the timeline.
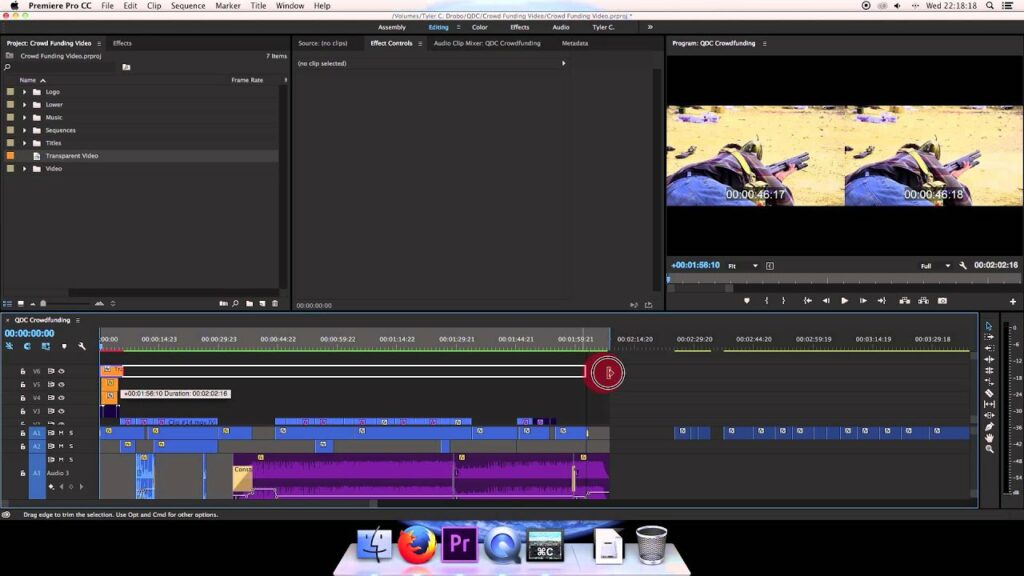
Step 2: Adding the Timecode Effect Once the video footage is imported into the project, navigate to the Effects panel by clicking on the Effects tab in the toolbar. Search for the “Timecode” effect in the Effects panel by typing “Timecode” into the search bar. Drag and drop the Timecode effect onto the desired video clip in the timeline. This will add a timecode overlay to the video footage, displaying timing information such as hours, minutes, seconds, and frames.
Step 3: Customizing the Timecode Settings With the Timecode effect applied to the video clip, open the Effect Controls panel to access the timecode settings. Here, you can customize various parameters of the timecode overlay, including the start time, frame rate, display format, font, size, color, and position. Adjust these settings to match the style and aesthetic of your video project, ensuring that the timecode overlay is legible and visually appealing.
Step 4: Adjusting the Timecode Layout and Position Premiere Pro offers flexible options for adjusting the layout and position of the timecode overlay within the video frame. Use the on-screen controls or numerical input fields in the Effect Controls panel to reposition the timecode overlay to your desired location on the screen. You can also adjust the scale and rotation of the timecode overlay to further customize its appearance and integration with the video footage.
Step 5: Previewing and Fine-Tuning After applying and customizing the timecode effect, preview the video footage in the program monitor to assess the appearance and behavior of the timecode overlay. Make any necessary adjustments or refinements to the timecode settings, layout, or position based on your preferences and the specific requirements of your project. Continuously iterate and refine the timecode effect until you achieve the desired look and feel for the final result.
Step 6: Exporting the Final Result Once you are satisfied with the timecode effect, export the final result from Adobe Premiere Pro to share or use in your video projects. Navigate to the File menu, select Export, and choose the desired export settings, including format, resolution, and output destination. Click Export to render the video with the timecode overlay applied and save it to your desired destination.
Tips and Best Practices:
- Choose a font style and size for the timecode overlay that is legible and easy to read, even on small screens or at lower resolutions.
- Experiment with different display formats, such as drop frame or non-drop frame, depending on the specific requirements of your project.
- Consider adding a background or outline to the timecode overlay to improve visibility and contrast against the video footage.
- Use keyframes and animation techniques to create dynamic timecode effects that appear and disappear at specific points in the video timeline.
- Preview the timecode overlay on different devices and platforms to ensure compatibility and consistency across various playback environments.
Conclusion: Creating timecode effects in Adobe Premiere Pro is a versatile and essential technique for video editing, allowing users to display timing information directly on their video footage. By following the step-by-step process outlined in this guide and experimenting with different settings and techniques, you can master the art of creating custom timecode overlays that enhance the timing and visual storytelling of your video projects. Whether you’re editing narrative films, music videos, or promotional content, Premiere Pro offers powerful tools and features for achieving professional-quality timecode effects that elevate the overall impact and engagement of your videos.


