Mastering Precision: A Comprehensive Guide to Utilizing the Pencil Tool in Adobe Illustrator
Introduction:
In the realm of digital design, Adobe Illustrator reigns supreme as a powerful tool for creating vector graphics with precision and finesse. Among its arsenal of features, the pencil tool emerges as a versatile instrument, offering users the ability to draw freeform shapes and lines with ease. Whether you’re a seasoned illustrator, a graphic designer, or an aspiring artist, understanding how to effectively utilize the pencil tool in Adobe Illustrator is essential for unleashing your creativity and achieving precise results. In this comprehensive guide, we’ll delve into the techniques and tools needed to master the pencil tool and create stunning vector artwork with confidence.
Chapter 1: Introducing the Pencil Tool
At its core, the pencil tool in Adobe Illustrator is a digital equivalent of a traditional pencil, allowing users to draw freehand lines and shapes directly onto the canvas. Unlike the pen tool, which creates smooth and precise paths using anchor points and control handles, the pencil tool allows for more organic and spontaneous drawing, making it ideal for sketching, doodling, and adding hand-drawn elements to your artwork. With intuitive controls and customizable settings, the pencil tool offers a seamless drawing experience that empowers users to express their creativity with fluidity and precision.
Chapter 2: Understanding Pencil Tool Options
Before diving into the drawing process, it’s important to familiarize yourself with the various options and settings available for the pencil tool in Adobe Illustrator. The pencil tool panel provides a range of options for customizing the behavior and appearance of the tool, such as smoothness, fidelity, and editing. Experiment with adjusting settings such as fidelity to control the accuracy of the drawn path, or smoothness to adjust the amount of smoothing applied to your strokes. Additionally, explore the pencil tool preferences in the Adobe Illustrator settings to customize default settings such as stroke color, width, and style.
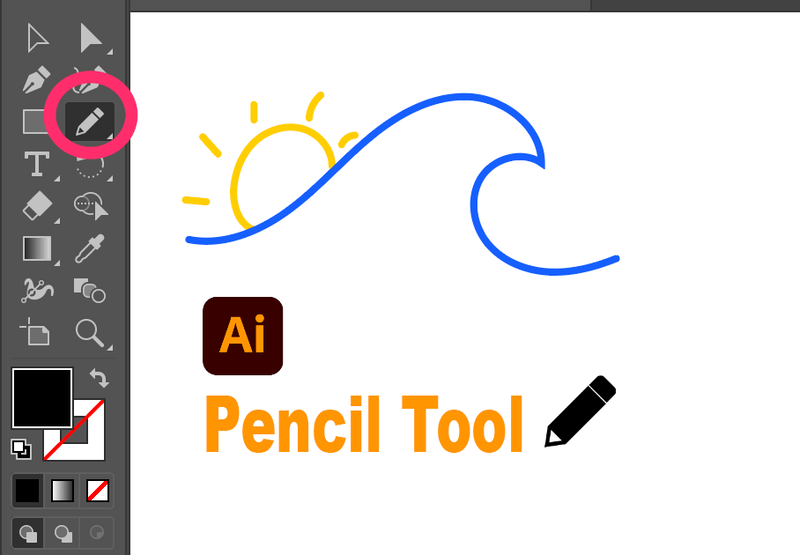
Chapter 3: Drawing Freeform Lines and Shapes
To draw with the pencil tool in Adobe Illustrator, simply select the tool from the toolbar or press the “N” key on your keyboard to activate it. Position the cursor on the canvas and click and drag to draw a freeform line or shape. As you draw, the pencil tool will automatically create a path that follows the movement of your cursor, allowing you to sketch and doodle with fluidity and spontaneity. Experiment with varying the pressure and speed of your strokes to create lines of different thicknesses and styles.
Chapter 4: Editing and Refining Paths
Once you’ve drawn a path with the pencil tool, you can easily edit and refine it to achieve the desired look and feel. Use the direct selection tool (A) to select individual anchor points and adjust their position, or use the convert anchor point tool (Shift + C) to convert smooth points to corner points and vice versa. Experiment with adding and removing anchor points, adjusting curve handles, and smoothing paths to fine-tune the shape and trajectory of your lines. Additionally, use the stroke panel to customize the appearance of your paths, such as stroke color, width, and style.
Chapter 5: Creating Artwork with the Pencil Tool
The pencil tool in Adobe Illustrator offers endless possibilities for creating a wide range of artwork, from simple sketches and doodles to intricate illustrations and designs. Experiment with using the pencil tool to create outlines, shapes, and patterns, or combine it with other tools and features in Adobe Illustrator to create dynamic and expressive compositions. Whether you’re drawing characters, landscapes, or abstract designs, the pencil tool empowers you to bring your creative vision to life with precision and flair.
Chapter 6: Tips and Tricks for Using the Pencil Tool
To get the most out of the pencil tool in Adobe Illustrator, consider implementing the following tips and tricks:
- Use keyboard shortcuts to switch between the pencil tool and other tools quickly.
- Experiment with adjusting the fidelity and smoothness settings to achieve the desired level of control and precision.
- Practice drawing with varying pressure and speed to create lines of different thicknesses and styles.
- Take advantage of the eraser tool to correct mistakes and refine your drawings.
- Combine the pencil tool with other drawing tools and features in Adobe Illustrator, such as brushes and effects, to enhance your artwork.
Chapter 7: Saving and Exporting Your Artwork
Once you’ve completed your artwork with the pencil tool in Adobe Illustrator, it’s important to save and export it for sharing or distribution. Save your Illustrator document in a compatible file format, such as AI or PDF, to preserve the vector properties of your artwork. If you’re creating artwork for web or screen-based applications, consider exporting it as an SVG file for scalability and compatibility with web browsers. For print-based projects, export your artwork as a high-resolution raster image in formats such as JPEG or PNG.
Conclusion:
Mastering the pencil tool in Adobe Illustrator is a journey of exploration and experimentation, offering endless possibilities for creating fluid and expressive vector artwork. By understanding the techniques and tools needed to draw freeform lines and shapes, edit and refine paths, create artwork, and implement tips and tricks, you’ll be able to unleash your creativity and achieve precise results with confidence. So grab your stylus, set your sights on the canvas, and let the pencil tool in Adobe Illustrator become your trusted ally for bringing your creative visions to life with fluidity and precision.


