Mastering Motion: An Extensive Guide to Harnessing the Power of the Puppet Tool in Adobe After Effects
Introduction:
The Puppet Tool is a remarkable feature in Adobe After Effects that empowers motion graphic artists and animators to bring their creations to life with fluid, organic movement. By enabling users to add deformations and manipulate elements within their compositions, the Puppet Tool opens up a world of creative possibilities, from character animation to dynamic motion graphics. In this comprehensive guide, we’ll delve deep into the intricacies of the Puppet Tool in Adobe After Effects, exploring its functionalities, techniques, and best practices to help you master the art of puppetry and unleash your creativity.
Understanding the Puppet Tool in Adobe After Effects:
The Puppet Tool in Adobe After Effects allows users to apply mesh-based deformations to layers within their compositions, enabling them to animate and manipulate objects with natural, lifelike movement. At its core, the Puppet Tool utilizes a system of pins and meshes to create dynamic control points that can be used to bend, twist, and distort layers in real-time. Whether you’re animating characters, objects, or text, the Puppet Tool provides a versatile and intuitive means of achieving fluid, organic motion that adds depth and personality to your creations.
Key Elements of the Puppet Tool in Adobe After Effects:
Using the Puppet Tool effectively in Adobe After Effects involves understanding several key elements, including:
- Puppet Pins: Puppet pins are the foundational building blocks of the Puppet Tool, serving as anchor points that define the areas of deformation on a layer. By placing puppet pins strategically on a layer, users can establish control points for bending, warping, and manipulating the layer’s geometry during animation.
- Puppet Mesh: The puppet mesh is the framework that surrounds the layer and determines the extent of deformation applied by the puppet pins. Users can customize the density and resolution of the puppet mesh to achieve finer control over deformations, with higher mesh densities allowing for more detailed and nuanced adjustments.
- Puppet Overlap: Puppet overlap refers to the way in which puppet pins interact with each other and neighboring pins to create seamless, natural-looking deformations. By strategically positioning puppet pins and adjusting their influence areas, users can minimize unwanted distortions and maintain smooth transitions between adjacent areas of deformation.
- Puppet Starch Tool: The Puppet Starch tool is a supplementary feature of the Puppet Tool that allows users to define regions of a layer that should remain rigid and unaffected by deformations. By applying starch to specific areas of a layer, users can preserve the integrity of those regions while still allowing for dynamic movement and animation elsewhere.
- Puppet Rigging: Puppet rigging involves the process of setting up and organizing puppet pins and meshes to create a cohesive and functional puppet rig. By planning and structuring puppet rigs effectively, users can streamline the animation process, maintain control over complex deformations, and achieve desired motion effects with greater efficiency and precision.
Step-by-Step Guide to Using the Puppet Tool in Adobe After Effects:
Follow these step-by-step instructions to use the Puppet Tool in Adobe After Effects:
- Import Your Assets: Begin by importing the assets you wish to animate into your After Effects project. This may include character artwork, objects, or text layers that you want to manipulate using the Puppet Tool.
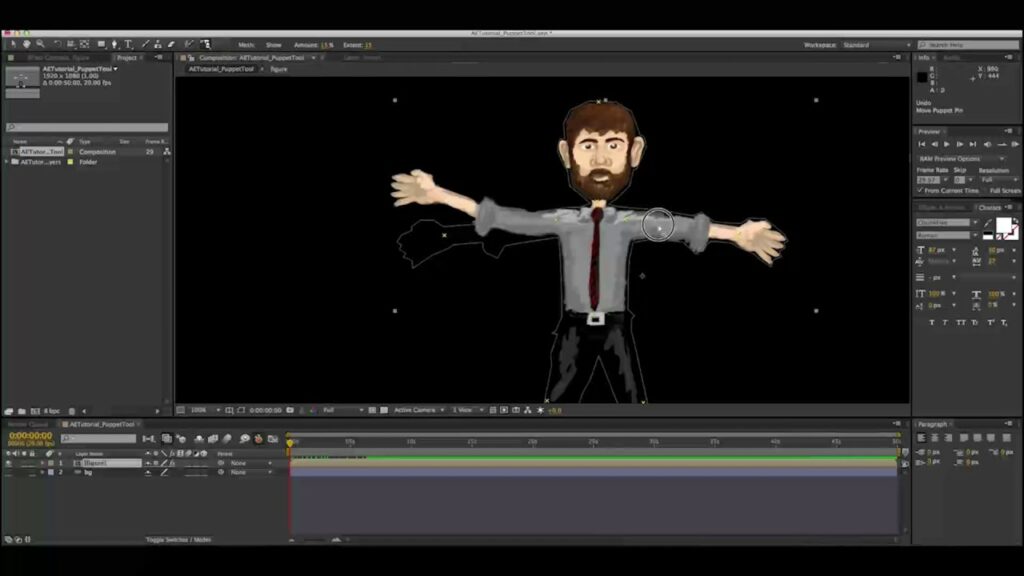
- Apply the Puppet Tool: Select the layer you want to animate and navigate to the toolbar at the top of the screen. From the toolbar, select the Puppet Pin tool (located under the Puppet submenu) and click on the layer to place puppet pins at strategic points of deformation.
- Define Puppet Mesh: After placing puppet pins, After Effects automatically generates a puppet mesh around the layer based on the position of the pins. Adjust the density and resolution of the puppet mesh using the Puppet Pin Depth property in the Effects Controls panel to achieve the desired level of detail.
- Manipulate Puppet Pins: With puppet pins in place, use the Selection tool to select and manipulate individual pins as needed. Click and drag on puppet pins to bend, twist, or distort the layer’s geometry, and observe how the mesh deforms in response to your adjustments.
- Refine Puppet Overlap: Fine-tune the interaction between puppet pins and neighboring areas of deformation to minimize unwanted distortions and maintain smooth transitions. Use the Puppet Overlap property in the Effects Controls panel to adjust the influence areas of puppet pins and control how deformations propagate across the layer.
- Apply Puppet Starch: If certain areas of the layer need to remain rigid and unaffected by deformations, use the Puppet Starch tool to apply starch to those regions. Click and drag over the desired areas of the layer to define starched regions, and adjust the Starch property in the Effects Controls panel to control the rigidity of the starched areas.
- Rig Your Puppet: Organize and structure puppet pins and meshes into a cohesive puppet rig by grouping related pins and layers, and setting up hierarchical relationships between them. Consider the desired range of motion and articulation for your puppet, and plan your rig accordingly to facilitate smooth and natural animation.
- Animate Your Puppet: Once your puppet rig is set up, begin animating your puppet by setting keyframes for puppet pins and adjusting their positions, rotations, and scales over time. Experiment with different animation techniques, such as squash and stretch, anticipation, and follow-through, to bring your puppet to life with dynamic movement and personality.
- Preview and Refine: Preview your puppet animation in real-time to assess its timing, pacing, and overall appearance. Make any necessary adjustments or refinements to the puppet rig, puppet pins, or animation keyframes to achieve the desired motion effect and ensure a polished final result.
- Render Your Animation: Once you’re satisfied with your puppet animation, render and export the composition as a video file by selecting “Composition” > “Add to Render Queue” from the menu. Configure the render settings, including output format, resolution, and codec options, and click “Render” to export the final animation for playback and distribution.
Best Practices for Using the Puppet Tool in Adobe After Effects:
To maximize the effectiveness of the Puppet Tool in Adobe After Effects, consider the following best practices:
- Plan Your Animation: Before diving into puppet animation, plan out the desired motion and behavior for your puppet rig. Consider the character’s personality, physical traits, and narrative context, and storyboard key poses and movements to guide your animation process.
- Start Simple: Begin by experimenting with basic puppet setups and simple deformations to familiarize yourself with the Puppet Tool’s functionality and controls. Focus on mastering the fundamentals of pin placement, mesh manipulation, and puppet rigging before tackling more complex animation challenges.
- Maintain Control: Exercise restraint when applying puppet pins and deformations to your layers, and avoid excessive or unnecessary manipulation that may result in unnatural or chaotic motion. Maintain control over your puppet rig by organizing pins, defining influence areas, and rigging your puppet systematically to ensure predictable and manageable animation.
- Use Starch Sparingly: Apply starch to specific areas of your puppet rig only when necessary to preserve rigidity and structure. Use starch sparingly and strategically to maintain flexibility and fluidity in your puppet’s movement, and avoid over-starching, which can lead to stiff and unnatural animation.
- Experiment and Iterate: Don’t be afraid to experiment with different puppet setups, deformation techniques, and animation styles to discover new creative possibilities. Iterate on your puppet designs and animation sequences, and be open to exploring unconventional approaches and solutions to achieve the desired motion effect.
- Combine Techniques: Combine the Puppet Tool with other animation techniques and features in After Effects, such as keyframing, expressions, and effects, to enhance and embellish your puppet animations. Experiment with layer styles, effects presets, and blending modes to add texture, depth, and visual interest to your puppet rigs.
- Seek Inspiration: Draw inspiration from other animators, artists, and designers who have mastered the art of puppet animation in After Effects. Study their techniques, analyze their workflows, and deconstruct their animations to gain insights and inspiration for your own puppet projects.
Conclusion:
In conclusion, the Puppet Tool in Adobe After Effects is a powerful and versatile tool that empowers animators to create dynamic, expressive motion graphics with ease and precision. By understanding the principles of puppetry, mastering the functionalities of the Puppet Tool, and following best practices for puppet animation, you can unlock a world of creative possibilities and bring your characters, objects, and text to life with fluid, organic movement. So, dive into the world of puppet animation, experiment with different puppet setups and deformation techniques, and unleash your creativity to create captivating and memorable animations that captivate and inspire audiences.


