Mastering Motion: A Comprehensive Guide to Creating Motion Graphics in Fusion in DaVinci Resolve
Introduction:
Motion graphics are a dynamic and impactful way to enhance video content, captivate audiences, and convey information in a visually compelling manner. In DaVinci Resolve, the Fusion page provides powerful tools for creating motion graphics, allowing users to design animated elements, titles, lower thirds, and visual effects with precision and creativity. In this extensive guide, we’ll explore the art of creating motion graphics in Fusion in DaVinci Resolve, providing you with the knowledge and techniques to master this essential skill and elevate your video projects to new heights.
Understanding Motion Graphics in Fusion:
Motion graphics encompass a wide range of animated visual elements, including text, shapes, images, and effects, that add movement and dynamism to video content. In Fusion, motion graphics are created using a node-based compositing workflow, where individual elements are designed, animated, and composited together to create seamless and engaging animations. Whether you’re creating animated titles, motion backgrounds, or dynamic visual effects, Fusion’s robust set of tools and flexible animation controls provide the versatility and precision needed to bring your creative vision to life.
Using Fusion for Motion Graphics:
Let’s explore the step-by-step process of creating motion graphics in Fusion in DaVinci Resolve:
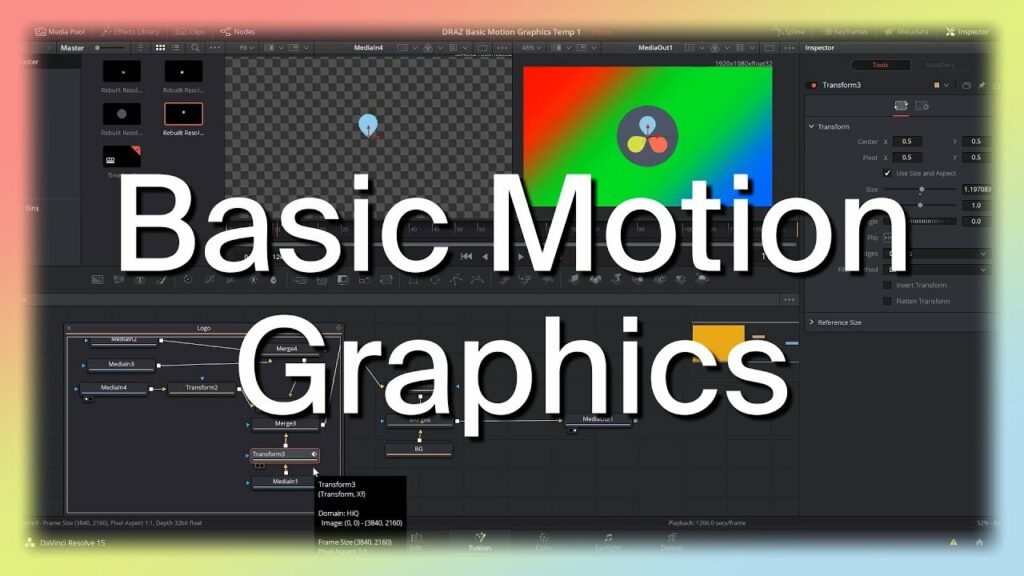
- Open the Fusion Page:
- Launch DaVinci Resolve and open your project. Navigate to the Fusion page by clicking on the Fusion tab at the bottom of the interface. The Fusion page provides a node-based compositing environment where you’ll design and animate your motion graphics.
- Add Elements:
- Start by adding elements to the Fusion composition to serve as the building blocks of your motion graphics. These elements can include text, shapes, images, videos, or any other visual asset you want to animate. Use the tools and controls in the Media Pool and Media-In nodes to import and organize your assets.
- Design and Customize Elements:
- Design and customize the appearance of your elements using Fusion’s extensive set of tools and controls. Use text nodes to create dynamic titles and captions, shape nodes to design graphic elements and logos, and image nodes to incorporate images and textures into your composition. Adjust properties such as size, position, rotation, color, opacity, and more to achieve the desired look for each element.
- Animate Elements:
- Bring your elements to life by animating them over time. Use Fusion’s animation tools and keyframing capabilities to create dynamic movement, transitions, and effects. Apply transformations such as position, scale, rotation, and opacity to animate elements on the timeline. Use keyframes to define the start and end points of each animation, and adjust the timing and easing curves to create smooth and natural motion.
- Add Effects and Enhancements:
- Enhance your motion graphics with additional effects and enhancements to add depth, dimension, and visual interest. Experiment with Fusion’s built-in effects library to apply filters, distortions, glows, blurs, and other creative effects to your elements. Combine multiple effects and adjust their parameters to achieve unique and visually striking results.
- Composite Elements:
- Composite your animated elements together to create cohesive and visually appealing motion graphics compositions. Use merge nodes to combine multiple elements and blend them seamlessly. Arrange the nodes in the node graph to define the layering and hierarchy of your composition, and use masking and blending modes to control the visibility and interaction of the elements.
- Preview and Playback:
- Preview your motion graphics composition in the viewer window to assess its appearance and behavior. Playback the timeline to see how the elements animate and interact with each other over time. Use the playback controls to scrub through the timeline and review your composition frame by frame.
- Refine and Adjust:
- Fine-tune the appearance and animation of your motion graphics composition based on your feedback and creative vision. Make adjustments to element properties, animation curves, effects parameters, and compositing settings as needed to achieve the desired look and feel for your motion graphics.
- Render Your Project:
- Once you’re satisfied with your motion graphics composition, render your project to export the final video with the motion graphics included. Navigate to the Deliver page, configure the export settings, and click “Add to Render Queue” to queue the project for rendering. Then, click “Start Render” to export the video with your motion graphics.
Best Practices for Creating Motion Graphics:
To achieve professional-looking motion graphics in Fusion in DaVinci Resolve, consider the following best practices:
- Plan Your Composition:
- Before creating motion graphics, plan your composition and storyboard your animations to establish the structure, timing, and flow of your motion graphics sequence. Consider the purpose, audience, and context of your video to inform your design decisions and animation choices.
- Keep It Simple and Readable:
- Keep your motion graphics compositions simple, clear, and readable to ensure that the message or information is conveyed effectively to the audience. Avoid cluttered layouts, excessive movement, and distracting effects that may detract from the content. Use legible fonts, contrasting colors, and appropriate pacing to enhance readability and comprehension.
- Use Animation Wisely:
- Use animation to enhance the visual impact of your motion graphics and reinforce the message or narrative of your video. Choose animation styles and techniques that complement the content and convey the desired mood or tone. Use motion to guide the viewer’s attention, highlight key elements, and create visual interest.
- Maintain Consistency:
- Maintain consistency in your motion graphics compositions by using consistent visual styles, color schemes, typography, and animation techniques throughout the video. Establish a cohesive design language and apply it consistently across all elements to create a unified and polished look.
- Test on Different Devices:
- Test your motion graphics compositions on different devices and screen sizes to ensure compatibility and optimal viewing experience across various platforms. Consider how the motion graphics will appear on small screens, mobile devices, and large displays, and adjust the design and layout accordingly.
- Learn from Examples and Tutorials:
- Learn from examples and tutorials to expand your knowledge and skills in creating motion graphics. Study the work of other designers and animators, analyze their techniques and approaches, and apply them to your own projects. Take advantage of online resources, tutorial videos, and community forums to learn new techniques, discover creative solutions, and stay updated on the latest trends and developments in motion graphics.
Conclusion:
Creating motion graphics in Fusion in DaVinci Resolve is a creative and rewarding process that allows you to enhance your video projects with dynamic and visually compelling animations. By leveraging the powerful tools and flexible animation controls available in Fusion, you can design and animate motion graphics that captivate your audience and elevate your storytelling. Whether you’re producing title sequences, lower thirds, animated logos, or any other type of motion graphics content, mastering the art of creating motion graphics in Fusion empowers you to push the boundaries of creativity and deliver engaging visual experiences that leave a lasting impression on your viewers. Experiment with different techniques, explore creative possibilities, and let your imagination soar as you bring your ideas to life with motion graphics in DaVinci Resolve’s Fusion page.


