Mastering Landscape HDR Photography: A Comprehensive Guide to Processing HDR Photos with Adobe Camera Raw

Introduction:
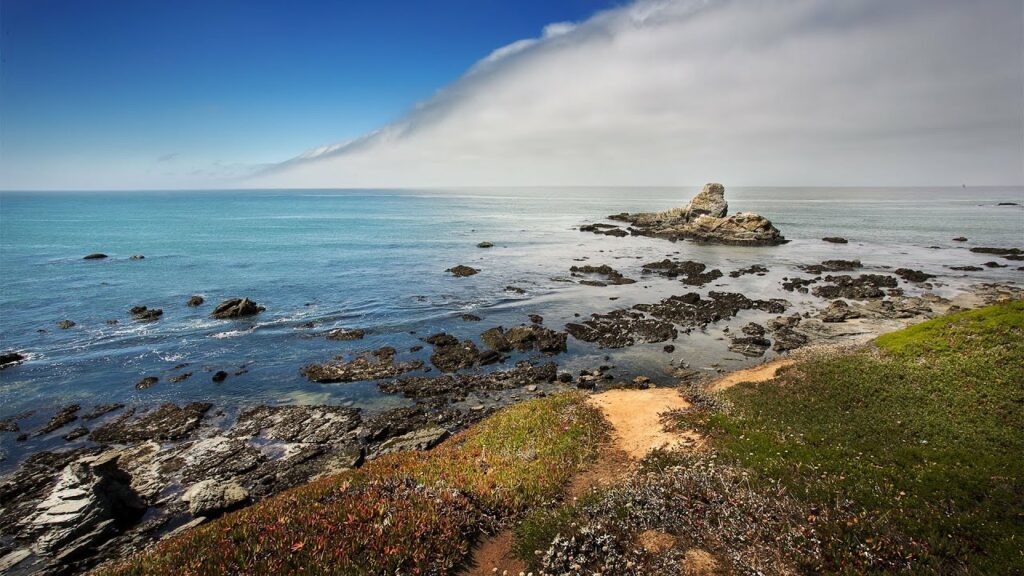
High Dynamic Range (HDR) photography is a powerful technique that allows photographers to capture a broader range of tones in a scene, particularly in landscapes where contrast between light and shadow is prevalent. In this comprehensive guide, we will explore the step-by-step process of processing a landscape HDR photo using Adobe Camera Raw (ACR). From merging multiple exposures to fine-tuning adjustments, this tutorial aims to equip you with the skills to enhance the dynamic range and visual impact of your landscape photographs.
Section 1: Understanding HDR Photography
HDR photography involves capturing a series of exposures at different brightness levels and merging them to create a single image with a more extensive dynamic range. In landscape photography, this technique is particularly useful for retaining details in both highlights and shadows, resulting in a more visually appealing and balanced image.
Subsection 1.1: Benefits of HDR in Landscape Photography
- Preserving details: HDR enables the retention of details in both bright and dark areas, crucial for landscapes with varied lighting conditions.
- Natural-looking images: When processed correctly, HDR photos maintain a realistic appearance, avoiding the overly stylized or artificial look.
- Creative control: HDR processing provides photographers with greater control over tonal values, allowing for fine-tuned adjustments to highlight the beauty of the landscape.
Section 2: Capturing HDR Exposures in the Field
Before delving into post-processing, it’s essential to capture a series of exposures with varying brightness levels in the field.
Subsection 2.1: Choosing the Right Scene
Select a scene with a wide range of tonal values, such as a landscape with bright skies, deep shadows, and intricate details. This diversity in lighting conditions will maximize the impact of HDR processing.
Subsection 2.2: Using a Tripod
To ensure precise alignment during post-processing, use a sturdy tripod when capturing HDR exposures. This prevents alignment issues caused by slight movements between shots.
Subsection 2.3: Bracketing Exposures
Activate the auto-bracketing feature on your camera to capture a series of exposures. Typically, bracketing involves taking one underexposed, one correctly exposed, and one overexposed shot. Adjust the exposure compensation to achieve the desired range.
Section 3: Merging HDR Exposures in Adobe Camera Raw
Once you have captured the bracketed exposures, it’s time to merge them in Adobe Camera Raw.
Subsection 3.1: Importing Images into Adobe Camera Raw
Open Adobe Camera Raw and import the bracketed exposures. Select all the images you want to merge and click on the “Merge to HDR” option.
Subsection 3.2: Aligning and Merging
Enable the “Auto Align” option to ensure precise alignment of the images, compensating for any minor discrepancies in framing. Choose the “Auto Tone” option to apply initial tonal adjustments during the merging process. Click “Merge” to create the HDR composite.
Section 4: Initial Tone Mapping in Adobe Camera Raw
After merging the images, Adobe Camera Raw provides options for initial tone mapping adjustments.
Subsection 4.1: Adjusting Exposure and Contrast
In the Basic panel, fine-tune the exposure and contrast to achieve a balanced overall look. The goal is to establish a foundation that retains details in both shadows and highlights.
Subsection 4.2: Addressing White Balance
Ensure the white balance is set correctly to capture the scene’s natural colors. Experiment with different white balance presets or make manual adjustments until the colors appear realistic.
Subsection 4.3: Refining Clarity and Vibrance
Apply moderate adjustments to clarity and vibrance to enhance midtone contrast and boost color vibrancy. Exercise restraint to maintain a natural appearance without introducing artifacts.
Section 5: Fine-Tuning HDR Details
Now that you have established the initial tone mapping, delve into more detailed adjustments to enhance the visual impact of the HDR image.
Subsection 5.1: Utilizing the Graduated Filter
The Graduated Filter tool allows for selective adjustments to specific areas of the image. Use it to enhance the sky, balance exposure, or add subtle effects. Adjust exposure, contrast, and color temperature to achieve the desired effect.
Subsection 5.2: Applying the Radial Filter
Similar to the Graduated Filter, the Radial Filter tool targets adjustments within a circular or elliptical shape. This is particularly useful for emphasizing a specific subject or controlling the viewer’s focus within the frame.
Subsection 5.3: Using the Adjustment Brush
For precise adjustments, employ the Adjustment Brush tool to paint adjustments onto specific areas. This is beneficial for refining details in intricate sections of the landscape, such as foliage or textures.
Section 6: Creating a Natural Look in HDR Photos
While HDR processing allows for dramatic enhancements, it’s essential to maintain a natural appearance in landscape photos.
Subsection 6.1: Avoiding Over-Saturation
Be cautious with color saturation to prevent an unnatural and oversaturated look. Aim for vibrant but realistic colors that complement the scene.
Subsection 6.2: Retaining Details in Highlights
HDR processing can sometimes lead to overexposed highlights. Use the Highlights slider in Adobe Camera Raw to recover details in bright areas without sacrificing the overall dynamic range.
Subsection 6.3: Balancing Shadows and Highlights
Fine-tune the balance between shadows and highlights to ensure a visually appealing distribution of light and dark tones. This step contributes to a harmonious and well-exposed image.
Section 7: Noise Reduction and Sharpening
HDR processing may introduce noise, especially in the shadow areas. Addressing noise and applying sharpening are crucial steps in achieving a polished and professional result.
Subsection 7.1: Applying Noise Reduction
Navigate to the Detail panel in Adobe Camera Raw to access noise reduction options. Adjust the Luminance slider to reduce noise in the image, particularly in shadow areas. Exercise caution to avoid excessive smoothing.
Subsection 7.2: Sharpening for Clarity
Enhance overall sharpness by adjusting the Sharpening slider in the Detail panel. Find the balance that adds clarity without introducing artifacts. Fine-tune the Radius and Detail sliders for more nuanced control.
Section 8: Exporting the Final HDR Image
Once satisfied with the adjustments, export the final HDR image from Adobe Camera Raw.
Subsection 8.1: Saving in a Suitable Format
Choose an appropriate file format such as JPEG or TIFF for the final export. Consider the intended use, whether it’s for web sharing, printing, or further editing in other applications.
Subsection 8.2: Maintaining Resolution and Quality
Pay attention to resolution and quality settings during export. Strike a balance to ensure a visually pleasing image without unnecessary file size.
Section 9: Showcasing Your HDR Landscape Photography
Celebrate your mastery of HDR landscape photography by showcasing your final images. Share your work on photography platforms, social media, or incorporate it into your portfolio. Engage with the photography community, seek constructive feedback, and let your HDR landscapes stand as a testament to your skill in capturing the beauty of dynamic scenes.
Conclusion:
Mastering the art of processing landscape HDR photos with Adobe Camera Raw opens up new possibilities for photographers. By following the comprehensive steps outlined in this guide, you can confidently approach HDR photography with a nuanced understanding of merging exposures, tone mapping, and detailed adjustments. May your HDR landscapes captivate viewers with their enhanced dynamic range, rich details, and a natural look that brings the beauty of the scene to life.


