Mastering Fire Effects: A Comprehensive Guide on How to Add a Fire Effect in After Effects

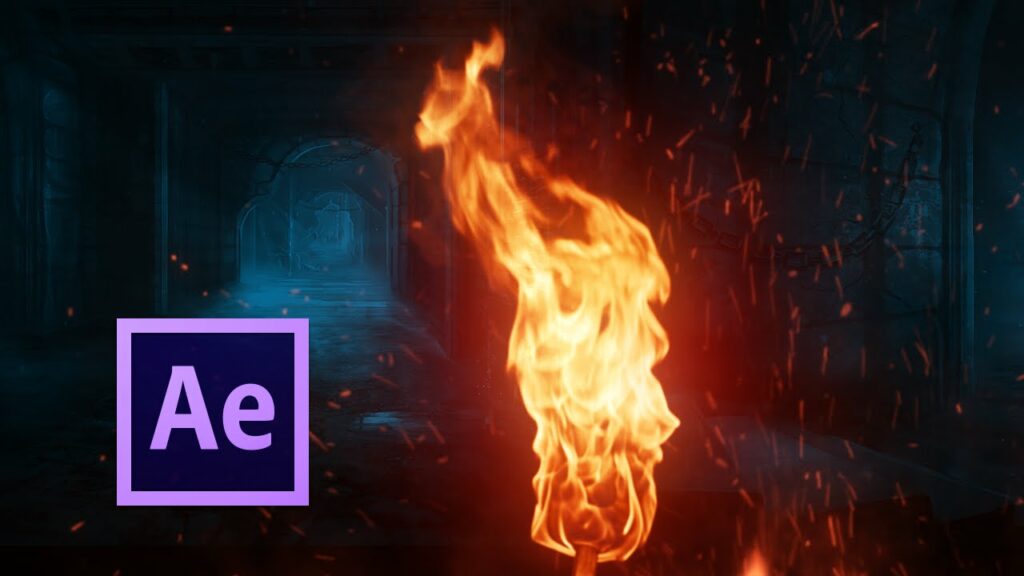
Introduction: Fire effects are widely used in video production to add drama, intensity, and visual interest to scenes. Whether you’re creating a fiery explosion, a burning torch, or a blazing inferno, adding realistic fire effects can elevate the quality and impact of your videos. Adobe After Effects, a leading motion graphics and visual effects software, offers users powerful tools and techniques to create and customize fire effects seamlessly. In this comprehensive guide, we will explore the step-by-step process of adding a fire effect in After Effects, from setting up the project to applying and customizing fire simulations for professional-quality output.
Understanding Fire Effects: Fire effects in After Effects involve creating and animating particle systems or simulations to simulate the appearance and behavior of flames and smoke. These effects can range from subtle embers to roaring flames, depending on the desired mood and intensity of the scene. After Effects provides users with a variety of tools and features to customize the appearance, movement, color, and opacity of fire effects, allowing for creative control and flexibility in achieving realistic and visually stunning results.
Step 1: Setting up the Project Begin by launching Adobe After Effects and opening the project containing the composition you want to add a fire effect to. Import any necessary assets, such as video footage, images, or pre-made fire elements, into the project by clicking on the File menu and selecting Import > File. Alternatively, you can create a new composition within After Effects and import the assets directly into the timeline.
Step 2: Creating a Fire Simulation To create a fire effect from scratch, navigate to the Composition menu and select New Composition. Set the desired resolution, frame rate, and duration for the composition, then click OK to create a new composition. Next, create a new solid layer in the timeline by clicking on the Layer menu, selecting New > Solid. Choose a color for the solid layer that matches the color of fire, such as orange or yellow.
Step 3: Applying the Fire Effect With the solid layer selected, navigate to the Effects & Presets panel by clicking on the Window menu and selecting Effects & Presets. Search for the “CC Particle Systems II” effect in the Effects & Presets panel by typing “CC Particle Systems II” into the search bar. Drag and drop the CC Particle Systems II effect onto the solid layer in the timeline. This will generate a particle system with default settings, resembling a basic fire effect.
Step 4: Customizing the Fire Effect After applying the CC Particle Systems II effect, open the Effect Controls panel to access the particle settings. Here, you can customize various parameters of the fire effect, such as birth rate, longevity, size, velocity, gravity, and resistance. Experiment with these settings to achieve the desired appearance and behavior of the fire effect, such as adjusting the size and speed of the particles to simulate flames or smoke.
Step 5: Adding Realism and Detail To enhance the realism and detail of the fire effect, consider adding additional effects or layers to the composition. This could include using pre-made fire elements or stock footage to overlay onto the particle system, adding textures or gradients to simulate heat distortion or flickering flames, or applying color correction or blending modes to integrate the fire effect with the background footage or images.
Step 6: Previewing and Fine-Tuning After applying and customizing the fire effect, preview the composition in the preview panel to assess the appearance and behavior of the fire effect. Make any necessary adjustments or refinements to the particle settings, color, opacity, or blending modes based on your preferences and the specific requirements of your project. Continuously iterate and refine the fire effect until you achieve the desired look and feel for the final result.
Step 7: Exporting the Final Result Once you are satisfied with the fire effect, export the final result from After Effects to share or use in your video projects. Navigate to the Composition menu, select Add to Render Queue, and choose the desired render settings, including format, resolution, and output destination. Click Render to export the composition with the fire effect applied and save it to your desired destination.
Tips and Best Practices:
- Use reference images or videos of real fire to study the movement, shape, and color of flames and smoke.
- Experiment with different particle settings and parameters to achieve unique and dynamic fire effects.
- Consider using multiple particle systems or layers to create layered fire effects with varying sizes, speeds, and opacities.
- Use keyframes and animation techniques to create dynamic fire effects that evolve and change over time.
- Preview the fire effect on different devices and platforms to ensure compatibility and consistency across various playback environments.
Conclusion: Adding a fire effect in Adobe After Effects is a creative and rewarding process that allows you to enhance the drama, intensity, and visual appeal of your videos. By following the step-by-step process outlined in this guide and experimenting with different techniques and settings, you can master the art of creating realistic fire effects that captivate your audience and elevate the quality of your video projects. Whether you’re creating explosive action scenes, atmospheric montages, or stylized visual effects, After Effects offers powerful tools and features for achieving professional-quality fire effects that enhance the overall impact and immersion of your videos.


