Mastering Dynamic Range: A Comprehensive Guide to Increasing Dynamic Range in Photoshop

Introduction:
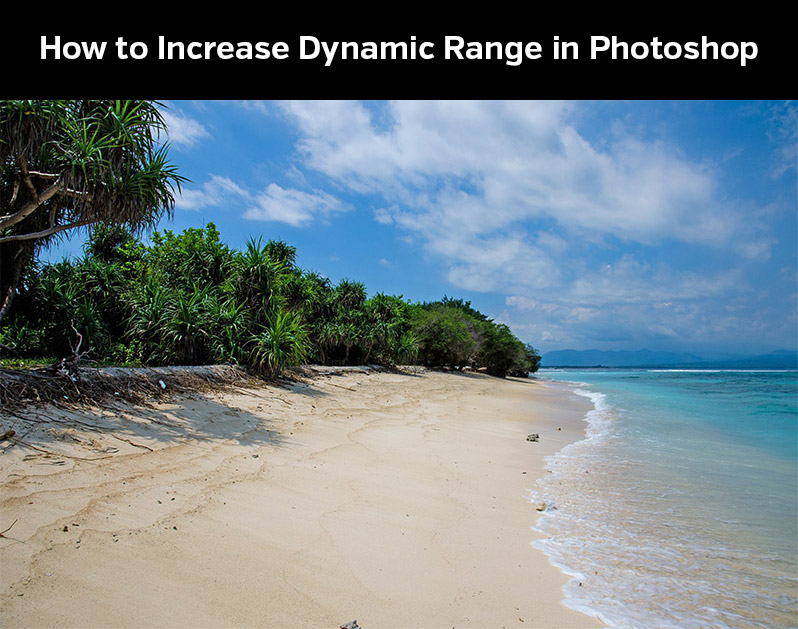
Dynamic range, the range of tones between the darkest shadows and the brightest highlights in an image, plays a crucial role in creating visually striking and detailed photographs. In this extensive guide, we will delve into the step-by-step process of increasing dynamic range using Adobe Photoshop. From understanding the importance of dynamic range to mastering advanced techniques, this tutorial aims to empower you with the skills to enhance the visual impact and depth of your photos.
Section 1: Understanding Dynamic Range
Dynamic range is a fundamental concept in photography that determines the tonal range captured in an image. A wide dynamic range ensures that both shadow and highlight details are preserved, resulting in a photograph with depth, contrast, and visual interest.
Subsection 1.1: High Dynamic Range (HDR) Photography
High Dynamic Range (HDR) photography involves capturing multiple exposures of the same scene at different brightness levels and blending them to achieve a more extensive dynamic range. While HDR photography is one approach, this guide will focus on increasing dynamic range in post-processing using Photoshop.
Section 2: Importing the Image into Adobe Photoshop
Begin the process by importing the image into Adobe Photoshop. Ensure that the image is in a suitable resolution for detailed editing. Create a duplicate layer to work non-destructively, allowing for adjustments without affecting the original image.
Section 3: Utilizing Adobe Camera Raw (ACR)
Adobe Camera Raw is a powerful tool within Photoshop that enables photographers to make global adjustments to exposure, contrast, and other essential settings before entering the main editing workspace.
Subsection 3.1: Adjusting Exposure and Highlights
In the Adobe Camera Raw interface, navigate to the Basic panel. Adjust the Exposure slider to enhance overall brightness while being mindful not to clip highlights. Use the Highlights slider to recover details in the brighter areas without overexposing them.
Subsection 3.2: Recovering Shadows and Enhancing Whites
To recover shadow details, use the Shadows slider. This helps bring out details in darker areas without introducing excessive noise. Additionally, use the Whites slider to fine-tune the brightest portions of the image, enhancing overall contrast.
Subsection 3.3: Applying Clarity and Vibrance
Clarity enhances midtone contrast, adding depth and texture to the image. Adjust the Clarity slider to your preference, keeping in mind that subtle adjustments often yield the most natural-looking results. Vibrance can be used to boost the intensity of muted colors without oversaturating the entire image.
Section 4: Implementing Luminosity Masks
Luminosity masks are advanced selection tools that target specific tonal ranges in an image. They provide precise control over adjustments, allowing photographers to selectively enhance different areas without affecting the entire photograph.
Subsection 4.1: Creating Luminosity Masks
Generate luminosity masks by accessing the Channels panel in Photoshop. Hold down the Ctrl (or Command) key and click on the RGB channel to create a selection based on luminosity. This selection can be refined to target specific tonal ranges.
Subsection 4.2: Refining Selections with Levels
Use the Levels adjustment to refine luminosity mask selections. This allows for precise control over which tonal values are affected by adjustments. Adjust the black and white points in the Levels dialog to fine-tune the mask’s range.
Subsection 4.3: Applying Adjustments with Luminosity Masks
Once luminosity masks are created and refined, use them to apply targeted adjustments. This can include adjustments to exposure, contrast, or color balance in specific tonal ranges. This technique enhances the dynamic range selectively.
Section 5: Employing Graduated Filters and Radial Filters
Graduated filters and radial filters are powerful tools for selectively adjusting specific areas of an image. They are particularly useful for increasing dynamic range in landscapes or scenes with varying levels of brightness.
Subsection 5.1: Using Graduated Filters
Select the Graduated Filter tool and drag it over the area you want to adjust. Adjust sliders for Exposure, Contrast, and Highlights to control the filter’s impact. This tool is effective for balancing exposure in skies and landscapes.
Subsection 5.2: Applying Radial Filters
The Radial Filter tool allows for adjustments within a circular or elliptical shape. Use this tool to highlight specific areas, such as a focal point or a subject’s face. Adjustments can include exposure, contrast, and clarity to enhance dynamic range selectively.
Section 6: Manual Dodging and Burning
Dodging and burning are traditional darkroom techniques that have seamlessly transitioned into the digital realm. These techniques involve selectively lightening (dodging) or darkening (burning) specific areas of an image to enhance contrast and visual interest.
Subsection 6.1: Dodging Highlights
Create a new layer set to Overlay blending mode. Use a soft brush with a low opacity to selectively lighten highlight areas. This technique adds emphasis to bright areas, contributing to an expanded dynamic range.
Subsection 6.2: Burning Shadows
Similarly, create another new layer set to Overlay blending mode. Use the same soft brush to darken shadow areas selectively. This technique enhances shadows, adding depth and contrast to the image.
Section 7: Blend If and Layer Blend Modes
Blend If is a powerful feature in Photoshop that allows for nuanced blending based on the luminosity values of the layers. Additionally, layer blend modes offer a range of options to control how layers interact with each other.
Subsection 7.1: Using Blend If
Double-click on a layer to access the Layer Style dialog. Under the Blend If section, adjust sliders for This Layer and Underlying Layer to control the blending of highlights and shadows. This technique aids in seamless integration of adjustments with the original image.
Subsection 7.2: Experimenting with Blend Modes
Explore different layer blend modes to see how they affect the dynamic range. Overlay, Soft Light, and Multiply are often used for enhancing contrast and tonal range. Experiment with these modes to find the one that best complements your image.
Section 8: Adding HDR Effects in Photoshop
While HDR photography involves capturing multiple exposures, Photoshop provides tools to simulate HDR effects in a single image, thereby increasing dynamic range.
Subsection 8.1: Creating a Pseudo-HDR Effect
Duplicate the background layer and set the duplicate layer’s blending mode to Overlay. Adjust the opacity to control the intensity of the effect. This technique enhances highlights and shadows, simulating an HDR look.
Subsection 8.2: Enhancing Local Contrast
Apply the High Pass filter to a duplicate layer and set the blending mode to Overlay. Adjust the radius of the High Pass filter to enhance local contrast selectively. This technique contributes to a visually striking image with increased dynamic range.
Section 9: Final Adjustments with Curves and Levels
Fine-tune the overall tonal balance and contrast of the image by utilizing Curves and Levels adjustment layers. Make subtle adjustments to enhance the richness of shadows and highlights, contributing to an image with a balanced and refined dynamic range.
Subsection 9.1: Curves Adjustment Layer
Create a Curves adjustment layer to refine the luminosity and contrast of the image. Adjust the curve to enhance midtones, highlights, and shadows selectively. This step adds depth and dimension to the photograph.
Subsection 9.2: Levels Adjustment Layer
Use a Levels adjustment layer to further refine the overall tonal balance. Adjust the sliders for Shadows, Midtones, and Highlights to achieve optimal contrast and luminosity. Regularly assess the image at different zoom levels to ensure consistency.
Section 10: Exporting the Enhanced Image
Once satisfied with the increased dynamic range and overall adjustments, save your Photoshop project file (.PSD) to retain all layers for future edits. Export the final enhanced image in a suitable format, such as JPEG or PNG, for sharing, printing, or client delivery. Pay attention to file size and resolution based on your intended use.
Section 11: Showcasing Your Dynamic Range Enhancements
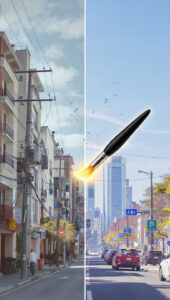
Celebrate your mastery of increasing dynamic range by showcasing your before-and-after images. Share your work on photography platforms, social media, or incorporate it into your portfolio. Engage with the photography community, seek constructive feedback, and let your images stand as a testament to your skill in capturing and enhancing the full spectrum of tones.
Conclusion:
Increasing dynamic range in Photoshop is a skill that requires a nuanced understanding of tonal relationships and advanced editing techniques. By following the comprehensive steps outlined in this guide, you can confidently approach dynamic range enhancement, creating visually stunning images with depth, contrast, and enhanced detail. May your photographs captivate viewers with their expanded tonal range, telling stories with greater visual impact and richness.


