Mastering Dimensioning in SolidWorks Drawings: A Comprehensive Guide
Introduction: SolidWorks, a powerful computer-aided design (CAD) software, enables engineers and designers to create detailed technical drawings that communicate design intent, specifications, and manufacturing requirements effectively. Dimensioning plays a crucial role in SolidWorks drawings, providing precise measurements and annotations to guide manufacturing, inspection, and assembly processes. In this comprehensive guide, we’ll explore the intricacies of adding dimensions to drawings in SolidWorks, covering fundamental concepts, essential techniques, and advanced strategies to help you master this critical aspect of CAD documentation.
Understanding Dimensioning in SolidWorks: Dimensioning in SolidWorks involves the placement of numeric values, symbols, and annotations on drawing views to indicate the size, shape, and location of features within a design. Accurate dimensioning ensures that components are manufactured to the correct specifications and fit together as intended. Before delving into the specifics of adding dimensions, it’s crucial to grasp some foundational concepts:
- Types of Dimensions:
- SolidWorks supports various types of dimensions, including linear dimensions, angular dimensions, radial dimensions, ordinate dimensions, and coordinate dimensions. Each dimension type serves a specific purpose in conveying geometric relationships and tolerances.
- Dimensioning Standards:
- Dimensioning standards such as ASME Y14.5, ISO 129, and company-specific guidelines dictate the format, placement, and style of dimensions in technical drawings. Adhering to dimensioning standards ensures consistency, clarity, and interoperability across design documentation.
- Dimensioning Tools:
- SolidWorks provides a comprehensive set of dimensioning tools, including Smart Dimension, Ordinate Dimension, Baseline Dimension, Chain Dimension, and Angular Dimension, to add dimensions to drawing views accurately and efficiently.
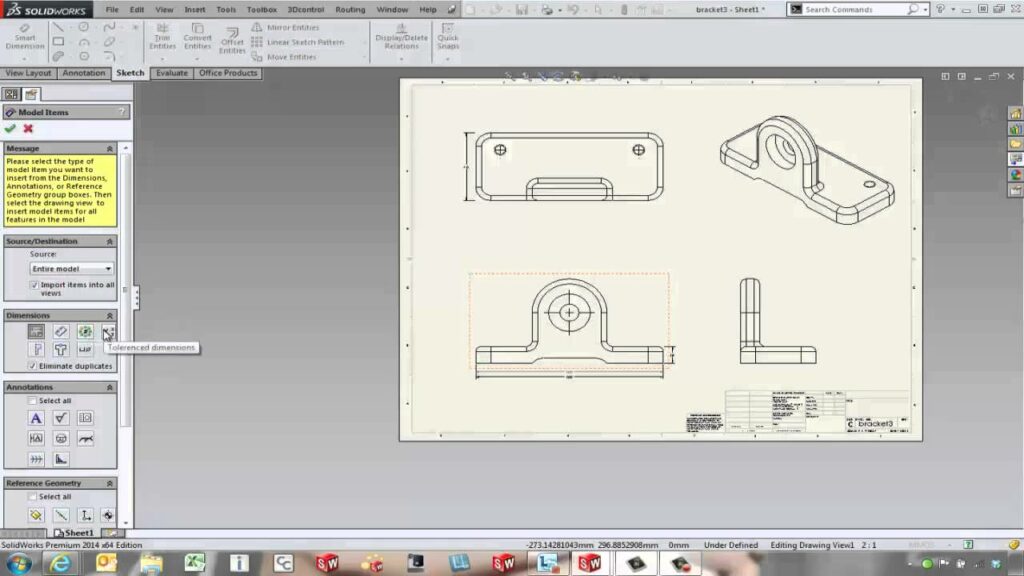
Adding Dimensions to Drawings in SolidWorks: SolidWorks offers intuitive tools for adding dimensions to drawings, allowing users to specify geometric measurements and tolerances with precision. Let’s explore the essential steps for adding dimensions:
- Activate Dimension Tool:
- Begin by activating the Dimension tool in the SolidWorks drawing environment. You can access the Dimension tool from the Annotation tab or the right-click context menu. Select the desired dimension type (e.g., Smart Dimension for linear dimensions) to begin dimensioning.
- Select Entities:
- Use the mouse cursor to select the entities (e.g., edges, points, or features) to dimension within the drawing view. SolidWorks provides visual feedback, such as highlighting and inference lines, to assist in entity selection. Click to place the dimension line and attach it to the selected entities.
- Specify Dimension Value:
- Once the dimension line is placed, specify the dimension value by typing the desired numeric value using the keyboard or by dragging the dimension handle with the mouse cursor. SolidWorks dynamically updates the dimension value as you input or adjust the dimension.
- Position and Align Dimensions:
- Position and align dimensions relative to the drawing geometry and other dimensions to ensure clarity and readability. Use dimension leaders, extension lines, and dimension lines to align dimensions neatly and avoid overlapping or cluttered annotations.
- Add Tolerances and Annotations:
- Optionally, add tolerances, symbols, and annotations to dimensions to convey additional information about geometric tolerances, surface finishes, material specifications, or inspection requirements. SolidWorks provides tools for adding text, symbols, and geometric tolerances to dimensions effectively.
Advanced Dimensioning Techniques: In addition to basic dimensioning tools, SolidWorks offers advanced techniques to enhance dimensioning workflows and achieve precise documentation objectives:
- Baseline and Chain Dimensions:
- Use Baseline Dimension and Chain Dimension tools to dimension multiple features or points simultaneously. Baseline dimensions establish a reference line from which dimensions are measured, while Chain dimensions create a continuous series of dimensions along a path or contour.
- Ordinate and Coordinate Dimensions:
- Utilize Ordinate Dimension and Coordinate Dimension tools to dimension features or points relative to a common reference. Ordinate dimensions establish a baseline or datum line from which dimensions are measured, while Coordinate dimensions define absolute or relative coordinates for points.
- Dimension Schemes and Styles:
- Create dimension schemes and styles to standardize dimensioning practices across drawings and projects. Define dimension properties such as text size, arrow style, leader type, and tolerance format to comply with company standards and industry conventions.
Best Practices for Dimensioning: To maximize clarity, accuracy, and efficiency when adding dimensions to drawings in SolidWorks, it’s essential to adhere to best practices:
- Follow Dimensioning Standards:
- Adhere to dimensioning standards and company-specific guidelines to ensure consistency and compatibility with manufacturing and inspection processes. Use standardized dimension styles, formats, and conventions to facilitate communication and interpretation of dimensions.
- Prioritize Key Dimensions:
- Prioritize key dimensions that define the critical features, dimensions, and tolerances of the design. Emphasize dimensions that impact fit, form, function, assembly, or manufacturability to guide manufacturing and inspection operations effectively.
- Avoid Over-Dimensioning:
- Avoid over-dimensioning by including only essential dimensions necessary to define the design intent and communicate manufacturing requirements. Minimize redundant or unnecessary dimensions to reduce clutter and improve drawing clarity and readability.
- Use Symmetry and Patterns:
- Leverage symmetry and patterns to reduce the number of dimensions required to define repetitive or symmetrical features. Use mirror and pattern features to propagate dimensions across symmetrically arranged features efficiently.
Conclusion: Dimensioning is a fundamental aspect of creating technical drawings in SolidWorks, enabling engineers and designers to communicate design intent, specifications, and tolerances effectively. By mastering the tools and techniques for adding dimensions, you can enhance your documentation proficiency, streamline your drawing workflow, and produce high-quality drawings that meet design requirements and manufacturing standards. Whether you’re a novice or an experienced SolidWorks user, understanding the principles of dimensioning and adhering to best practices will elevate your CAD skills and enable you to create clear, accurate, and informative technical documentation efficiently.


