Exploring Creative Horizons: A Comprehensive Guide to Adding Effects to Clips in DaVinci Resolve
Introduction:
Adding effects to clips is a fundamental aspect of video editing, allowing creators to enhance visuals, evoke emotions, and tell compelling stories. In DaVinci Resolve, a professional-grade editing and color grading software, adding effects to clips is a seamless and versatile process. With a wide range of built-in effects, customizable parameters, and advanced compositing tools, DaVinci Resolve offers unparalleled creative possibilities for filmmakers, editors, and content creators. In this extensive guide, we’ll explore the art of adding effects to clips in DaVinci Resolve, providing you with the knowledge and techniques to elevate your video projects with stunning visual effects.
Understanding Effects in DaVinci Resolve:
Effects in DaVinci Resolve encompass a diverse array of visual enhancements, corrections, transformations, and creative treatments that can be applied to individual clips or entire sequences. These effects can range from basic adjustments such as color correction and sharpening to more advanced effects like motion blur, lens flares, and chromatic aberration. Whether you’re aiming for a polished cinematic look, stylized visual effects, or seamless transitions, DaVinci Resolve offers a comprehensive suite of effects tools to meet your creative needs.
Using DaVinci Resolve for Adding Effects to Clips:
Let’s explore the step-by-step process of adding effects to clips in DaVinci Resolve:
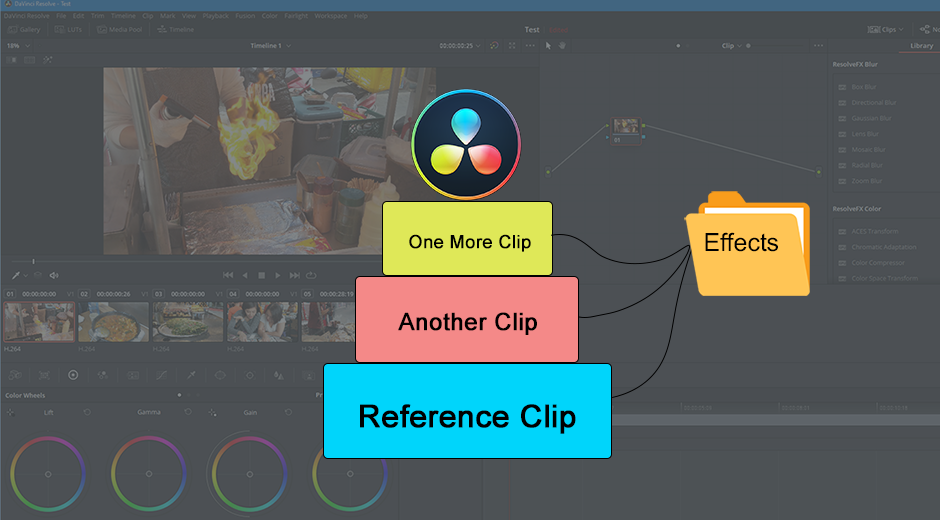
- Open the Effects Library:
- Launch DaVinci Resolve and open your project. Navigate to the Effects Library by clicking on the Effects tab at the top of the interface. The Effects Library contains a variety of categories and presets for different types of effects, organized for easy access.
- Browse Effects:
- Browse through the Effects Library to explore the available categories and presets. These categories may include Color, Blur, Distort, Stylize, Transitions, and more. Each category contains a range of effects that can be applied to clips to achieve different visual results.
- Apply Effects:
- To apply an effect to a clip, simply drag and drop the desired effect from the Effects Library onto the clip in the timeline. Alternatively, you can right-click on the clip, select “Add,” and choose the desired effect from the menu. The effect will be applied to the clip, and its parameters will appear in the Inspector panel for further customization.
- Customize Effect Parameters:
- Once the effect is applied to the clip, you can customize its parameters in the Inspector panel. The Inspector panel provides controls for adjusting various parameters such as intensity, speed, duration, size, position, color, and more, depending on the type of effect.
- Preview and Fine-Tune:
- Preview the effect in the viewer window to assess its appearance and impact on the clip. Fine-tune the effect parameters as needed to achieve the desired look and feel for your video. Experiment with different settings and adjustments to explore creative possibilities and enhance your visuals.
- Combine Multiple Effects:
- For more complex effects, you can combine multiple effects and adjust their parameters to create unique and visually compelling results. Experiment with layering effects, blending modes, and masking techniques to achieve the desired look and achieve your creative vision.
- Keyframe Animations (Optional):
- To animate effects over time, you can use keyframes to control the parameters of the effect. Move the playhead to the desired frame, adjust the effect parameters, and set keyframes to mark the beginning and end of the animation. DaVinci Resolve’s keyframe editor allows for precise control over animation timing and easing curves.
- Preview and Playback:
- Preview the clips with effects applied in the timeline to assess their impact on the overall sequence. Playback the timeline to see how the effects enhance the visual storytelling and contribute to the narrative of your video.
- Render Your Project:
- Once you’re satisfied with the effects applied to your clips, render your project to export the final video with the effects included. Navigate to the Deliver page, configure the export settings, and click “Add to Render Queue” to queue the project for rendering. Then, click “Start Render” to export the video with your desired effects.
Best Practices for Adding Effects to Clips:
To achieve professional-looking results when adding effects to clips in DaVinci Resolve, consider the following best practices:
- Plan Your Effects:
- Before adding effects, plan your visual approach and identify the specific effects you want to apply to each clip. Consider the mood, style, and narrative of your video to determine the most appropriate effects for enhancing the storytelling.
- Use Effects Sparingly:
- Avoid overusing effects or applying them indiscriminately to every clip. Instead, use effects strategically to emphasize key moments, convey emotions, or enhance the overall visual impact of your video. Less can often be more when it comes to adding effects.
- Experiment and Iterate:
- Don’t be afraid to experiment with different effects, settings, and combinations to achieve the desired look for your video. Spend time exploring the effects library, adjusting parameters, and fine-tuning the results until you achieve the perfect visual treatment for your clips.
- Consider Performance:
- Be mindful of the performance implications of adding effects, especially if you’re working with high-resolution footage or complex compositions. Some effects may require more processing power and memory, so consider optimizing your workflow and hardware setup for efficient editing and playback.
- Maintain Consistency:
- Maintain consistency in your use of effects across the entire video to create a cohesive visual style. Use similar effects, settings, and treatments throughout the video to ensure a unified look and feel that enhances the viewer’s experience.
Conclusion:
Adding effects to clips in DaVinci Resolve opens up endless creative possibilities for filmmakers, editors, and content creators. By leveraging the comprehensive suite of effects tools and controls available in DaVinci Resolve, you can enhance your videos with stunning visual treatments, dynamic transitions, and immersive visual effects that captivate your audience and elevate your storytelling. Whether you’re producing narrative films, documentaries, music videos, or any other type of content, mastering the art of adding effects to clips in DaVinci Resolve empowers you to push the boundaries of creativity and deliver compelling visual experiences that leave a lasting impression on your viewers. Experiment with different effects, techniques, and workflows, and let your imagination soar as you transform your clips into cinematic masterpieces with DaVinci Resolve.


