Unlocking the Power of LabVIEW: A Comprehensive Guide to Creating SubVIs

LabVIEW, short for Laboratory Virtual Instrument Engineering Workbench, is a powerful graphical programming language commonly used for data acquisition, instrument control, and industrial automation. Its intuitive interface, flexibility, and extensive library of functions make it a preferred choice for engineers and scientists worldwide. One of the key features that makes LabVIEW such a versatile tool is its ability to create SubVIs, or subroutines, which allow users to encapsulate commonly used code into modular components for easier reuse and maintainability.
In this comprehensive guide, we will delve into the intricacies of creating SubVIs in LabVIEW, exploring their benefits, best practices, and step-by-step procedures to harness their full potential.
Understanding SubVIs:
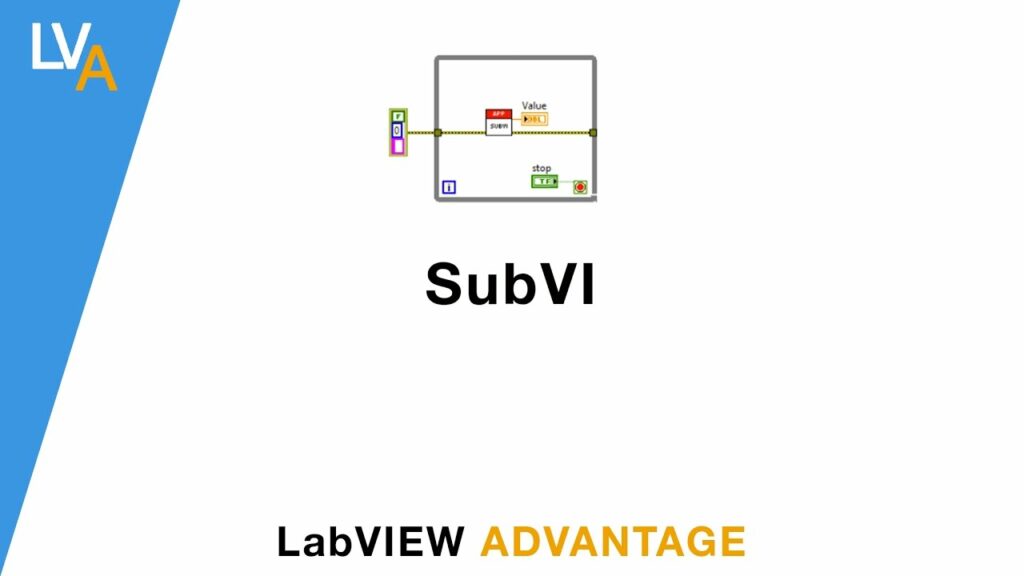
At its core, a SubVI in LabVIEW is akin to a function or subroutine in traditional programming languages. It encapsulates a set of instructions within a separate VI (Virtual Instrument) that can be called and reused within other VIs. This modular approach to programming offers several advantages:
- Modularity: SubVIs promote modular programming by breaking down complex systems into smaller, manageable components. Each SubVI encapsulates a specific functionality, making the overall program structure more organized and easier to comprehend.
- Reuse: By encapsulating commonly used code into SubVIs, developers can reuse them across multiple projects, saving time and effort. This promotes code standardization and consistency across applications.
- Maintenance: SubVIs facilitate easier maintenance and debugging as they allow developers to isolate and troubleshoot specific functionalities without affecting the entire application. This modular approach enhances code readability and simplifies updates or modifications.
Creating SubVIs: Step-by-Step Guide:
Now, let’s walk through the process of creating a SubVI in LabVIEW:
- Open LabVIEW: Launch the LabVIEW software and create a new VI or open an existing one where you want to create the SubVI.
- Design the SubVI Front Panel: Double-click on the SubVI icon on the block diagram to open its front panel. Here, you can design the user interface by adding controls and indicators that will serve as the inputs and outputs of the SubVI.
- Design the SubVI Block Diagram: Switch to the block diagram of the SubVI by clicking on the “Block Diagram” tab. Here, you will implement the functionality of the SubVI using LabVIEW’s graphical programming paradigm. Wire the controls and indicators on the front panel to the appropriate functions and structures to achieve the desired behavior.
- Save the SubVI: Once you have designed the front panel and block diagram of the SubVI, save it by selecting “File” > “Save As” and providing a meaningful name and location for the VI file.
- Place the SubVI in the Calling VI: To use the SubVI in another VI, simply drag and drop it from the project explorer or navigate to its location on disk and drag it onto the block diagram of the calling VI. Connect the inputs and outputs of the SubVI to the rest of the block diagram as needed.
- Configure SubVI Parameters: Double-click on the SubVI icon on the calling VI’s block diagram to configure its parameters, such as default values, data types, and whether it runs in the same execution instance or asynchronously.
- Test and Debug: Test the functionality of the calling VI with the SubVI by running it and verifying that it produces the expected results. Use LabVIEW’s debugging tools, such as probes and breakpoints, to identify and resolve any issues.
- Document the SubVI: Finally, document the SubVI by adding comments and documentation to its front panel and block diagram. This will help other developers understand its purpose and functionality when they use it in their projects.
Best Practices for Creating SubVIs:
To maximize the effectiveness of SubVIs in your LabVIEW projects, consider the following best practices:
- Keep it Modular: Design SubVIs to encapsulate a single, well-defined functionality. Avoid creating overly complex SubVIs that perform multiple tasks, as this can reduce reusability and maintainability.
- Use Descriptive Names: Choose meaningful and descriptive names for SubVIs that reflect their purpose and functionality. This will make it easier for other developers to understand and use them in their projects.
- Standardize Inputs and Outputs: Define consistent input and output interfaces for SubVIs to promote interoperability and ease of use. Use data types and naming conventions that align with LabVIEW best practices and standards.
- Document Extensively: Document the purpose, inputs, outputs, and usage instructions of each SubVI using comments, labels, and documentation nodes. This will aid in understanding and using the SubVIs in future projects.
- Version Control: Implement version control practices for managing SubVI files to track changes, facilitate collaboration, and ensure consistency across projects.
Conclusion:
Creating SubVIs in LabVIEW is a fundamental skill that empowers developers to build scalable, modular, and maintainable applications. By encapsulating commonly used code into reusable components, SubVIs promote code reuse, modularity, and ease of maintenance, ultimately enhancing productivity and efficiency in LabVIEW development.
Through this comprehensive guide, we have explored the benefits of SubVIs, step-by-step procedures for creating them, and best practices to maximize their effectiveness. By incorporating SubVIs into your LabVIEW projects and adhering to best practices, you can unlock the full potential of this powerful programming paradigm and streamline your development process.


