Unleashing Efficiency: Mastering Auto-Select Layers in Photoshop
Introduction:
Adobe Photoshop stands as a digital sanctuary for creatives, offering a rich tapestry of tools and features to bring imagination to fruition. Among these tools, layers serve as the backbone of design, providing depth, organization, and flexibility. Delving into the intricate realm of layers, mastering the art of auto-selecting layers emerges as a game-changer in optimizing your workflow. This comprehensive guide is crafted to illuminate the intricacies of auto-selecting layers in Photoshop, empowering designers and digital artists to navigate their canvases with precision and speed.
Understanding the Essence of Photoshop Layers:
- Layer Dynamics: Photoshop layers operate as individual planes, allowing users to stack, organize, and manipulate various elements within a composition. Each layer can house different content, from images and text to shapes and adjustments.
- Layer Stacking Order: The order of layers in the Layers panel dictates their visibility, with higher layers obscuring those beneath. Understanding the stacking order is crucial for precise design control.
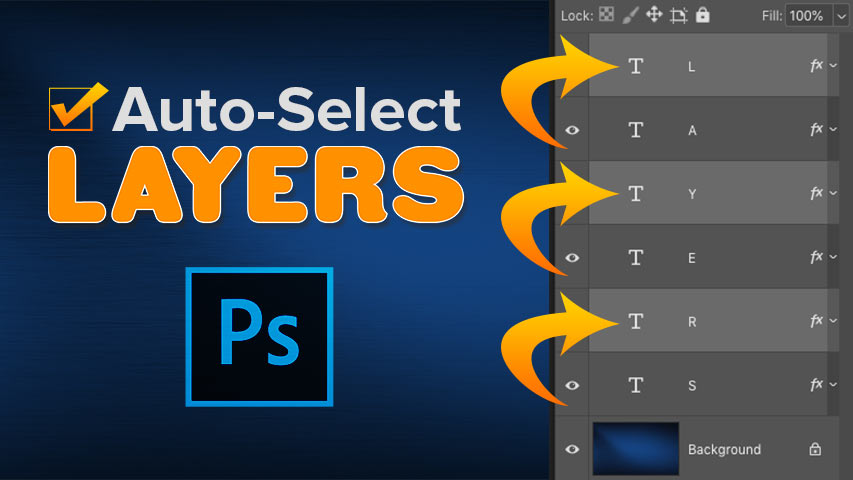
The Significance of Auto-Selecting Layers:
- Streamlining Selection Workflow: Auto-selecting layers streamlines the selection process by allowing you to directly interact with elements on the canvas. This eliminates the need to constantly switch between the Layers panel and the canvas, enhancing efficiency.
- Enhanced Visibility and Navigation: Auto-select empowers designers to easily identify and manipulate specific layers, especially in complex compositions. This feature becomes invaluable when working on intricate designs with numerous overlapping elements.
Enabling Auto-Select Layers:
- Activate the Move Tool: Auto-select layers is closely tied to the Move Tool (V), a fundamental tool for positioning and manipulating elements. Ensure the Move Tool is selected from the toolbar.
- Toggle Auto-Select: In the top options bar, locate the “Auto-Select” checkbox. Click on it to activate the feature. A dropdown menu will appear, offering options such as “Layer” and “Group” for defining the level at which auto-select operates.
- Choose Layer or Group: Depending on your preference, select either “Layer” or “Group” from the dropdown menu. Choosing “Layer” allows for direct selection of individual layers, while “Group” enables selection within grouped layers.
- Apply Auto-Select to Multiple Layers: If you’re working with multiple layers that are close in proximity, hold down the Ctrl (Cmd) key while clicking to cycle through the layers in that area. This is particularly useful in densely populated compositions.
Navigating Layers with Auto-Select:
- Click to Select: With auto-select active, simply click on an element in the canvas. Photoshop will automatically select the corresponding layer in the Layers panel.
- Direct Manipulation: Once a layer is selected, use the Move Tool to directly manipulate the position, size, or orientation of the selected element. This immediate interaction enhances the tactile nature of design.
- Shift-Click for Multiple Selection: To select multiple layers at once, hold down the Shift key and click on additional elements. This is beneficial for simultaneous adjustments or transformations across multiple layers.
Advanced Techniques for Auto-Select Mastery:
- Adjust Auto-Select Sensitivity: Fine-tune the sensitivity of auto-select to suit your workflow. Right-click on the canvas with the Move Tool selected to access the contextual menu. Here, you can adjust the auto-select settings, including the layer or group option.
- Utilize Smart Guides: Smart Guides in Photoshop provide visual cues for aligning and distributing layers. Enable Smart Guides (View > Show > Smart Guides) to enhance precision when auto-selecting and moving elements.
- Nested Auto-Select with Groups: Leverage the power of grouping layers in Photoshop. When auto-select is set to “Group,” clicking on an element within a group selects the entire group, offering hierarchical organization.
Common Challenges and Solutions:
- Overlapping Elements: In cases where elements overlap, use the Ctrl (Cmd) key to cycle through layers in the vicinity until the desired layer is selected.
- Deselecting Layers: To deselect a layer, simply click on an empty area of the canvas or select another tool. This prevents unintentional adjustments to layers after selection.
Incorporating Auto-Select into Your Workflow:
- Consistency Across Projects: Once you become proficient with auto-select, incorporate it into your standard workflow. Consistency across projects enhances familiarity and accelerates your design process.
- Experimentation and Adaptation: Embrace a spirit of experimentation and adaptation. Test different auto-select settings and techniques to discover what aligns best with your unique approach to design.
Conclusion:
Mastering auto-select layers in Photoshop transcends a mere technical skill; it becomes a catalyst for fluid, intuitive, and efficient design workflows. As you navigate the vast expanse of your creative canvas, the ability to seamlessly interact with and manipulate layers directly on the canvas empowers you to sculpt your vision with unprecedented precision. With this comprehensive guide as your compass, embark on your design journey equipped with the knowledge to harness the potential of auto-select layers in Adobe Photoshop. Let each click be a stroke of design mastery, and watch your creativity unfold effortlessly on the digital canvas.


