Streamlining Design: A Comprehensive Guide to Easily Setting Type Size in Photoshop
Introduction:
In the dynamic world of digital design, precision and efficiency are paramount, especially when it comes to typography. Adobe Photoshop, a powerhouse in graphic design, offers various tools and features to manipulate text. In this extensive guide, we will delve into an easy and efficient way to set your type size in Photoshop, exploring techniques and shortcuts that streamline the process of achieving pixel-perfect typography.
Section 1: The Importance of Type Size in Design
Type size plays a pivotal role in visual communication, influencing the hierarchy, readability, and overall aesthetics of a design. In Photoshop, the ability to set type size accurately is fundamental to creating cohesive and visually appealing compositions. Understanding the tools and methods for adjusting type size ensures designers can achieve their desired typographic effects with precision.
Section 2: Creating a Text Layer in Photoshop
To begin setting type size in Photoshop, open the software and create a new document or open an existing one. Select the Text tool (T) from the toolbar and click on the canvas to create a text layer. Alternatively, you can use an existing text layer if you’re working with pre-existing text in your design.
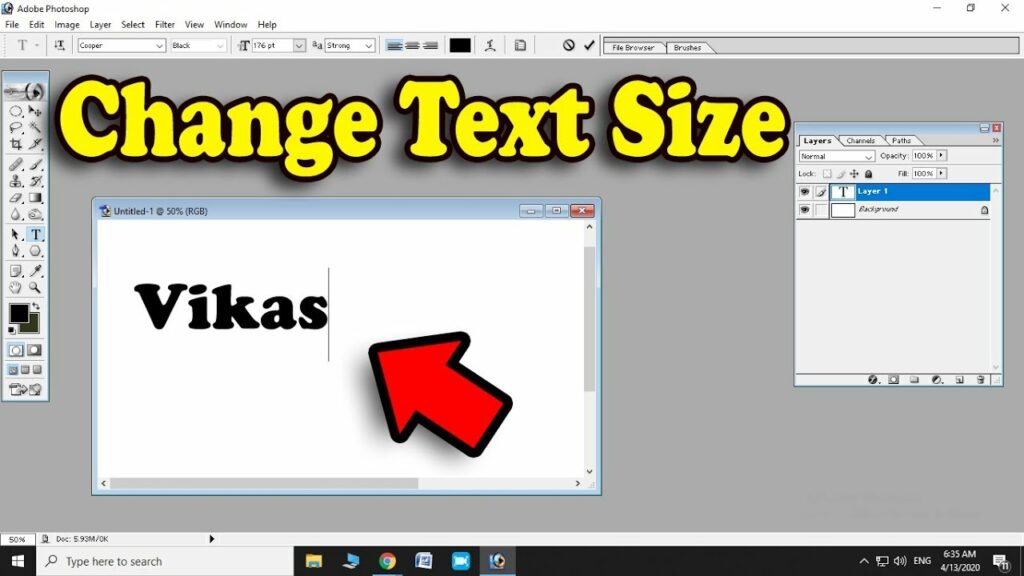
Section 3: Using the Character Panel for Type Size Adjustment
The Character panel in Photoshop is a central hub for controlling various typographic attributes, including type size. To access the Character panel, go to the top menu and choose “Window” > “Character.” In the Character panel, locate the font size dropdown menu and manually enter the desired type size. This method offers precision but may be time-consuming for designers looking for a more efficient workflow.
Section 4: Utilizing Keyboard Shortcuts for Quick Adjustments
Photoshop provides convenient keyboard shortcuts for adjusting type size on the fly. With the Text tool selected, hold down the Ctrl key (Windows) or Command key (Mac) and press the “+” or “-” keys to increase or decrease the type size, respectively. This shortcut enables quick adjustments without the need to navigate through menus.
Section 5: Implementing the Scrubby Slider for Intuitive Scaling
For a more interactive and intuitive approach to adjusting type size, utilize the Scrubby Slider feature. With the Text tool selected, hover over the font size value in the Options Bar at the top of the screen. Click and drag left or right to dynamically increase or decrease the type size. This tactile method provides a real-time preview of the changes, allowing for precise adjustments.
Section 6: Fine-Tuning Type Size with Transformation
Photoshop offers a transformative approach to adjusting type size using the Free Transform command. With the Text layer selected, press Ctrl+T (Windows) or Command+T (Mac) to enter Free Transform mode. Hold down the Shift key to maintain aspect ratio, then click and drag a corner handle to resize the text. Press Enter to apply the transformation. This method offers flexibility in scaling text while preserving proportions.
Section 7: Leveraging the Character Options in the Options Bar
The Options Bar in Photoshop provides a quick and accessible set of controls for text-related adjustments. With the Text tool selected, locate the font size field in the Options Bar. Manually enter the desired type size or use the adjacent dropdown menu for quick adjustments. This method is particularly useful for designers who prefer a minimalistic interface.
Section 8: Applying Type Size Adjustments with Layer Styles
Photoshop’s Layer Styles offer another avenue for adjusting type size, especially when working with effects like Bevel and Emboss or Drop Shadow. Double-click on the Text layer to open the Layer Style dialog box. In the Structure section, adjust the Size parameter to influence the size of the layer style effect. This method provides a non-destructive way to impact the visual size of the text.
Section 9: Customizing Type Size with Paragraph Styles
For designers working on projects with consistent typography, Photoshop’s Paragraph Styles come into play. Create and apply Paragraph Styles to text elements, allowing for efficient and consistent type size adjustments across the design. This approach is particularly beneficial for maintaining a cohesive look in multi-page documents or projects with numerous text elements.
Section 10: Saving and Exporting Designs with Set Type Size
Once the type size is set to perfection, it’s time to save or export your Photoshop design. Choose the appropriate file format based on your intended use – whether it’s a high-resolution print file or a web-ready image. Pay attention to color profiles, resolution, and other settings to ensure the final output meets your design requirements.
Conclusion:
Setting type size in Photoshop is a fundamental aspect of digital design that requires a balance of precision and efficiency. By mastering the various tools, shortcuts, and methods available in Photoshop, designers can seamlessly control type size to achieve their creative vision. Whether adjusting type size through the Character panel, utilizing keyboard shortcuts, or exploring advanced techniques like transformation and layer styles, understanding these methods enhances a designer’s ability to craft compelling and polished designs. This comprehensive guide serves as a roadmap for designers, encouraging them to explore the diverse ways to set type size in Photoshop and ultimately streamline their typographic workflow.


