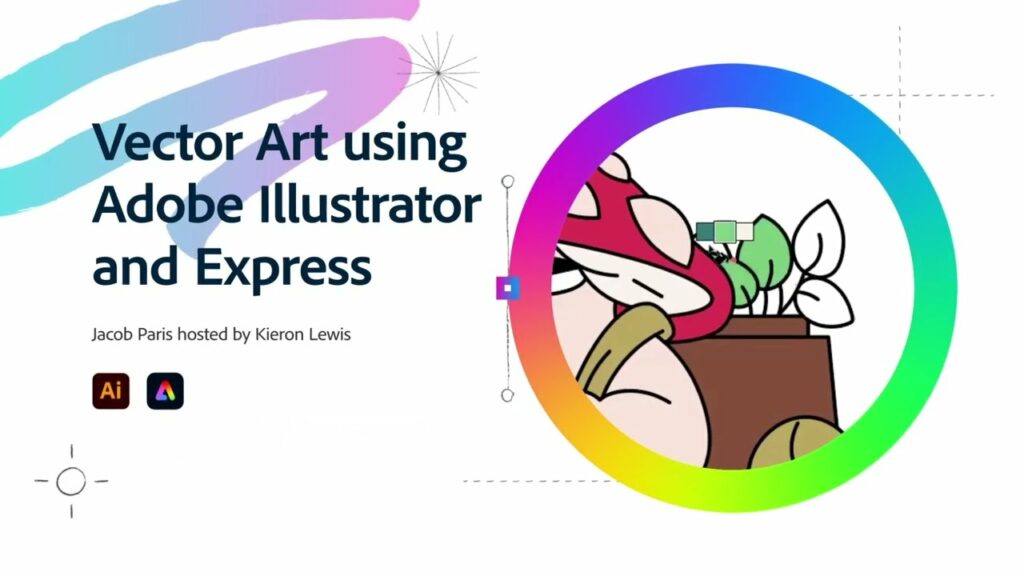
Mastering Website Design: A Comprehensive Guide to Creating Stunning Vector Graphics in Adobe Illustrator

Introduction: In today’s digital landscape, websites serve as the virtual storefronts for businesses and individuals alike, making it crucial to craft visually appealing and engaging user experiences. Vector graphics play a vital role in website design, offering scalability, versatility, and crispness across various screen sizes and resolutions. Adobe Illustrator, with its robust vector-based tools and extensive features, provides designers with the perfect platform to create stunning graphics for websites. In this comprehensive guide, we’ll delve into the step-by-step process of making vector graphics for websites in Adobe Illustrator, covering everything from conceptualization to final implementation.
Section 1: Understanding Vector Graphics in Website Design 1.1 The Importance of Vector Graphics: Explore the significance of vector graphics in website design, including their scalability, versatility, and ability to maintain visual fidelity across devices. 1.2 Role of Vector Graphics: Examine the role of vector graphics in enhancing user experience, conveying brand identity, and communicating information effectively on websites. 1.3 Types of Vector Graphics: Discover different types of vector graphics used in website design, including logos, icons, illustrations, and infographics, and their respective design considerations.
Section 2: Planning Your Vector Graphics 2.1 Defining Objectives: Determine the purpose and goals of your vector graphics, whether to enhance visual appeal, improve user navigation, or convey specific messages. 2.2 Audience Analysis: Consider the demographics, preferences, and expectations of the target audience to tailor your vector graphics effectively. 2.3 Research and Inspiration: Gather inspiration from existing websites, design trends, and thematic elements to inform your creative direction and conceptualization.
Section 3: Getting Started with Adobe Illustrator 3.1 Overview of Adobe Illustrator: Familiarize yourself with the Illustrator workspace, tools, and essential features for creating vector graphics. 3.2 Setting Up Your Document: Create a new document in Illustrator, specifying the dimensions, resolution, and color mode suitable for web graphics. 3.3 Organizing Layers and Artboards: Utilize layers and artboards to organize your graphics systematically, facilitating efficient design and editing workflows.
Section 4: Designing Vector Graphics 4.1 Sketching Your Concepts: Begin by sketching rough ideas and concepts for your vector graphics, focusing on composition, visual elements, and brand consistency. 4.2 Creating Base Shapes: Use basic shapes and paths to outline the main elements and structures of your vector graphics, establishing the foundation for further detailing. 4.3 Adding Details and Effects: Enhance your vector graphics with intricate details, textures, and effects using Illustrator’s drawing tools, brushes, and effects palette.
Section 5: Color and Branding 5.1 Selecting Color Palette: Choose a color palette that aligns with the website’s overall design theme, brand identity, and user experience goals. 5.2 Branding Integration: Incorporate brand colors, logos, and typography seamlessly into your vector graphics, reinforcing brand identity and recognition. 5.3 Creating Consistency: Maintain visual consistency across all vector graphics on the website, ensuring coherence and unity in design elements.
Section 6: Exporting and Implementation 6.1 Reviewing and Refining: Conduct thorough reviews of your vector graphics, making necessary adjustments and refinements to composition, colors, and details. 6.2 Exporting Files for Web: Prepare your vector graphics for web use by exporting them in the appropriate file format (e.g., SVG, PNG) and resolution, optimizing file sizes for fast loading times. 6.3 Implementing Graphics on Website: Integrate your vector graphics into the website design using HTML and CSS, ensuring proper placement, alignment, and responsiveness across devices.
Section 7: Testing and Optimization 7.1 Cross-Browser Testing: Test your website across different web browsers and devices to ensure compatibility and consistent rendering of vector graphics. 7.2 Performance Optimization: Optimize file sizes and loading times of vector graphics by minimizing code, compressing images, and leveraging caching techniques. 7.3 User Feedback and Iteration: Gather feedback from users and stakeholders to identify areas for improvement, iterating on design elements and graphics to enhance user experience.
Conclusion: Creating vector graphics for websites in Adobe Illustrator offers designers a dynamic platform to elevate visual appeal, enhance user experience, and communicate brand identity effectively. By following the comprehensive steps outlined in this guide, you’ll be equipped to create stunning graphics that captivate and engage website visitors. So, unleash your creativity, embrace the possibilities, and embark on your journey to design vector graphics that elevate website design and leave a lasting impression on users.


