Mastering Vector Illustration: A Comprehensive Guide to Creating Stunning Artwork in Adobe Illustrator
Introduction: Vector illustration is a versatile and powerful art form that allows artists and designers to create scalable, high-quality artwork suitable for a wide range of applications. Adobe Illustrator, with its robust set of tools and features, is the go-to software for vector illustration, offering unparalleled flexibility and precision. In this extensive guide, we’ll delve into the step-by-step process of creating vector illustrations in Adobe Illustrator, covering everything from planning and sketching to coloring and finalizing, with practical tips and creative techniques along the way.
Part 1: Planning and Preparation
- Define Your Vision: Before diving into the creation process, take some time to clarify your vision for the illustration. Consider factors such as the subject matter, style, mood, and intended use of the artwork to guide your creative direction.
- Gather Inspiration: Seek inspiration from various sources, including art books, websites, nature, and everyday life. Create mood boards, collect reference images, and study other artists’ work to spark ideas and inform your illustration.
- Sketching Your Ideas: Begin the illustration process by sketching out your ideas on paper or digitally. Experiment with different compositions, poses, and shapes to refine your concept and lay the groundwork for your vector artwork.
Part 2: Creating the Vector Artwork
- Setting Up the Document: Open Adobe Illustrator and create a new document with the desired dimensions and settings for your illustration. Consider factors such as canvas size, color mode (RGB or CMYK), and resolution to ensure optimal quality and compatibility.
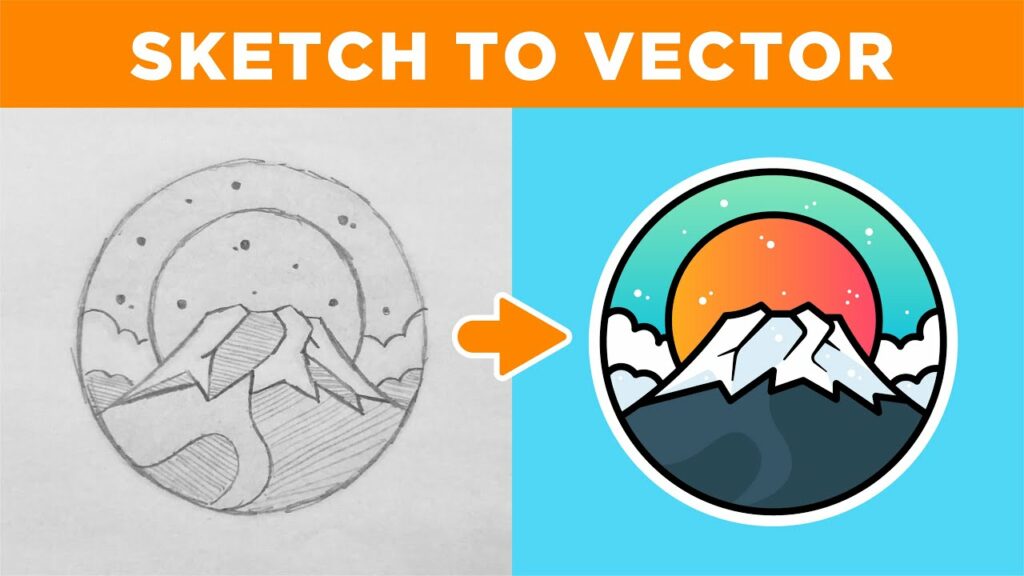
- Sketch to Vector: Scan or import your sketches into Illustrator and use them as a guide to create the vector artwork. Use the Pen Tool, Shape Tools, and other drawing tools to trace and refine your sketches, creating clean, precise vector shapes.
- Building Layers and Structure: Organize your artwork into layers to maintain control and flexibility throughout the design process. Create separate layers for different elements of the illustration, such as characters, background, and details, to streamline editing and adjustment.
- Adding Detail and Texture: Use Illustrator’s drawing tools, such as the Blob Brush Tool and the Pencil Tool, to add detail, texture, and depth to your vector artwork. Experiment with strokes, brushes, and opacity settings to create varied and dynamic textures.
Part 3: Coloring and Shading
- Choosing a Color Palette: Select a color palette that complements your illustration’s theme and enhances its visual impact. Use Adobe Illustrator’s Color panel, Swatches panel, or Color Picker tool to choose and manage your colors effectively.
- Applying Base Colors: Begin by applying base colors to your vector shapes, filling them with solid or gradient colors as needed. Use the Eyedropper Tool to sample colors from reference images or create custom color swatches to maintain consistency.
- Adding Shading and Highlights: Use shading and highlighting techniques to add dimension and depth to your vector illustration. Experiment with gradients, transparency, and blending modes to create realistic lighting effects and enhance the three-dimensional quality of your artwork.
- Creating Depth with Layers: Use layers to create depth and separation between foreground, middle ground, and background elements in your illustration. Adjust the opacity and stacking order of layers to control the visibility and prominence of different elements.
Part 4: Refining and Finalizing
- Refining Details and Composition: Take time to refine and polish your vector artwork, paying attention to details such as linework, proportions, and composition. Use the Direct Selection Tool and the Transform panel to make precise adjustments and fine-tune your illustration.
- Adding Special Effects: Experiment with special effects and filters to enhance the visual appeal of your vector illustration. Apply effects such as blur, distortion, and stylization to create unique and eye-catching visual effects that complement your artwork.
- Incorporating Text and Typography: If your illustration includes text or typography, use Illustrator’s Type Tool to add and customize text elements. Experiment with different fonts, styles, and placements to integrate text seamlessly into your vector artwork.
- Exporting and Saving: Once you’re satisfied with your vector illustration, save your work and export it in the appropriate file format for your intended use. Consider saving a master file in Illustrator format (.ai) for future editing and export a high-resolution file in a suitable format for printing or digital sharing.
Conclusion
Creating vector illustrations in Adobe Illustrator is a rewarding and fulfilling creative process that offers endless possibilities for artistic expression. By following the comprehensive guide outlined above, you’ll be equipped with the knowledge and skills to create stunning vector artwork that captivates audiences and communicates your vision effectively. Remember to experiment, explore, and push the boundaries of your creativity as you embark on your journey of vector illustration in Adobe Illustrator. With dedication, practice, and passion, you can bring your ideas to life and create artwork that inspires and resonates with others.


