Mastering Precision: A Comprehensive Guide on How to Keep an Image Centered After Cropping in Photoshop
Introduction:
Adobe Photoshop, the unparalleled giant in digital image editing, provides users with a vast array of tools and features to enhance and manipulate their visual creations. One common challenge faced by users is maintaining the central focus of an image after cropping. Keeping an image centered is crucial for preserving the composition and balance, ensuring that the intended subject or focal point remains visually impactful. In this extensive guide, we will delve into the intricacies of how to keep an image centered after cropping in Photoshop, exploring techniques, tips, and step-by-step instructions to master this essential skill.
The Significance of Centered Composition:
Visual Harmony and Balance:
A centered composition is a classic approach in visual design that often conveys a sense of balance, stability, and harmony. When an image is centered, the viewer’s attention is naturally drawn towards the central elements, creating a focal point that can be powerful and visually pleasing.
Retaining the Essence of the Original Composition:
Maintaining the central focus after cropping is crucial, especially when working with images that have a carefully crafted composition. Whether it’s a portrait, a landscape, or any other subject matter, centering preserves the essence of the original composition and ensures that the visual impact remains intact.
Step-by-Step Guide to Keeping an Image Centered After Cropping:
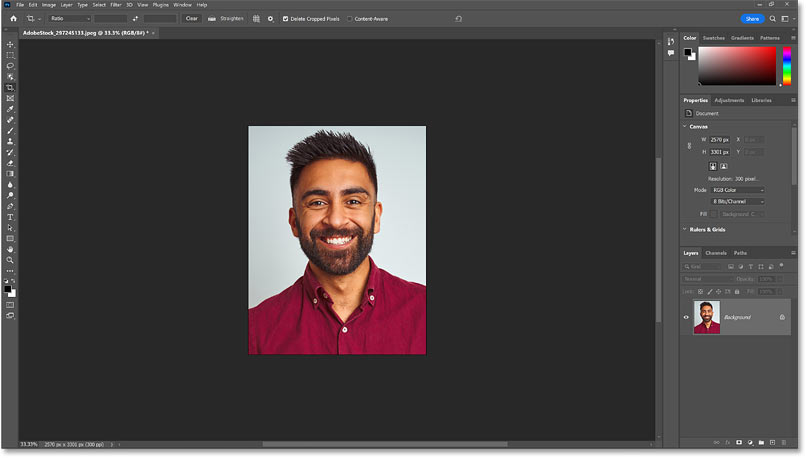
Step 1: Open Your Image in Photoshop
Launch Adobe Photoshop and open the image you want to work on. Ensure that the image has sufficient resolution to maintain clarity and detail after cropping.
Step 2: Select the Crop Tool
Activate the Crop tool by clicking on its icon in the toolbar on the left side of the screen. Alternatively, you can press the “C” key on your keyboard to access the Crop tool.
Step 3: Choose the Aspect Ratio
In the options bar at the top of the screen, you’ll find the aspect ratio settings for the Crop tool. To keep the image centered, select the “Original Ratio” option. This ensures that the original aspect ratio of the image is maintained during cropping.
Step 4: Set the Crop Area
Click and drag to create a crop box around the portion of the image you want to keep. Position the crop box to center it over the subject or focal point that you wish to retain.
Step 5: Refine the Crop
After setting the initial crop area, you can further refine it by adjusting the crop handles. Hold down the Shift key while dragging the handles to maintain the original aspect ratio and prevent distortion.
Step 6: Confirm the Crop
Once you are satisfied with the crop area and its centering, press the Enter key or click the checkmark icon in the options bar to confirm the crop. The image is now cropped while keeping the selected area centered.
Step 7: Check and Adjust Alignment
After cropping, take a moment to review the image and ensure that the central focus is maintained. If needed, use the Move tool (V) to adjust the position of the cropped image within the canvas.
Tips for Precise Centering After Cropping:
- Use Guides and Grids: Activate guides and grids in Photoshop to assist in aligning the subject. Go to View > Show > Grid, and View > Show > Guides. This provides visual references for precise centering.
- Employ the Rule of Thirds: While the rule of thirds typically encourages off-center compositions, it can still be a helpful guideline. Consider placing the central subject along one of the intersecting points when centering is necessary.
- Leverage Smart Guides: Smart Guides in Photoshop automatically appear when you are aligning objects. Take advantage of these guides to ensure accurate centering during cropping.
- Utilize the Align Options: If you have multiple layers or objects in your composition, use the Align options in the Options bar to align them precisely. Choose options like “Align Center” to maintain a centered composition.
- Maintain Original Aspect Ratio: When cropping, always aim to maintain the original aspect ratio of the image. This helps prevent distortion and ensures that the centering process retains the intended visual balance.
Creative Applications of Centered Cropping:
- Portrait Photography: Centered cropping is often employed in portrait photography to emphasize the subject’s face and expressions. This technique creates a classic and intimate aesthetic.
- Product Photography: When showcasing products, centered cropping ensures that the focus remains on the item being highlighted. This is essential for e-commerce platforms and promotional materials.
- Architectural Photography: Centered cropping can enhance the symmetry and balance of architectural compositions. It is particularly effective when highlighting the central features of a building or structure.
- Fine Art and Abstract Photography: In fine art and abstract photography, centered cropping can be used to emphasize the subject’s abstraction, creating a powerful visual impact.
- Web Design and Graphics: For web design and graphic projects, centered cropping is useful for creating banners, headers, and visual elements that demand a clear and centered focal point.
Conclusion:
Mastering the art of keeping an image centered after cropping in Photoshop is an essential skill for photographers, designers, and digital artists alike. By following the step-by-step guide and implementing the tips provided, you can confidently navigate the cropping process while preserving the central focus and visual harmony of your compositions.
Remember that while centered cropping is a classic and reliable technique, creativity often involves breaking established rules. Explore different compositions, experiment with unconventional alignments, and let your artistic intuition guide you. With Photoshop as your creative ally, you have the tools to balance precision with innovation, creating visually compelling images that captivate and resonate with your audience.