Mastering Precision: A Comprehensive Guide on Drawing Selections with the Marquee Selection Tools in Photoshop
Introduction:
Adobe Photoshop, a powerhouse in digital image editing, provides users with a myriad of tools to navigate the intricate realm of selection. Among these tools, the Marquee Selection tools stand out as fundamental instruments for drawing precise selections. In this exhaustive guide, we will explore the step-by-step process of drawing selections with the Marquee tools in Photoshop, unraveling techniques, creative considerations, and tips for mastering this essential skill.
The Significance of Selections:
Foundations of Image Editing:
Selections form the backbone of image editing in Photoshop. Whether you’re isolating elements, applying adjustments, or creating complex compositions, the ability to draw selections accurately is foundational to achieving professional and visually compelling results.
Precision and Control:
Drawing selections with precision is not just a technical skill; it’s an art. The Marquee Selection tools provide users with unparalleled control over the areas they want to manipulate, allowing for meticulous edits and creative endeavors.
Understanding the Marquee Selection Tools:
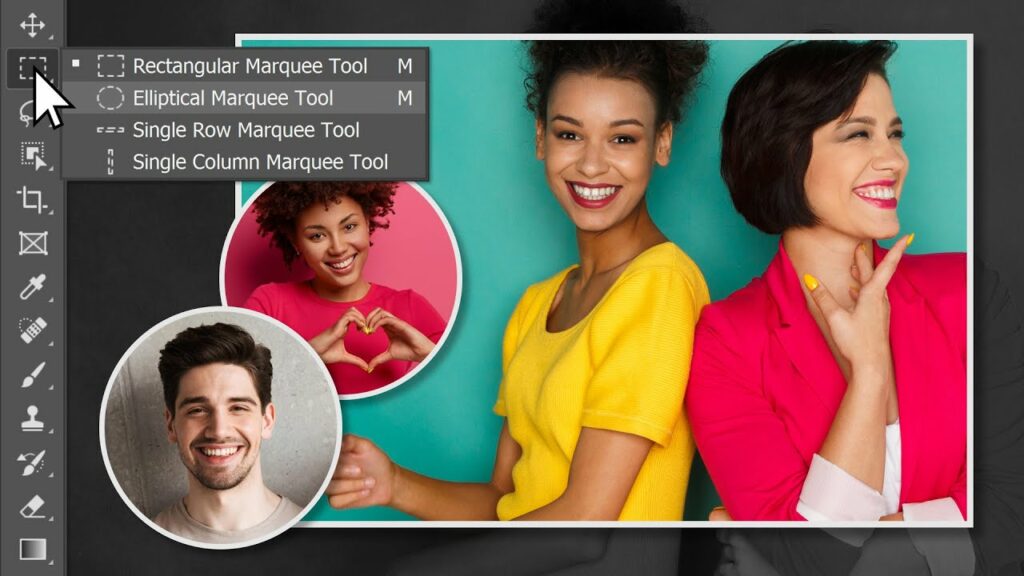
Rectangular Marquee Tool:
The Rectangular Marquee tool is the simplest of the Marquee tools, allowing users to draw rectangular or square selections. It is ideal for selecting well-defined areas and is commonly used for cropping or isolating specific regions of an image.
Elliptical Marquee Tool:
The Elliptical Marquee tool, on the other hand, enables users to draw circular or elliptical selections. Its versatility makes it suitable for a range of tasks, from creating rounded shapes to highlighting specific elements within an image.
Single Row and Single Column Marquee Tools:
The Single Row Marquee tool and Single Column Marquee tool are specialized tools designed for creating one-pixel-wide horizontal or vertical selections, respectively. These tools are particularly useful for tasks like creating pixel-based borders or dividers.
Step-by-Step Guide to Drawing Selections with the Marquee Tools:
Step 1: Open Your Image in Photoshop
Launch Adobe Photoshop and open the image you want to work on. Ensure that the image has sufficient resolution for detailed selection work.
Step 2: Choose the Marquee Selection Tool
Select the appropriate Marquee tool based on the type of selection you want to draw. Click on the Rectangular Marquee tool, Elliptical Marquee tool, or Single Row/Column Marquee tool from the toolbar on the left side of the screen.
Step 3: Draw the Selection
For the Rectangular and Elliptical Marquee tools, click and drag on the canvas to draw the desired shape. Release the mouse button to complete the selection. For the Single Row/Column Marquee tools, a single click is sufficient.
Step 4: Adjust Selection as Needed
After drawing the initial selection, you can make adjustments. To move the selection, click and drag inside the selection area. To resize or reposition, use the handles along the selection’s border. Holding the Shift key while resizing maintains the aspect ratio.
Step 5: Add to or Subtract from Selection (Optional)
To add to the selection, hold down the Shift key and draw another selection. To subtract from the selection, hold down the Alt key (Option key on Mac) and draw another selection. This allows for precise refinement of the selection borders.
Step 6: Apply Edits or Adjustments
Once the selection is drawn and refined, you can apply edits or adjustments to the selected area. This includes tasks such as cropping, color adjustments, or applying filters specific to the selected region.
Step 7: Deselect and Review
After applying edits, use the “Ctrl+D” (Windows) or “Command+D” (Mac) shortcut to deselect the area. Review the changes and ensure that the drawn selection aligns with your intended edits.
Tips for Drawing Precise Selections:
- Use Guides and Grids: Activate guides and grids in Photoshop to assist in aligning and drawing selections with precision. Go to View > Show > Grid and View > Show > Guides for visual references.
- Combine Marquee Tools: Combine different Marquee tools to create complex selections. For instance, draw a rectangular selection and refine it with the Elliptical Marquee tool for unique shapes.
- Employ Feathering for Smooth Transitions: When drawing selections, consider using feathering to create smooth transitions between selected and unselected areas. Adjust the Feather value in the options bar for this effect.
- Experiment with Aspect Ratios: Experiment with aspect ratios when drawing selections. Holding down the Shift key maintains a fixed aspect ratio, while releasing it allows for freeform drawing.
- Utilize Magnetic Snap (Optional): Enable the Magnetic Snap option in the options bar when using the Marquee tools. This feature assists in snapping selections to edges or contrasting areas in the image.
Creative Applications of Marquee Selections:
- Isolating Objects: Use the Marquee tools to draw selections around objects within an image, isolating them for focused editing or placement in new compositions.
- Creating Geometric Designs: Craft geometric designs by drawing precise rectangular or elliptical selections. Combine selections to form intricate patterns or abstract shapes.
- Adding Borders and Frames: Draw selections along the edges of an image to create borders or frames. Adjust the selection size and apply strokes or effects for custom framing.
- Highlighting Specific Elements: Emphasize specific elements within a scene by drawing selections around them. Apply adjustments or effects to highlight and draw attention to these elements.
- Designing Custom Icons or Buttons: Use the Single Row/Column Marquee tools to draw one-pixel-wide selections, perfect for designing custom icons, dividers, or buttons with pixel-level precision.
Conclusion:
Drawing selections with the Marquee Selection tools in Photoshop is a fundamental skill that opens the door to a world of precise editing and creative possibilities. By following the step-by-step guide and integrating the tips provided, you can confidently navigate the process of drawing selections with accuracy and finesse.
As you embark on your journey of selection mastery, remember that each drawn selection is a brushstroke on the canvas of your creativity. Whether you’re refining portraits, creating graphic designs, or crafting intricate compositions, let the Marquee tools be your trusted companions in achieving pixel-perfect selections that elevate the quality and impact of your visual creations.