Mastering Lighting Techniques: A Comprehensive Guide to Adding a Spotlight Behind Your Subject with Adobe Camera Raw
In the realm of photography, mastering lighting techniques is essential for creating captivating and visually stunning images. One popular lighting effect that adds depth, drama, and visual interest to photographs is the spotlight effect. By strategically placing a spotlight behind your subject, you can create a halo of light that highlights their silhouette and adds a dynamic element to the composition. Adobe Camera Raw, a powerful tool for processing and enhancing digital images, offers a range of features and adjustments that enable photographers to achieve professional-quality lighting effects. In this comprehensive guide, we will explore the step-by-step process, techniques, and best practices for adding a spotlight behind your subject using Adobe Camera Raw, empowering you to elevate your photography skills and create breathtaking images.
Understanding the Spotlight Effect:
The spotlight effect is a lighting technique where a focused beam of light is directed onto a specific area or subject, creating a dramatic contrast between light and shadow. When used effectively, the spotlight effect can draw the viewer’s attention to the subject, enhance their presence within the frame, and add a sense of depth and dimension to the photograph. Whether you’re photographing portraits, still life, or landscapes, incorporating a spotlight behind your subject can transform ordinary scenes into extraordinary works of art.
Harnessing the Power of Adobe Camera Raw:
Adobe Camera Raw is a powerful tool for processing and enhancing raw image files captured by digital cameras. With its comprehensive set of features and adjustments, Adobe Camera Raw allows photographers to fine-tune exposure, color balance, contrast, and other key aspects of their images with precision and control. Additionally, Adobe Camera Raw offers advanced tools for manipulating light and shadow, making it an ideal choice for creating the spotlight effect in your photographs.
Adding a Spotlight Behind Your Subject:
Now, let’s explore the step-by-step process for adding a spotlight behind your subject using Adobe Camera Raw:
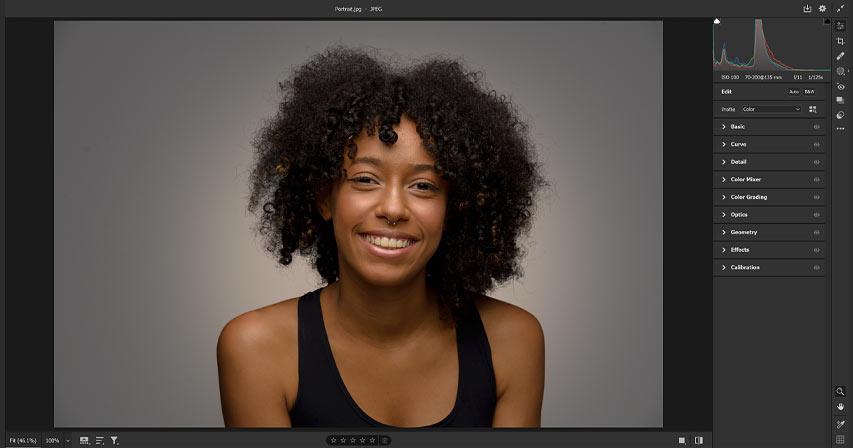
- Import Image: Start by importing the image you want to enhance into Adobe Camera Raw. You can do this by opening the image directly in Adobe Camera Raw or by accessing it from within Adobe Photoshop.
- Adjust Exposure: Use the Exposure slider in the Basic panel to adjust the overall exposure of the image. Increase the exposure slightly to ensure that your subject is properly illuminated and visible against the background.
- Enhance Contrast: Next, adjust the Contrast slider to increase the contrast between light and shadow in the image. This will help to create a more dramatic and visually striking effect.
- Create a Graduated Filter: In the toolbar at the top of the Adobe Camera Raw window, select the Graduated Filter tool. Click and drag from the top of the image downward to create a gradient filter that covers the area behind your subject.
- Adjust Exposure and Temperature: With the Graduated Filter applied, use the Exposure slider to increase the brightness of the area behind your subject, creating the illusion of a spotlight. You can also adjust the Temperature slider to add warmth to the light, if desired.
- Refine the Effect: Fine-tune the position and intensity of the spotlight effect by adjusting the placement and feathering of the Graduated Filter. You can also experiment with other adjustments, such as Highlights, Shadows, and Clarity, to further enhance the effect and achieve the desired look.
- Save and Export: Once you’re satisfied with the spotlight effect, click “Done” to apply the changes to your image. You can then save or export the image in your desired file format for further editing or sharing.
Tips and Best Practices:
To achieve the best results when adding a spotlight behind your subject with Adobe Camera Raw, consider the following tips and best practices:
- Experiment with Placement: Try placing the spotlight behind your subject at different angles and positions to see how it affects the overall composition and mood of the image.
- Adjust Intensity Gradually: Avoid making drastic adjustments to the exposure and other settings when creating the spotlight effect. Instead, make subtle changes and gradually increase the intensity until you achieve the desired look.
- Consider Background Elements: Pay attention to the background elements in your image and how they interact with the spotlight effect. You may need to adjust the placement or feathering of the Graduated Filter to ensure that the spotlight is focused on your subject without overpowering the background.
- Use Masks for Precision: For more precise control over the spotlight effect, consider using masks in Adobe Camera Raw to selectively apply adjustments to specific areas of the image. This allows you to fine-tune the effect and ensure that it complements the overall composition of the photograph.
Conclusion:
In conclusion, adding a spotlight behind your subject with Adobe Camera Raw is a powerful technique for creating captivating and visually striking images. Whether you’re photographing portraits, landscapes, or still life, incorporating a spotlight effect can add depth, drama, and visual interest to your compositions. By following the step-by-step process, techniques, and best practices outlined in this guide, you can harness the power of Adobe Camera Raw to master the spotlight effect and elevate your photography to new heights. So, experiment with different settings, unleash your creativity, and transform ordinary images into extraordinary works of art with the spotlight effect in Adobe Camera Raw.


