Mastering Composition: A Comprehensive Guide to Placing Two Images Side by Side in Photoshop
Introduction:
In the vast realm of digital design, mastering the art of composition is a fundamental skill that elevates the visual impact of your creations. Placing two images side by side is a common and essential technique, whether you’re creating a visual comparison, a diptych, or simply arranging elements for a cohesive design. In this comprehensive guide, we’ll delve into the step-by-step process of placing two images side by side in Adobe Photoshop. From aligning layers to refining the composition, this guide will empower you with the skills to seamlessly integrate multiple images into a harmonious visual narrative.
I. Preparing Your Workspace:
1.1 Launching Adobe Photoshop:
- Open Adobe Photoshop on your computer and create a new document or open an existing one where you want to place two images side by side.
- Ensure that the document resolution and dimensions align with your project requirements.
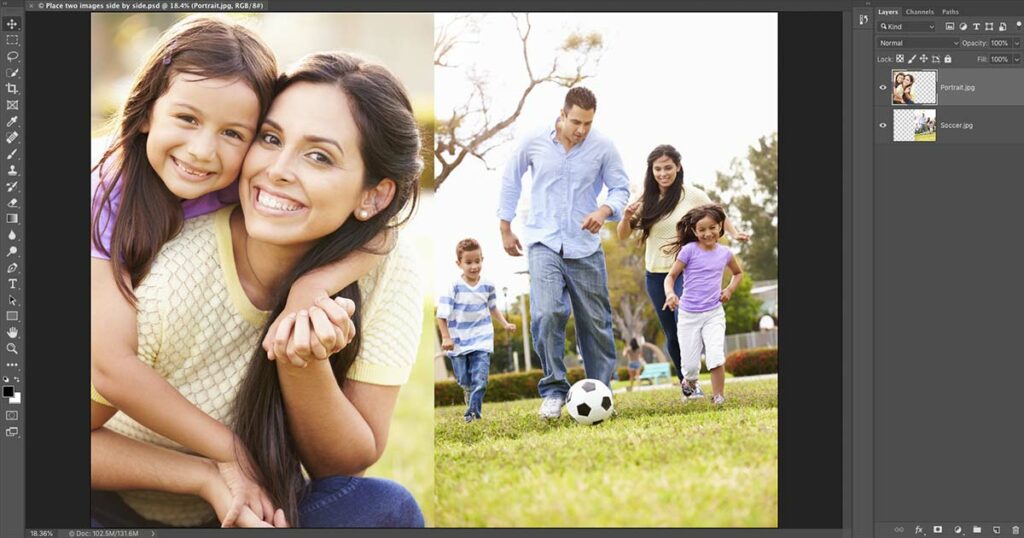
1.2 Importing Images:
- If you haven’t already imported the images you intend to use, go to File > Place Embedded and select the images you want to place side by side.
- This action will import the images as separate layers into your Photoshop document.
II. Setting Up the Canvas:
2.1 Adjusting Canvas Size:
- Go to Image > Canvas Size to adjust the overall dimensions of your document.
- Increase the width of the canvas to accommodate both images side by side. Ensure the “Relative” option is selected to maintain the centering of existing content.
2.2 Resizing Images (Optional):
- If the imported images are larger than the canvas, use the Transform tool (Ctrl+T or Command+T) to resize them proportionally.
- Hold the Shift key while dragging the corner handles to maintain the aspect ratio.
III. Aligning Images:
3.1 Layer Alignment Options:
- Select the Move Tool (V) and choose the alignment method that suits your composition needs.
- The top toolbar offers options like Align Left Edges, Align Right Edges, Align Top Edges, Align Bottom Edges, and Distribute Horizontal Centers.
3.2 Manual Alignment:
- For more precise control, manually align the images by dragging them using the Move Tool.
- Utilize Photoshop’s smart guides to assist in aligning elements accurately.
IV. Creating a Seamless Blend:
4.1 Feathered Edges for Transition:
- To create a seamless transition between the two images, consider feathering the edges.
- Select the Eraser Tool (E) and choose a soft brush. Gently erase along the border of one image to blend it into the other.
4.2 Layer Mask for Precision:
- For a non-destructive approach, use Layer Masks to blend the images seamlessly.
- Add a Layer Mask to one of the image layers and use a soft brush to mask areas where you want a gradual transition.
V. Adding a Divider or Border:
5.1 Inserting a Divider:
- Enhance the visual separation between the two images by adding a divider.
- Create a new layer and use the Line Tool to draw a straight line between the images. Experiment with colors and opacities to achieve the desired effect.
5.2 Stylish Borders:
- Alternatively, consider adding stylish borders to each image to distinguish them.
- Use the Rectangle Tool to create borders, experimenting with colors, gradients, or patterns to enhance the overall visual appeal.
VI. Adjusting Image Properties:
6.1 Color Correction:
- Ensure a cohesive look by adjusting the color and tone of each image to match.
- Use adjustment layers such as Levels, Curves, or Color Balance to harmonize the color palette.
6.2 Saturation and Contrast:
- Fine-tune the saturation and contrast of each image to create a balanced composition.
- Experiment with adjustment layers like Vibrance and Contrast to achieve the desired visual impact.
VII. Adding Text or Elements:
7.1 Incorporating Text:
- If your composition requires text, use the Text Tool (T) to add labels, descriptions, or captions.
- Ensure the text complements the overall design and is legible against the images.
7.2 Graphic Elements:
- Enhance the visual interest by incorporating graphic elements or icons that support the theme of your composition.
- Use the Shape Tool or import custom graphics to enrich the design.
VIII. Reviewing and Refining:
8.1 Iterative Review:
- Step back and review the composition as a whole, paying attention to the overall balance and visual flow.
- Make iterative adjustments to alignment, blending, and additional elements for a polished result.
8.2 Saving Iterative Versions:
- Save iterative versions of your project to preserve different stages of the creative process.
- This practice allows for experimentation and easy backtracking if desired.
IX. Exporting the Composition:
9.1 Saving in Appropriate Formats:
- Save the final composition in the desired format, resolution, and color space.
- Consider the intended use, whether for digital display, print, or further digital manipulation.
9.2 Sharing and Showcasing:
- Share your composition on social media platforms or within digital design communities.
- Engage with fellow designers, gather feedback, and celebrate the seamless integration of two images side by side.
X. Conclusion:
Mastering the technique of placing two images side by side in Adobe Photoshop is a valuable skill that opens up endless possibilities for creative expression. By understanding the nuances of alignment, blending, and composition, you can seamlessly integrate multiple visuals into a cohesive narrative. As you embark on your journey of composition, let your creativity guide you, experiment with different arrangements, and witness the power of Photoshop in transforming individual images into a harmonious visual story.


