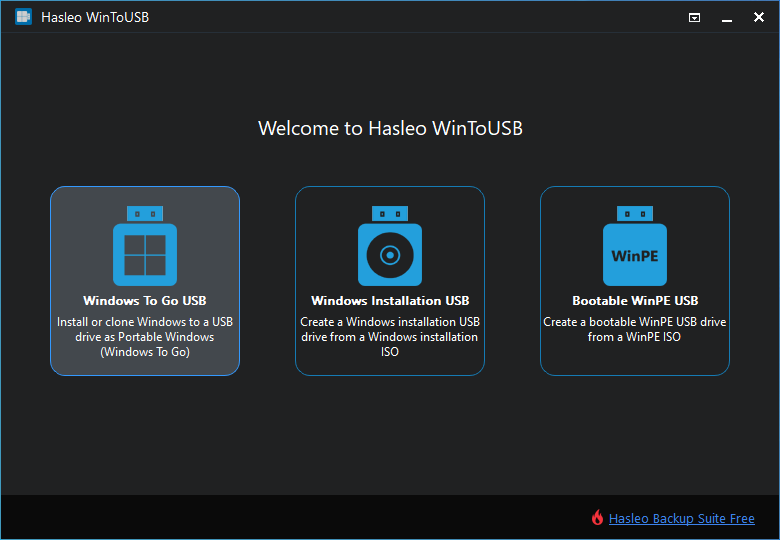
How to use Windows To Go in Windows 8
Windows To Go is a feature introduced in Windows 8 Enterprise and Windows 8.1 Enterprise editions, allowing users to create a fully functional and portable version of Windows that can be booted from a USB drive on any compatible computer. This enables users to carry their personalized Windows environment with them wherever they go, without the need to rely on a specific computer or installation. In this comprehensive guide, we’ll explore everything you need to know about using Windows To Go in Windows 8, from creating a Windows To Go workspace to booting from a USB drive and managing your portable Windows environment.
Understanding Windows To Go:
Windows To Go is designed to provide a secure and flexible solution for users who need to work from different locations or environments. By creating a portable Windows workspace on a USB drive, users can access their familiar desktop environment, applications, and files on any compatible computer, without leaving a trace on the host system.
Requirements:
Before using Windows To Go, ensure that you meet the following requirements:
- Windows 8 Enterprise or Windows 8.1 Enterprise Edition: Windows To Go is available exclusively in the Enterprise editions of Windows 8 and Windows 8.1.
- USB Drive: You’ll need a high-speed USB drive with a capacity of at least 32 GB to create a Windows To Go workspace.
- Compatible Computer: The computer you intend to boot from must support booting from a USB drive and meet the hardware requirements for Windows 8 Enterprise.
Creating a Windows To Go Workspace:
To create a Windows To Go workspace, follow these steps:
- Connect the USB Drive: Insert the USB drive into a Windows 8 Enterprise computer.
- Open Windows To Go Creator: Open the Control Panel, navigate to “Windows To Go,” and then click or tap on “Create a Windows To Go workspace.” Alternatively, you can use the “WTGCreator.exe” tool located in the “Windows\System32” folder.
- Select USB Drive: Choose the USB drive you want to use for the Windows To Go workspace. Note that all data on the USB drive will be erased during the process.
- Select Windows Image: Select the Windows image (.wim) file for the Windows To Go workspace. You can use an installation DVD or an ISO file containing the Windows installation files.
- Configure Workspace: Customize the workspace settings, including partition size, BitLocker encryption, and workspace provisioning options.
- Start Creation: Click or tap on “Create” to start the process of creating the Windows To Go workspace. This may take some time, depending on the speed of your USB drive and the size of the Windows image.
- Completion: Once the creation process is complete, safely eject the USB drive from the computer.
Using Windows To Go:
To use Windows To Go on a compatible computer, follow these steps:
- Insert USB Drive: Insert the USB drive containing the Windows To Go workspace into a USB port on the computer.
- Boot from USB: Power on the computer and access the boot menu (usually by pressing a specific key during startup, such as F12 or Esc). Select the USB drive as the boot device from the boot menu.
- Windows Startup: The computer will boot from the USB drive, and you’ll see the Windows startup screen. Follow the on-screen instructions to complete the setup process, including selecting language and region settings.
- Login: Once the setup process is complete, log in to Windows using your credentials. You’ll have access to your familiar Windows desktop environment, applications, and files.
- Usage: Use Windows To Go just like you would on a regular computer. You can install and run applications, connect to networks, access files, and perform other tasks as needed.
- Shutdown: When you’re finished using Windows To Go, shut down the computer, remove the USB drive, and safely eject it.
Managing Windows To Go:
Windows To Go offers several management options to help you maintain and secure your portable Windows environment:
- Update Windows: Regularly update Windows To Go with the latest security patches, updates, and drivers to ensure optimal performance and security.
- BitLocker Encryption: Enable BitLocker encryption to protect the contents of the Windows To Go workspace from unauthorized access in case the USB drive is lost or stolen.
- Remote Management: Windows To Go workspaces can be managed remotely using management tools such as Microsoft Endpoint Configuration Manager (formerly SCCM) or Microsoft Intune.
- Backup and Recovery: Create regular backups of your Windows To Go workspace to prevent data loss in case of drive failure or corruption. You can use built-in backup tools or third-party backup software for this purpose.
Conclusion:
Windows To Go is a powerful feature in Windows 8 Enterprise and Windows 8.1 Enterprise editions, allowing users to create a portable and secure Windows workspace that can be booted from a USB drive on any compatible computer. By following the steps outlined in this guide, you can create a Windows To Go workspace, boot from a USB drive, and use your personalized Windows environment wherever you go. Whether you’re working from home, traveling, or need access to your files and applications on the go, Windows To Go provides a flexible and convenient solution for your computing needs.


