How to uninstall programs
Introduction to Uninstalling Programs
Uninstalling programs from your computer is essential for maintaining system performance, freeing up storage space, and ensuring that only necessary software is installed. Whether you’re removing outdated applications, cleaning up disk space, or troubleshooting software-related issues, Windows 10 provides multiple methods to uninstall programs easily. This comprehensive guide covers various approaches to uninstalling programs in Windows 10, catering to different user preferences and needs.
Methods to Uninstall Programs in Windows 10
Method 1: Using Settings
- Open Settings:
- Click on the Start button (Windows icon) in the bottom-left corner of the screen and select “Settings” (gear icon) from the menu.
- Go to Apps Settings:
- In the Settings window, click on “Apps.”
- Navigate to Apps & Features:
- In the left-hand menu, click on “Apps & features.” This displays a list of all installed applications on your computer.
- Select Program to Uninstall:
- Scroll through the list of installed apps to find the program you want to uninstall. You can search for the program by name using the search box.
- Uninstall the Program:
- Click on the program you want to uninstall and then click on the “Uninstall” button that appears. Follow the on-screen instructions to complete the uninstallation process.
Method 2: Using Control Panel
- Open Control Panel:
- Click on the Start button (Windows icon) and type “Control Panel.” Select “Control Panel” from the search results.
- Go to Programs and Features:
- In Control Panel, click on “Programs” and then click on “Programs and Features.” This opens a list of installed programs on your computer.
- Select Program to Uninstall:
- Scroll through the list of installed programs to find the one you want to uninstall.
- Uninstall the Program:
- Right-click on the program you want to remove and select “Uninstall” from the context menu. Follow the prompts to complete the uninstallation process.
Additional Tips and Considerations
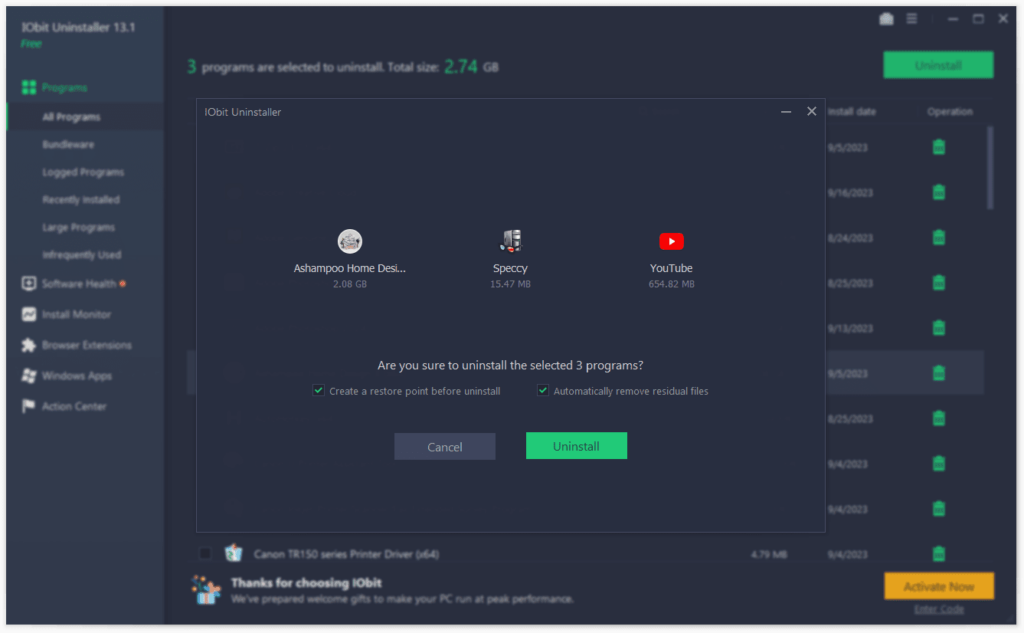
- Built-in Uninstaller vs. Third-Party Tools:
- Windows 10 includes a built-in uninstaller that effectively removes most programs. However, for stubborn or problematic installations, consider using third-party uninstaller tools that offer additional features like cleaning up leftover files and registry entries.
- Removing Bloatware:
- Some computers come pre-installed with bloatware (unnecessary software). Use the uninstallation methods described above to remove bloatware and free up system resources.
- Confirming Uninstallation:
- Always review the list of programs before uninstalling to ensure you’re removing the correct software. Some programs may prompt you to confirm your decision to uninstall.
- Reinstalling Programs:
- If you uninstall a program by mistake or later decide you need it, you can usually reinstall it using the original installation media or download it from the software developer’s website.
Conclusion
Uninstalling programs in Windows 10 is a straightforward process that allows you to manage your installed applications effectively, optimize system performance, and free up storage space. By following the step-by-step instructions provided in this guide using Settings or Control Panel, you can easily remove unwanted software from your computer.
Experiment with different methods and tools to uninstall programs based on your specific needs and preferences. Regularly review and clean up installed applications to maintain a streamlined and efficient computing experience in Windows 10.