How to Simulate Film Camera Effects Using Manual Grain Control
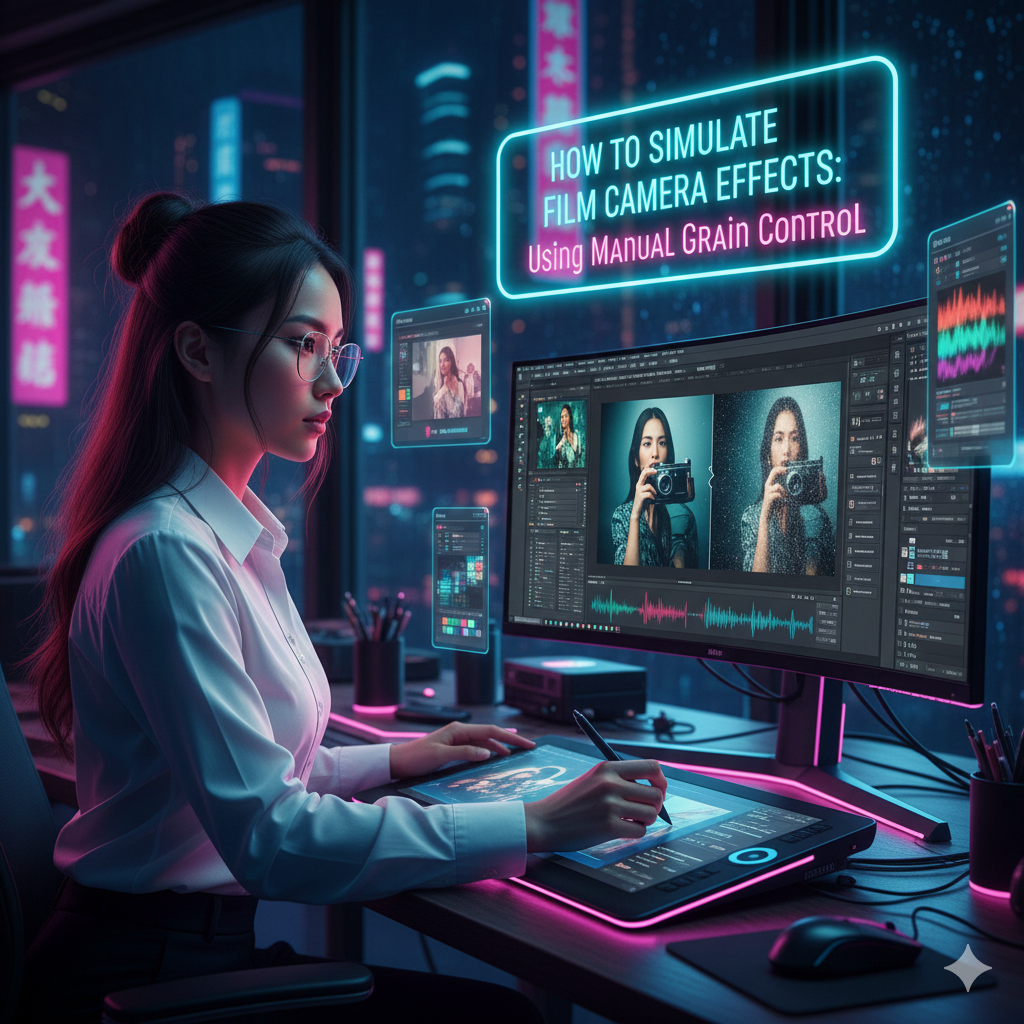
How to Simulate Film Camera Effects Using Manual Grain Control
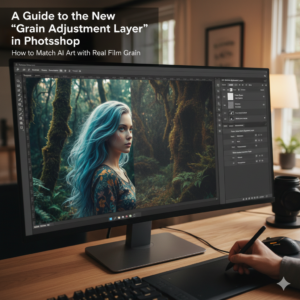
When applied to digital photographs, film camera effects have the ability to induce feelings of nostalgia, mood, and cinematic quality. When it comes to Photoshop, one of the most efficient methods for accomplishing this goal is via the use of manual grain control, which simulates the texture and personality of analog film. In contrast to automated filters, hand grain application enables exact control over variables like as size, intensity, distribution, and mixing, which ultimately results in a film appearance that is both natural and professional.
Acquiring Knowledge About Film And the Aesthetic Value of Grain
The textured pattern that is produced by light-sensitive particles on analog film is often referred to as film grain. Images are given more depth, subtle imperfections, and character as a result of this. A variety of film stocks each provide grain sizes, patterns, and tonal properties that are different from one another. Designers and photographers are able to recreate these features by manually painting grit in Photoshop. This allows them to create a particular atmosphere or cinematic impact that aids visual storytelling.
Getting Your Image Ready for the Application of Grain
Commence with a picture that has a high quality to guarantee that the fine grain features will be apparent. When you want to keep non-destructive control, you should convert the layer into a Smart Object. This will enable you to make tweaks to the grain intensity or blending without affecting the original picture. The picture should be cleaned up by eliminating any dust, scratches, or artifacts that might potentially interfere with the application of actual realistic grain.
Producing Manual Grain Through the Use of Noise
You may create the effect of film grain by adding a new layer on top of your picture and filling it with grayscale. The blending mode of the layer should be set to either Overlay or Soft Light. Proceed to the Filter menu, choose Noise, and then select Add Noise. Depending on the texture you want to achieve, select either a Gaussian or a uniform distribution. Adjusting the Amount slider will allow you to customize the strength of the grain. It is possible to exercise complete control over the density and positioning of the grain while using this method.
Grain Size and Distribution Controlling and Regulation
The film speed or ISO may have an effect on the size of the grains in the film. Filter > Blur > Gaussian should be used. You may soften huge grains by applying a mild blur to the noise layer, or you can leave the grains crisp for high-ISO simulation of the image. You also have the option of creating separate layers for various grain sizes and then blending them together to simulate the appearance of multi-scale film textures. Creating a natural and random look may be accomplished by varying the opacity of each layer.
The Combination of Image Tone and Picture Grain
In order to get a realistic effect, grain should interact with the highlights, midtones, and shadows in the picture. Applying a more robust grain in darker regions while softening it in highlights may be accomplished via the use of layer masks or curves. It is a selective application that simulates the appearance of genuine film, where grain is more noticeable in parts that are dark and less noticeable in places that are light.
For the sake of authenticity, adding color grain
The grain of film is often a little bit tinted rather than being completely colorless. For colorful grain effects, you may either apply a low-opacity Gradient Map to the noise layer or add a faint RGB noise to the noise layer. Making adjustments to the blending modes and opacity will guarantee that the colored grain contributes to the overall picture rather than detracting from it.
Grain is used in conjunction with other film effects.
Mixing grain with other effects might help you get a more analog sound impression:
- In order to draw attention to the topic of the vignette, the margins should be somewhat darkened.
- In order to replicate various film stocks, subtle color shifts might be implemented by introducing warm or cold tones.
- In order to simulate the contrast of vintage cinema, you may use the Curves adjustment to create faded blacks or lifted shadows.
- The combination of these supplementary effects and grain results in a realistic film imitation.
The Maintenance of a Workflow That Is Not Destructive
Make sure that all of the adjustment layers and grain layers are kept different from the original picture. Make use of masks to exercise selective control, and convert grain layers into Smart Objects so that modifications may be made with ease. Iterative refining and experimentation are both possible with this method, and the basic picture is not permanently altered in the process.
Final Examination and Exportation
The grain distribution and uniformity throughout the picture may be checked by zooming in very close. Make sure that the effect not only improves the texture and atmosphere, but also does not dominate the important elements. For usage in professional settings, export in high-quality formats such as TIFF or PNG. For use on the web and in social media programs, export optimized JPEGs.
A significant degree of creative freedom may be achieved by simulating film camera effects in Photoshop via the use of manual grain adjustment. It is possible for designers to produce real analog aesthetics in digital pictures by carefully manipulating grain size, intensity, tonal integration, and hue. Having a command of this method gives photography a sense of depth, character, and cinematic quality, which improves both the visual narrative and the professional presentation of the pictures.