How to Build a Complete Branding Kit Inside Photoshop
How to Build a Complete Branding Kit Inside Photoshop
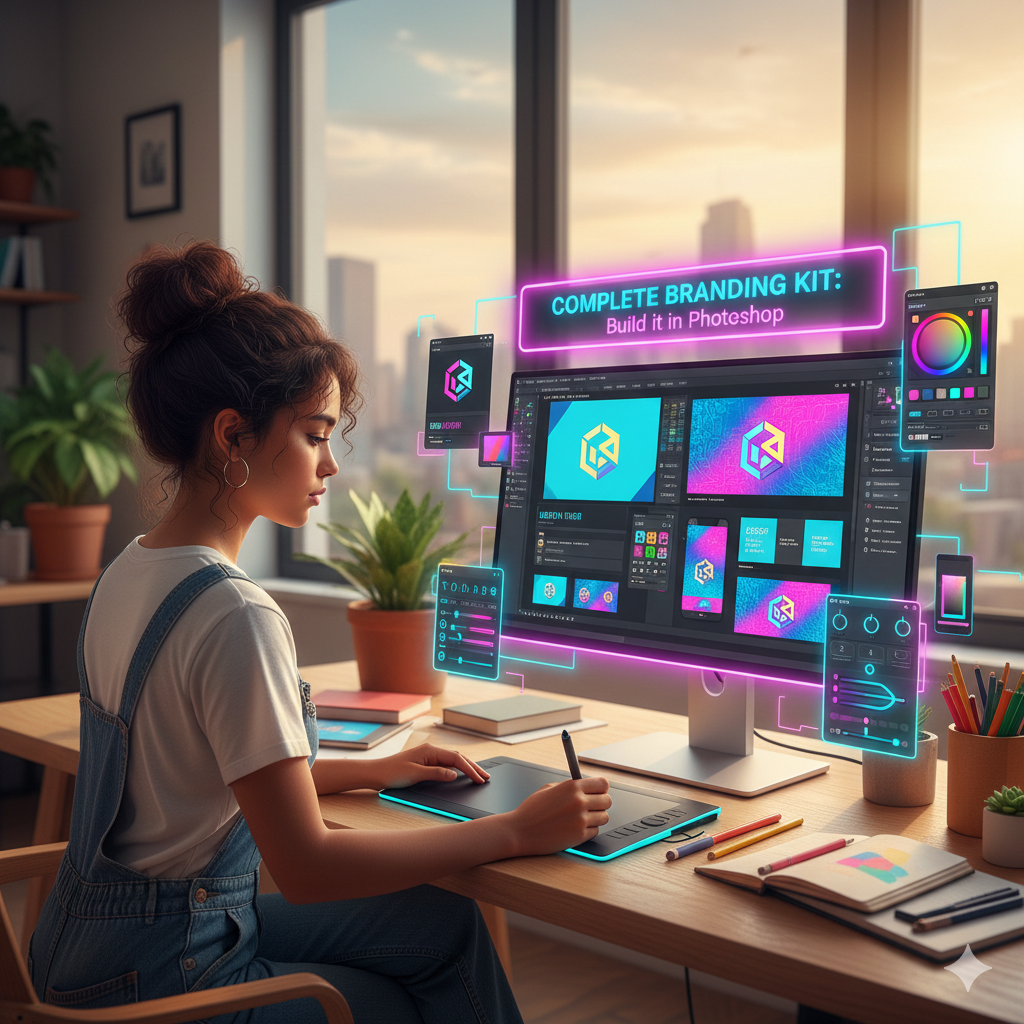
With a well developed branding kit, you can guarantee that all of your visual assets, including logos, social media posts, packaging, and digital presentations, are consistent with one another. Photoshop’s powerful layer management, Smart Objects, and color control capabilities enable designers to develop a full branding kit entirely inside a single file. This is made possible by Photoshop’s ability to handle layers. Streamlining processes and maintaining a professional brand identity across different platforms may be accomplished via the organization and standardization of aspects.
Knowing the Different Components That Make Up a Branding Kit
Typical components of a comprehensive branding kit are as follows:
- There are three different variations of the logo: full, simplified, and monochromatic.
- The primary, secondary, and accent colors, together with their precise values, make up the color palette.
- Typeface families, weights, and use rules are all aspects of typography.
- Indicators, patterns, and other illustrative materials are examples of graphic elements.
- The mockups and templates include designs that are suitable for social media, print, and the web.
Through the use of Photoshop, the construction of these components in a coherent manner enables flexibility and ease of application across all brand materials.
Making Preparations for the Organization of Your Document
To begin, create a document with a high quality, and then arrange the layers into groups that are properly identified for each component of the kit. It is recommended to make use of Artboards for various areas such as logos, typography, and templates. You are able to keep changeable designs accessible via the use of Smart Objects, which makes it simpler to modify logos, text, or color palettes without causing the whole file to be disrupted.
Development of Logos and Their Variations
If you want the main logo to be scalable, you should design it using vector shapes. Separate layers or Smart Objects may be used to create variants, such as simpler or monochromatic copies of the original. It is important to include alternate layouts, such as horizontal, vertical, or icon-only forms, in order to guarantee that the brand will continue to be adaptable for other applications.
The Process of Creating a Color Scheme
Utilizing Swatches, you may define major, secondary, and accent styles of color. When it comes to digital and print applications, it is important to provide precise RGB, HEX, and CMYK values. In order to provide a visual reference point inside the branding kit, you need create some example color blocks and properly name them. Through the use of adjustment layers, one may replicate the way in which colors interact with various backdrops.
The Establishment of Typographic Standards
The major and secondary fonts should be chosen, with the appropriate weights, sizes, and line spacing specified. You should include samples of several text styles for headers, body text, and call-to-action text. Text styles should be organized into grouped layers, and you should think about building Smart Object templates so that you can easily replicate them across subsequent designs.
Creating Patterns and Elements Based on Graphic Design
Create items that will serve as a supporting structure, such as icons, geometric patterns, or textures. To ensure scalability, it is best to keep them in vector format if feasible. Apply layer styles in a consistent manner to keep the coherence intact, and arrange pieces inside the kit in a logical manner to provide easy access while you are working on design.
Making Mockups and Templates for Documents
Create templates that can be used for a variety of brand assets, including social media posts, business cards, letterheads, and other materials. By including Smart Objects that serve as placeholders for pictures or logos, you may facilitate quick adjustment without having to rewrite designs. Maintaining brand consistency across a variety of platforms and campaigns is made easier with the use of templates.
The Integration of Usage Notes and Operating Guidelines
Include a reference section inside the Photoshop file that details the guidelines for using colors, font pairings, and logo space, as well as the application’s dos and don’ts. Providing visual examples of both appropriate and inappropriate use helps to improve clarity and ensures that brand standards are adhered to.
Practices of Workflow that are Non-Destructive
In order to maintain flexibility, you should keep all assets as Smart Objects or adjustment layers. In order to facilitate navigation, you should make use of layer groups and suitable naming standards. As a result, this guarantees that pieces may be changed or replaced without impacting other aspects of the kit, which makes it scalable for future brand growth.
Final Examination and Exportation
Make sure that all of the templates, colors, fonts, and logos are full and consistent with one another. For logos, export separate PNG or SVG files; for templates, export high-resolution JPEG or PNG files; and be sure to export PDF instructions for presentations. In order to assure compatibility with print, digital, and social media apps, it is necessary to provide several formats.
Designers are able to retain control, flexibility, and consistency across all brand assets when they construct a comprehensive branding kit inside Photoshop. You are able to develop a professional and complete toolkit by arranging logos, colors, typography, images, and templates inside a single file that is well-structured. The ability to master this workflow allows for the simplification of design processes, the reinforcement of brand identification, and the guarantee that every visual asset complies to a same standard.